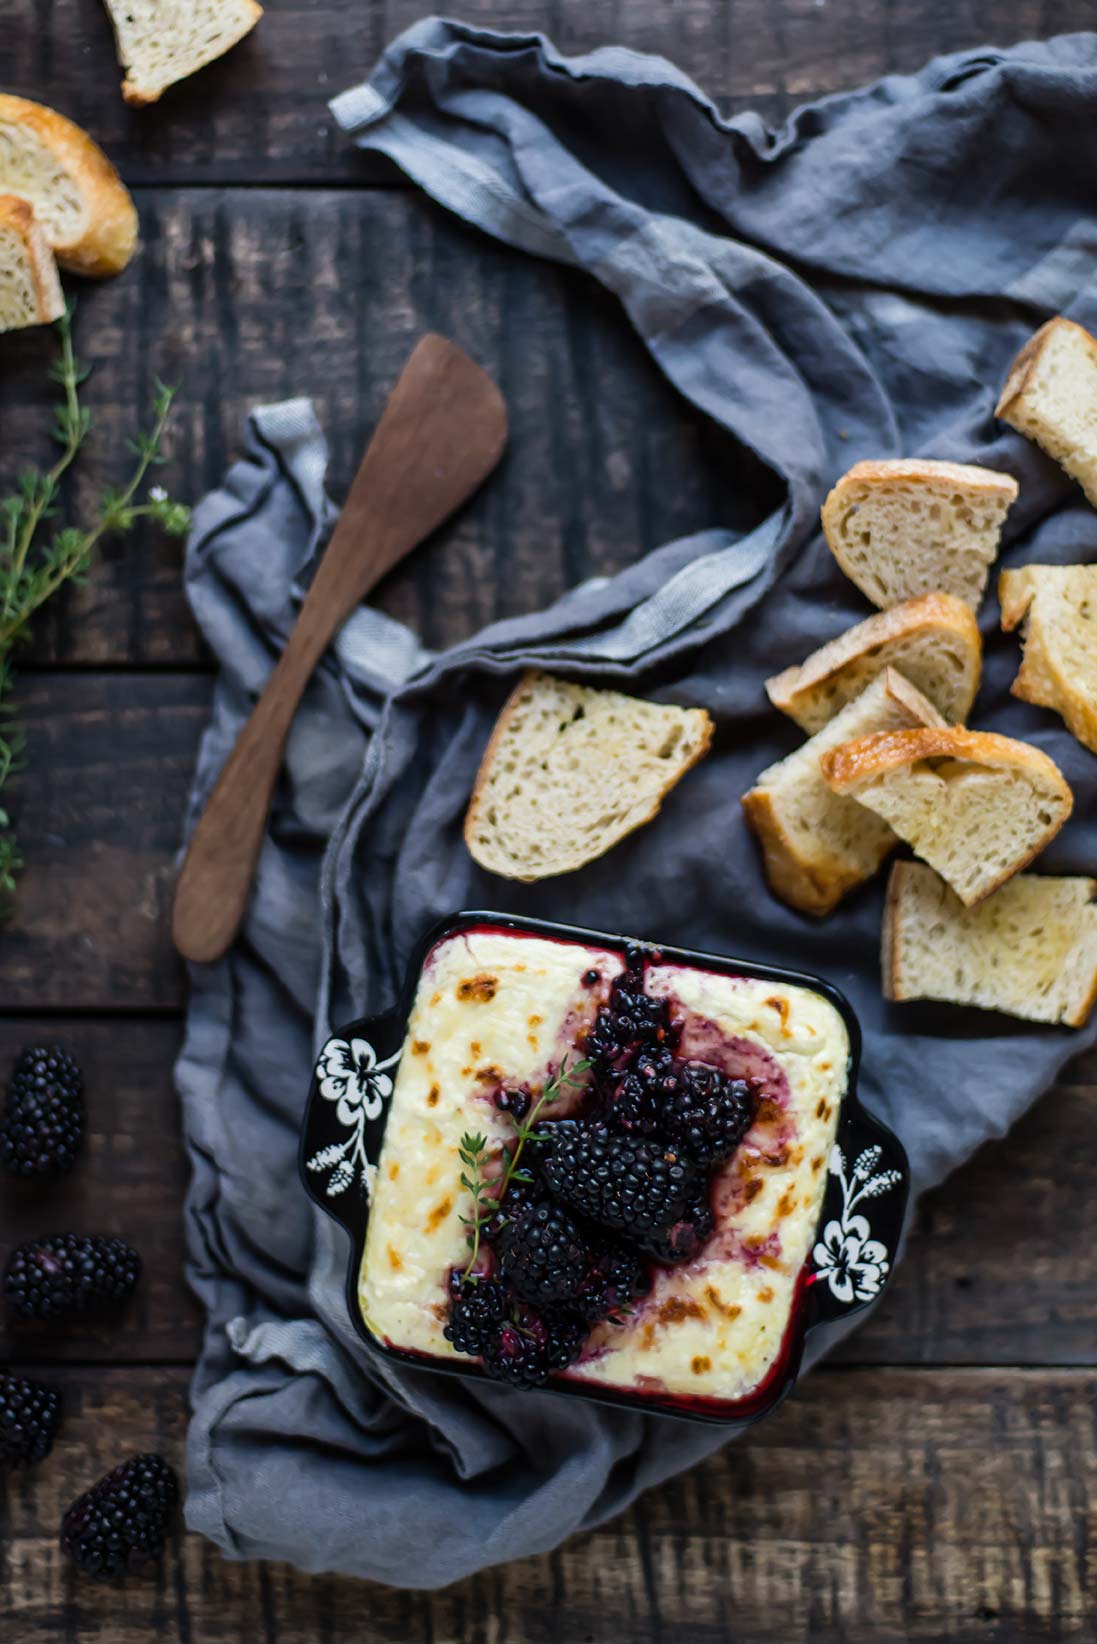
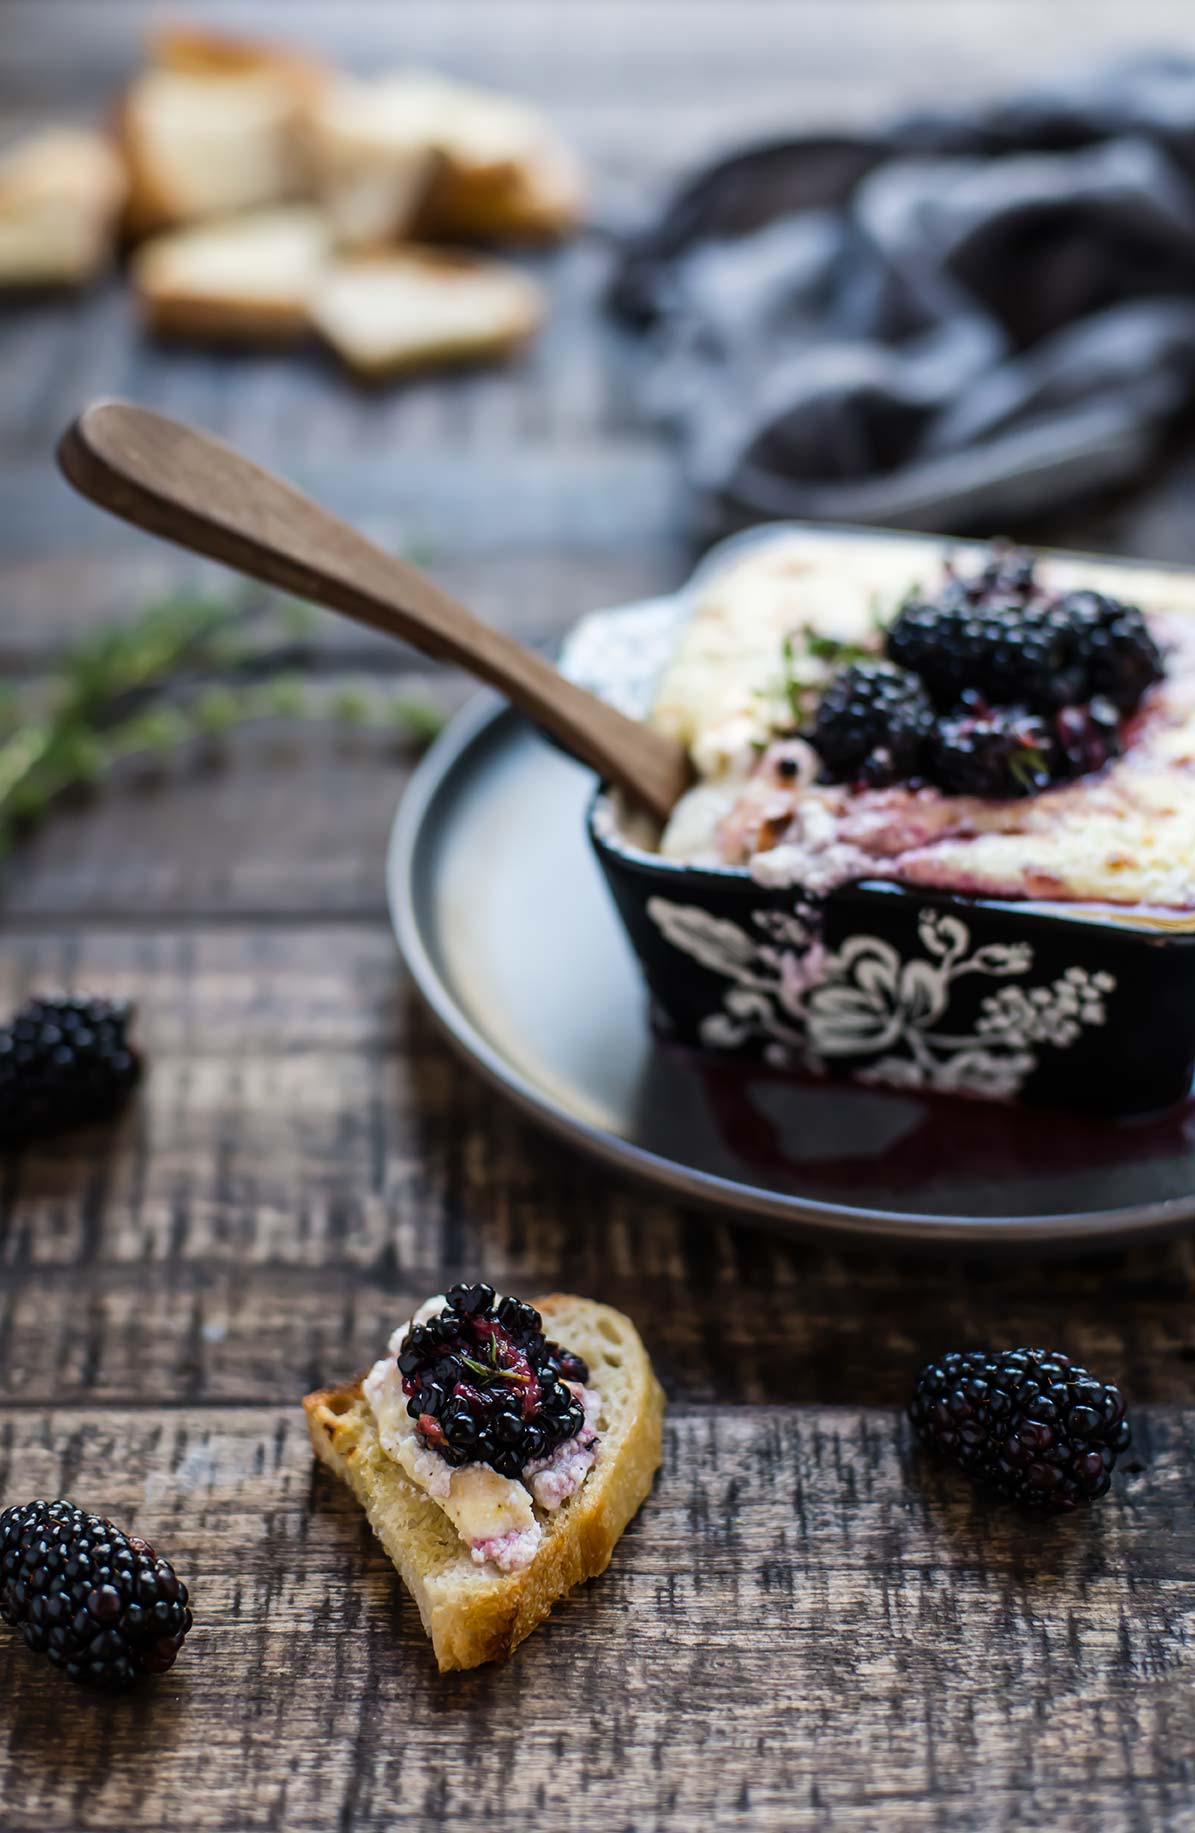
Baked Ricotta with Blackberry-Thyme Smash
/
Boise is surrounded by golden hills, many of them charred by grass fires. But don’t be deceived: just and hour north, you’ll be among the trees, an hour further and the grass turns green, and just thirty minutes more, you’ll come around the bend into McCall and spot Payette lake, backdropped by Brundage Mountain. This is where we spent the end of August— in a cabin with family.
We visited just two weeks after the annual huckleberry festival, but there were plenty of wild blackberries at the farmers market still, something you don’t see much of in the front range of Colorado! So of course, I had to take that inspiration and run with it— creating a massive list of things to make (yes, I do seem to have a thing for lists). And perhaps I’ll plant some berries in my yard next spring... blackberries, blueberries, and gooseberries too.
Between blackberries, we hit the trails, exploring the Payette Lake peninsula and Bear Basin on mountain bikes. On the hottest day, we rented a paddle board and kayak— the river north of town is breathtaking.
McCall is truly a gem of a mountain town! Outdoor enthusiasts— put this on your list. You get the strangest feeling riding your bike through the woods, like you’ve been transported to the Red Wood Forest, minus the heat! I'll be sharing a few pictures in my monthly newsletter in just a few days -- sign up here!
Baked Ricotta with Blackberry-Thyme Smash
Serves: 6-8 | Active Time: 40 minutes
Ingredients:
Baked Ricotta:Directions:
- Preheat oven to 350°F. Grease a 50-ounce capacity (about 3 cups) ramekin, baking dish, or cheese baker with 1 tablespoon olive oil.
- In a medium size mixing bowl, whisk together the ricotta, egg, 2 tablespoons of Parmesan, lemon zest, minced garlic, salt, and pepper.
- Using a spatula, transfer the cheese mixture to the baking dish. Sprinkle top with remaining 2 tablespoons parmesan. (Note: Do not over fill your baking dish. Make the cheese level or below the top rim of the baking dish (if needed, divide the cheese between two baking dishes. This will prevent overflow and a mess in your oven!).
- Place in oven, and bake for 25-30 minutes. Parmesan on top should begin to turn golden.
- While the cheese is cooking, make the Blackberry-Thyme Smash: place 1 cup black berries, leaves from 3 sprigs of thyme, juice of 1/2 lemon, pinch of salt, and honey in a bowl and mash with a fork until a saucy, jammy mixture is created. Add in remaining 1/2 cup whole berries (for texture).
- Spoon Blackberry Smash mixture over baked cheese, and top with a sprig of thyme as garnish. Serve while cheese is still warm with crackers, crostinis, or crudités.