The Garden | 2018

Xeriscape Garden in Colorado with Squash Arch

Early this spring, I wrote about how I was spending long days removing our grass and xeriscaping our front yard. I promised a few readers that I'd share a post once all was said and done, so here it is! 

Above: Our front yard, with grass completely gone. Mulched, rocked, and raised veggie beds in. We planted two trees last year (to the right of the veggie beds: a clump of Aspens and a Ohio Buckeye), which are still quite small but hopefully will grow tall and provide us with lots of shade. You can see our corrugated metal garden beds with squash arch, and a small xeriscape garden patch where we're growing native flowers (like echinacea, candytuft, primrose, yarrow, blanket flower, lupine, etc) and herbs (mint, sage, rosemary, lavender, thyme, chives, oregano, and tarragon). Next year -- or perhaps this fall if I'm feeling motivated - I'll add some flowering bushes (like Russian Sage), along with other native flowers on the righthand side of the yard. And ultimately, we'll put in a path going straight up to the front door with flagstone. 

Summer Xeriscape Flowers

The first thing most people say when they walk up to the house is, "I didn't realize you put your vegetables in your front yard!" It is a bit different, I know, but our backyard is almost completely shaded so the front yard is much better for veggies. And so far, I like how it adds a focal point to the yard! 

Sugar Snap Peas in the Morning

My favorite thing all summer has been getting out in the garden before the heat hits. The lighting is beautiful, and I can see how everything is doing without burning up. 

Above: Sugar snap peas in early morning.

Below: First spaghetti squash in early summer. This year, I grew several type of winter squash -- Spaghetti squash, Kabocha, Delicata, and Acorn. Of those, the spaghetti squash and Kabocha squash plants had the most epic harvests -- just one squash vine would reach from one end of the 16-foot squash arch to the other and then onto the ground. Their leaves created a canopy that offers lots of shade and even protection from rain… by the time late summer rolled around, you could hide in that little tunnel through all sorts of weather! 

Spaghetti Squash growing on squash arch.
Acorn squash growing on vine
Squash arch in garden

Above: Squash tunnel in mid-summer.

Below: I grew tons of basil this year, most of which we used fresh in bruschetta, but I’ll be making a big batch of this pesto which I highly recommend using in this zoodle recipe! I also grew a patch of Thai basil, which we added to stir fries and curries all summer long -- we still are! 

Fresh basil, growing in garden beds

My adventures in tomato growing were slightly less successful -- the bed where the tomatoes grew had terrible issues with blight. I removed a few plants, including a Black Cherry Tomato and a Striped Roman Tomato. In part, this is because I planted too close together… lesson learned. What remained: Brad's Atomic Grape Tomatoes (the prettiest!), some simple La Roma Tomatoes, Blue Gold Berry Tomatoes, and Yellow Pear Cherry Tomatoes. 

Below: Brad’s Atomic Tomatoes, green on the vine. Below that: Brad’s Atomic Tomatoes harvested.

The Roma tomatoes were best for carpese and cooking; the Brad’s Atomic Tomatoes were best for eating straight with just a touch of salt, and the Blue Gold and Yellow Pear Cherry Tomatoes were best for salads. I’ve already vetted a list of super blight resistant tomatoes for next year… as I wander around the neighborhood, I see virtually every other garden had similar issues, likely because of our super wet June.

Tomatoes growing on the vine
Ripe Brad's Atomic Grape Tomatoes

Below: An Antigua eggplant on the vine. Below that: A basket full of eggplants.

I went crazy when it came to planting eggplants. There was just so many varieties to choose from! We eat a lot of eggplant around here (it’s Oliver’s fave), so it seemed fine in May, but since July hit not a week has gone by with less than 5 eggplants to harvest. This copious harvest lead to this Eggplant Cannelloni recipe, but we also made this Harissa Roasted Eggplant, grilled eggplant, and this Roasted Eggplant Salad. In need of more recipes…. please comment with your fave!

Antigua eggplant growing on plants
Eggplant harvest in basket

One thing I’ve barely touched yet in the garden are the hearty greens. While other items in the garden reach a “ripeness point,” the greens just keep growing and growing and I’ve let them go. The Swiss Chard is at least twice as big as what’s shown in the picture below now! And the kale, to the right, is super tall. Just last night I used it to make a Chopped Kale Salad with Dates, Bacon and Pecans.

Swiss chard growing in garden bed

Below: Dragon Tongue Beans on the vine.

Our bean harvest this year was epic — since the plants started fruiting, I’ve had a salad bowl full of beans on the counter that I just can’t get through… they are growing faster than we are eating! This week’s to do list: Pickle some beans! The dragon tongue beans are my favorite because of their colors, but our giant pile of beans is from the Blauhide Poles Beans we grew.

Next year, I’ll add some yellow and green beans into the mix. 🌈

Dragon tongue beans growing on vine
Bean harvest in wooden bowl

Below: Chamomile flowers in bloom. After the big hail storm in June, I replaced a few plants that I thought were never going to make it with seedlings I found on super sale at a nearby homestead. One of these was a little chamomile plant.

As the flowers bloomed, I plucked them and dried them. From just this one little plant — which was a bit smothered by an eggplant that took over the space - I got enough for about 2 cups of tea, but BOY do they smell amazing.

Chamomile flowers in bloom

Peppers! I planted a few types of peppers this year — Jalapeño, Shishito, Thai chili, Pimiento, and Poblano. Quite a few got wiped out by hail, so later in the season I added some Big Jim and a Red Bell to the mix. Far and away my favorites so far this season were the Poblano and Big Jim, which I stuffed (Poblano recipe here! Big Jim recipe here).

Below: Biggest pepper harvest yet this season.

Pepper harvest in basket

One of the largest losses in the garden this summer was my corn.

I babied the corn from the get-go, though I also learned I did quite a few things wrong. Turns out, corn doesn’t like to be planted in a row, but in a block. Despite my ignorance, the stalks grew tall — 8 feet! So I hand pollinated them, and they went to town making corn ears.

Some time in July we got a massive wind storm that blew a branch off our cottonwood tree and onto the corn, bending the stalks in half. Still, the corn recovered. I tied each stalk to a big bamboo stake and they continued to grow.

And then, one by one the ears disappeared. Darn squirrels! I hope they appreciated all of the work that went into it. Below: I snapped a picture of one ear they left on the ground — a red an purple ear, not quite ripe. So beautiful! This is called Painted Mountain Corn, which does well at higher elevations, and the ears show a variety of colors. I am a sucker for off-beat varieties you can’t find in the grocery store.

I haven’t decided if I’ll plant corn again next year — I want to - but it’s all a matter of space.

Painted Mountain Corn

One of my most exciting harvests all summer was just this week: a sugar baby watermelon!

It went from baby (below) to all grown up (below that) in just a month or so!

I also have a muskmelon plant with about 5 melons (not ripe yet!) and a honey dew plant that I put in after the hail. I’m not sure if the honey dew will ripen before our first frost — it’s still only half the size of my fist.

Baby Watermelon
Watermelon Harvest

We don’t see many hummingbirds in my neighborhood, but at the peak of the squash bloom season one took a liking to the yard. Every time I saw him, I would stay very still and just watch.

In the end, creating this garden was the most therapeutic, rewarding, beautiful thing I did all summer. Watching everything grow from seed and then actually fruit was delightful, and spending the early mornings amongst the bees and the birds was so relaxing, even when life was not.

Late summer harvest in a basket
Summer harvest on table

Below: Happy place.

Squash arch with morning light
Comment

Baked Ricotta with Blackberry-Thyme Smash

Baked Ricotta with Blackberry-Thyme Smash

Boise is surrounded by golden hills, many of them charred by grass fires. But don’t be deceived: just and hour north, you’ll be among the trees, an hour further and the grass turns green, and just thirty minutes more, you’ll come around the bend into McCall and spot Payette lake, backdropped by Brundage Mountain. This is where we spent the end of August— in a cabin with family. 

We visited just two weeks after the annual huckleberry festival, but there were plenty of wild blackberries at the farmers market still, something you don’t see much of in the front range of Colorado! So of course, I had to take that inspiration and run with it— creating a massive list of things to make (yes, I do seem to have a thing for lists). And perhaps I’ll plant some berries in my yard next spring... blackberries, blueberries, and gooseberries too. 

Baked Ricotta with Blackberry-Thyme Smash

Between blackberries, we hit the trails, exploring the Payette Lake peninsula and Bear Basin on mountain bikes. On the hottest day, we rented a paddle board and kayak— the river north of town is breathtaking. 

McCall is truly a gem of a mountain town! Outdoor enthusiasts— put this on your list. You get the strangest feeling riding your bike through the woods, like you’ve been transported to the Red Wood Forest, minus the heat! I'll be sharing a few pictures in my monthly newsletter in just a few days -- sign up here

Baked Ricotta with Blackberry-Thyme Smash

Published September 6, 2018 by
   Print This Recipe

Serves: 6-8   |    Active Time: 40 minutes


Ingredients:

Baked Ricotta:
  • 2 cups of full fat ricotta
  • 1 egg
  • 1/4 cup tablespoons Parmesan (divided in 2 parts)
  • Zest of 1 lemon
  • 2 garlic cloves, minced
  • 1/4 teaspoon salt
  • A few cracks pepper
  • 1 tablespoon olive oil

  • Blackberry-Thyme Smash:
  • 1 1/2 cups fresh blackberries, divided
  • 3 sprigs thyme, plus more for garnish
  • Juice of 1/2 a lemon
  • Pinch of salt
  • 1 tablespoon honey
  • For serving: crackers, crostinis, and/or crudités of choice

  • Directions:

    1. Preheat oven to 350°F. Grease a 50-ounce capacity (about 3 cups) ramekin, baking dish, or cheese baker with 1 tablespoon olive oil.
    2. In a medium size mixing bowl, whisk together the ricotta, egg, 2 tablespoons of Parmesan, lemon zest, minced garlic, salt, and pepper.
    3. Using a spatula, transfer the cheese mixture to the baking dish. Sprinkle top with remaining 2 tablespoons parmesan. (Note: Do not over fill your baking dish. Make the cheese level or below the top rim of the baking dish (if needed, divide the cheese between two baking dishes. This will prevent overflow and a mess in your oven!).
    4. Place in oven, and bake for 25-30 minutes. Parmesan on top should begin to turn golden.
    5. While the cheese is cooking, make the Blackberry-Thyme Smash: place 1 cup black berries, leaves from 3 sprigs of thyme, juice of 1/2 lemon, pinch of salt, and honey in a bowl and mash with a fork until a saucy, jammy mixture is created. Add in remaining 1/2 cup whole berries (for texture).
    6. Spoon Blackberry Smash mixture over baked cheese, and top with a sprig of thyme as garnish. Serve while cheese is still warm with crackers, crostinis, or crudités.

    Comment

    Cinnamon Pecan Almond Butter

    Cinnamon Pecan Almond Butter

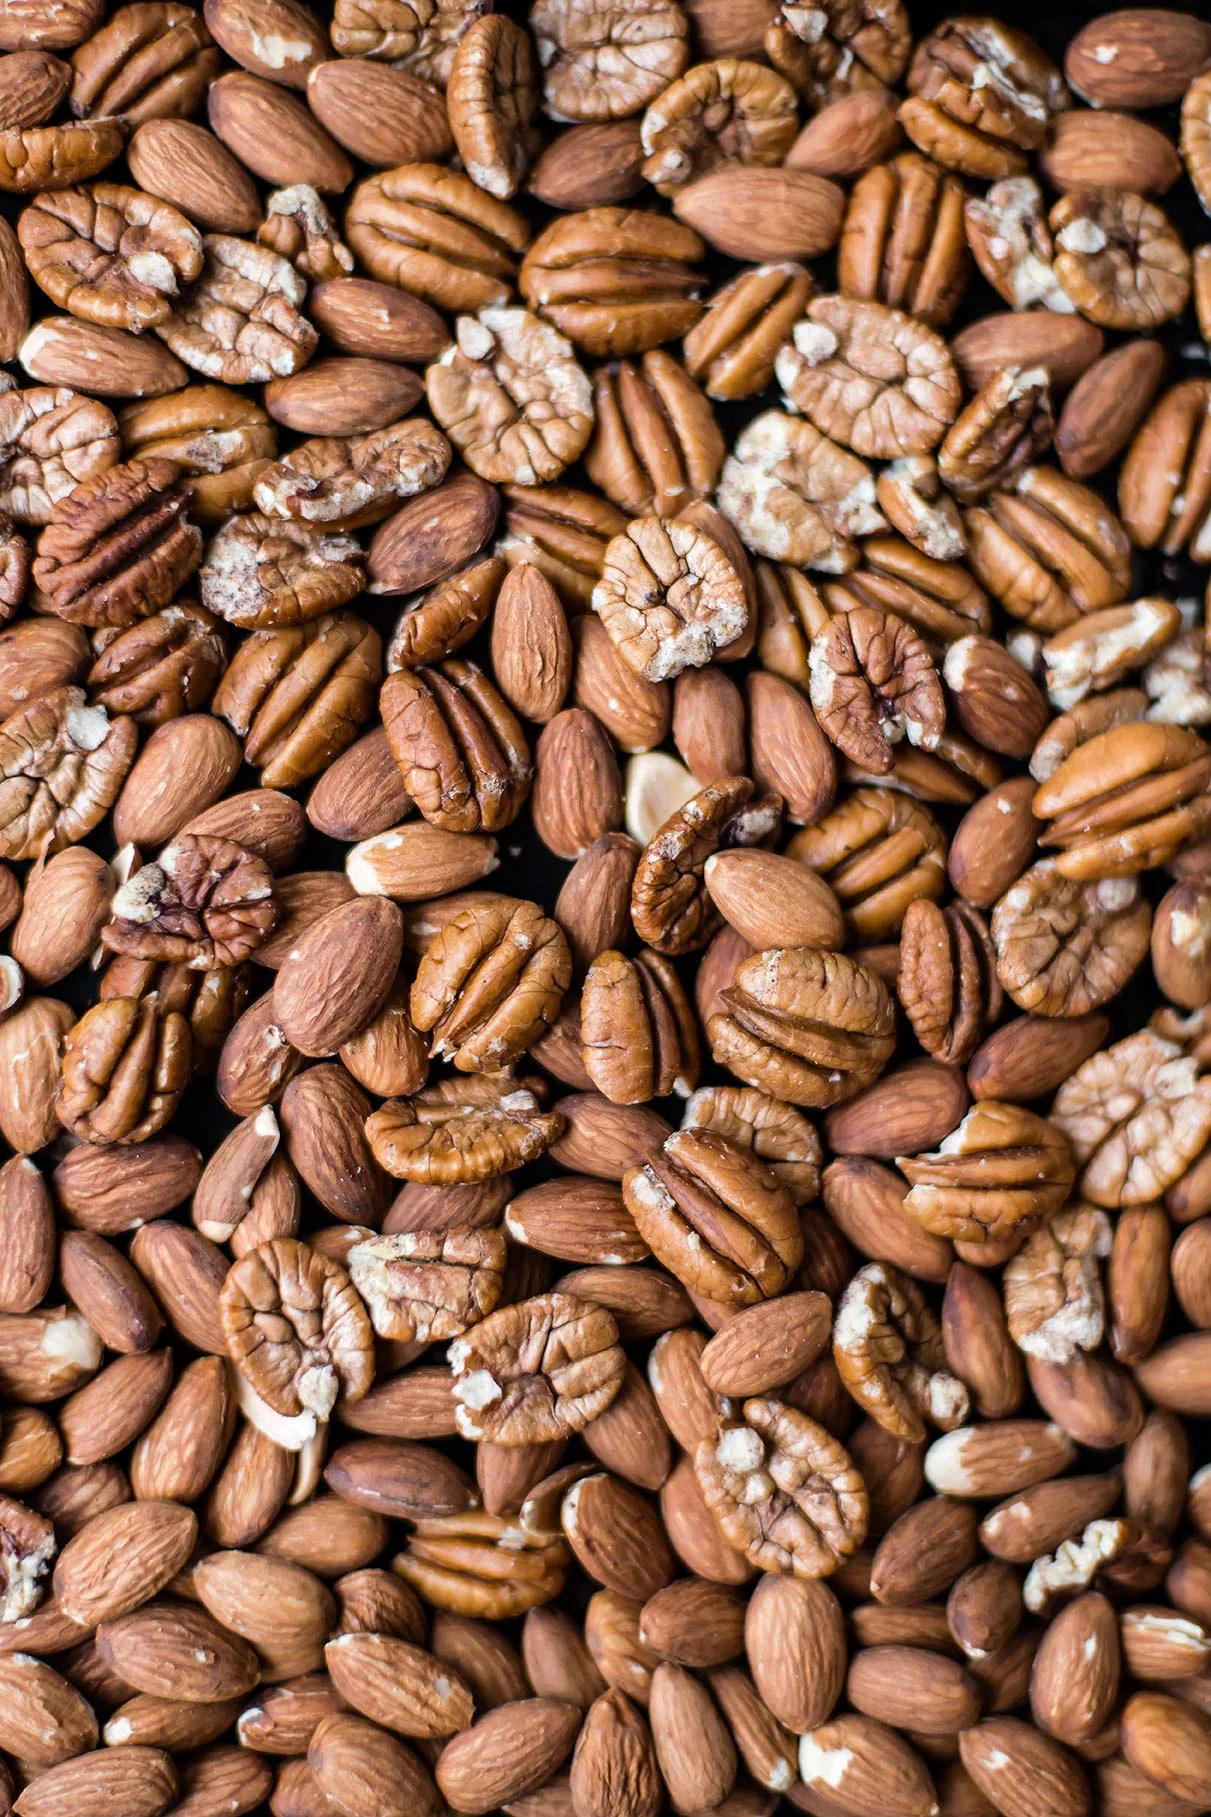
    Almonds, pecans, and a dash of cinnamon. That's it: three ingredients is all you need to make this lusciously smooth nut butter, one that is far superior than anything you'll find in a store. And it's not just superior because you're left with a victorious sense of "I made that!" ... it's seriously creamy, with a flavor that leaves you wanting the whole jar for dessert.

    Some almond butters are thick: they stick to the top of your mouth and clump up when spread on toast. This is not one of those almond butters. Thanks to the addition of pecans, which are naturally buttery, this almond butter is smooth and creamy.

    Pecans have a natural sweetness which sometimes tastes a bit like caramel to me. (If you're as big of a food nerd as I am, maybe you'll appreciate this report I found on different varieties of pecans and their tasting notes.) 

    Cinnamon Pecan Almond Butter
    Cinnamon Pecan Almond Butter

    That caramelly taste is paired perfectly with a touch of cinnamon -- which is also naturally sweet - and the whole trio goes amazing well on a sliced apple (the combo is reminiscent of apple pie), a banana (I have long had "caramel banana crepes" on my list of recipes to create, but spreading nut butter on a banana is far easier), toast, oatmeal...I could go on... and don't forget straight from a spoon!

    And the magic is all in those pecans. 

    So why even bother with adding almonds? Well, they're cheaper for one. And that texture we were talking about before actually helps out here: pecan butter can be a runny when it's just pecans. Almonds balance that out.

    So, there you have it: dreamy, creamy, caramelly cinnamon pecan almond butter. Eat up! 

    Cinnamon Pecan Almond Butter
    Cinnamon Pecan Almond Butter

    Cinnamon Pecan Almond Butter

    Published June 5, 2018 by
       |     Print This Recipe

    Yields: ~1-1/2 cups nut butter   |    Total Time: 20 minutes


    Ingredients:

  • 220g almonds 
  • 150g pecans 
  • 1/2 teaspoon cinnamon

  • Directions:

    1. Preheat oven to 350°F. Spread pecans and almonds out in a single layer on a sheet pan, and place in oven for about 5 minutes, until nuts are fragrant and golden. Side aside to cool for about 15 minutes.
    2. Place nuts and cinnamon in a high-powered blender. I use a Blendtec with the Twister Jar because the lid also scrapes the sides as you go (affiliate link). Place lid on blender and blend on high (or work your way up to speed 10), blending for a minute at a time, and then turning the blender off to scrape the sides. Repeat this process until the nut butter is smooth and velvety. Note: If you place the nuts in while they are still hot, they will get even hotter in the blender — you may see steam in the blender. If you do, let the nut butter cool off before you taste it to avoid burning your tongue!
    3. Scrape nut butter into a jar with an air-tight lid. Great on apples, bananas, toast, or by the spoonful!

    Comment