White Bean Salad with Fried Garlic Toasts

White Bean Salad with Fried Garlic Toasts

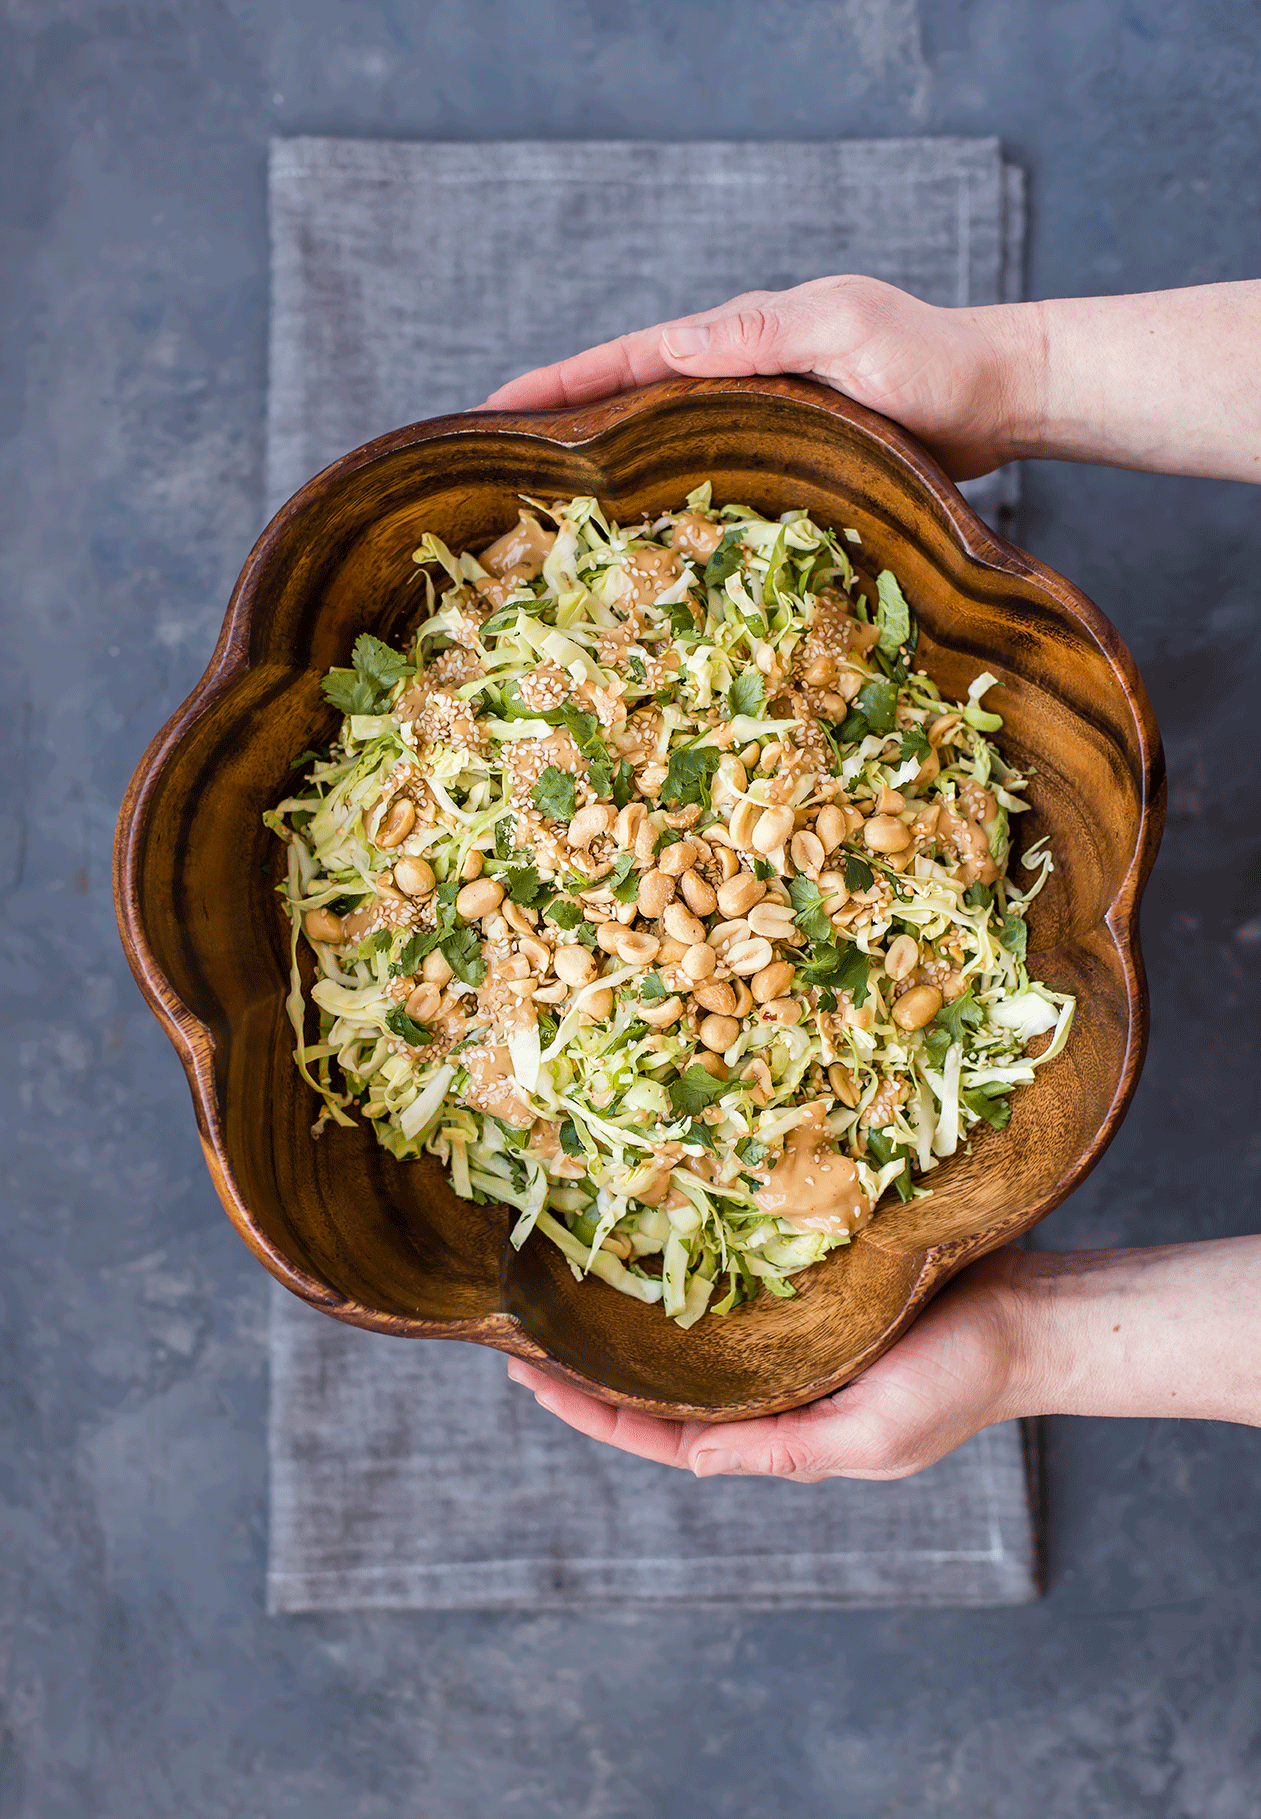
Low-effort and no-cook are ideal characteristics of a late summer, weeknight meal. Grilling is great, but sometimes you need something even easier—not to mention fresher—to put on the table. This white bean salad has been one of my favorite 15-minute dinners this summer, eaten straight, tossed with a bit of arugula, or best of all, with slices of sourdough that have been fried in butter and garlic. It’s satisfying (beans and feta cheese!) but also delivers some produce (tomatoes, cucumber, parsley). Some might call this an appetizer, but for me it’s just right as a light meal. Happy August!

White Bean Salad with Fried Garlic Toasts

White Bean Salad with Fried Garlic Toasts

Published July 30, 2019 by
   Print This Recipe

Serves: 4   |    Active Time: 15 minutes


Ingredients:

  • 1 14-ounce can navy beans
  • 1/2 cup diced cucumber
  • 1/2 cup diced cherry tomatoes
  • 1/4 red onion, minced
  • 1/2 cup feta crumbles
  • 2 tablespoons minced parsley
  • 1-2 tablespoons extra virgin olive oil
  • Freshly ground black pepper
  • Salt to taste (optional)

  • For the toasts:
  • 4-5 slices bread of choice (such as sourdough)
  • 2-3 tablespoons butter
  • 1 clove garlic

  • Directions:

    1. Strain and rinse navy beans. Place in a medium-sized bowl.
    2. Add diced cucumber, cherry tomatoes, red onion, feta, and parsley. Gently stir until ingredients are well distributed. Drizzle with olive oil.
    3. Add freshly cracked black pepper to taste, then season with salt to taste (Note: the feta will also add salt to this dish, so really taste it as you add salt. I find I only need to add a little bit. If your beans were already salty, you may not need salt at all).
    4. Bean salad can be made several hours ahead of time. Cover and place in fridge until ready to eat.
    5. When ready to serve, prepare the garlic toasts: mince garlic. Add garlic, along with 1/2 tablespoon of butter to a skillet and warm over medium heat. Swirl butter in pan to cover the bottom.
    6. When pan is hot, place several pieces of bread in skillet in a single layer. (My 10-inch skillet only fit 3-4 pieces at a time, depending on size. Work in batches.) Toast on the first side for 3-4 minutes. Then, use tongs to flip bread to second side. Add an additional 1/2 tablespoon of butter if pan gets dry. Toast for 3-4 minutes on second side, then remove from pan. Repeat until all slices are toasted.
    7. Serve: top each toast with bean salad and set on serving plates.

    White Bean Salad with Fried Garlic Toasts
    1 Comment

    Crunchy Cabbage & Peanut Slaw

    Crunchy Cabbage & Peanut Slaw

    As readers of my monthly newsletter know, I was that girl that brought a salad to a Super Bowl watching party. Yes. (But also, someone should be that person. The salad is always gone at the end of the night--or halfway through the night - and everyone is always glad to at least have a little freshness on their plates between tasting different dips and chips). 

    Where this crunchy cabbage peanut slaw began: I am a pack-my-own lunch kinda gal, but some days getting out of the office just to walk around is really the best medicine. It was a day like that when I wandered to Natural Grocers (a few blocks away), and picked up a prepared salad -- I was craving fresh veggies. The gulp of fresh air was nice, but the salad was dry and pretty boring. It was the idea of the salad that inspired me though: a simple cabbage slaw with a peanut dressing. 

    Crunchy Cabbage & Peanut Slaw
    Crunchy Cabbage & Peanut Slaw

    So I went home and dreamed up a better version, which is still a simple salad but it calls for a LOT of zesty peanut dressing -- a dressing far zestier and more addicting than the original. (So addicting in fact, that it also makes a very good dip for crudités).

    You'll notice right away that this dressing calls for a semi-long list of ingredients. They are (almost) all shelf-stable pantry staples, and despite the list of ingredients the magic of this sauce is in how it's made: plop everything in the blender and go. That's it. This is where I tell you: do not fear that list of ingredients, embrace it. It is worth it. And by the time you've checked to see if you have everything you need, you're only 30 seconds away from finishing the dressing. 

    Crunchy Cabbage & Peanut Slaw

    Crunchy Cabbage & Peanut Slaw

    Published February 19, 2019 by
       Print This Recipe

    Serves: 4   |    Active Time: 20 minutes


    Ingredients:


    For the peanut dressing (yields about 1 cup):
  • 1/4 cup creamy peanut butter
  • 2 tablespoons olive oil
  • 2 tablespoons toasted sesame oil
  • 2 tablespoons seasoned rice vinegar
  • 2 tablespoons lime juice
  • 2 tablespoons maple syrup
  • 1 tablespoon soy sauce
  • 2 cloves garlic
  • 1 teaspoon minced ginger
  • 1 teaspoon salt
  • 1 teaspoon red pepper flakes
  • 2 tablespoons water to thin dressing, as needed

  • For the slaw:
  • 3-4 cups finely shredded green cabbage
  • 4-5 green onions, white and dark green parts removed
  • 1/4 cup minced cilantro
  • 2 tablespoons toasted sesame seeds
  • 1/2 cup roasted salted peanuts, roughly chopped
  • Optional additional add-ins we also love: 1 cup chopped bok choy, 1/2 cup chopped sugar snap peas, 1/4 cup minced Thai basil

  • Directions:

    1. Place all ingredients for the dressing, aside from the water, in a blender and purée until smooth. Then, add water as needed to thin dressing as needed (based on preferences).
    2. Sliced green onions and add to a salad bowl with cabbage and cilantro. Toss to combine. Top with sesame seeds and peanuts.
    3. Drizzle with about 1/3 to 1/2 cup peanut sauce, or to taste.

    Comment

    Cheesy Bacon Sweet Potato Skins

    Cheesy Bacon Sweet Potato Skins

    These sweet potato skins, stuffed with creamy sweet potato mash and cheese and bacon, were originally created as a hooray-it's-Friday, game-day, movie-watching snack, but I'll let you in on a secret: the leftovers make a damn delicious breakfast when reheated. Whether you’re enjoying them in the morning or afternoon, it start the same way. Sweet potatoes (bake 'em up!). The soft, sweet flesh gets mashed with sour cream, which makes them ultra-creamy and flavorful.

    Toppings is where these sweet potato skins get their name -- and where it gets really delicious. First -- shredded Monterey Jack. Then, bacon pieces. I used Tender Belly Habanero Bacon which was SO good because it's just the right balance of sweet and spicy, but your favorite bacon will be perfect, no matter what it is. The potatoes go in the oven like that, just until the cheesy is extra gooey, and then get topped with fresh green onions (need a little bit of green in all of that orange! 😉), a dollop of fresh sour cream, a few slices of jalapeño (for extra zip!), and a dash of smoked paprika (which also adds nice color and flavor).

    All that's left to do is eat! 

    Cheesy Bacon Sweet Potato Skins
    Cheesy Bacon Sweet Potato Skins
    Cheesy Bacon Sweet Potato Skins

    Cheesy Bacon Sweet Potato Skins

    Published January 22, 2019 by
       Print This Recipe

    Serves: 12   |    Active Time: 1 hour


    Ingredients:

  • 6 sweet potatoes
  • 1/3 cup sour cream, plus more for topping
  • 1/2 teaspoon salt
  • 1/2 teaspoon ground black pepper
  • 1-1/2 cup shredded Monterey Jack cheese
  • 4 strips bacon, cooked and chopped into small pieces
  • 1/4 cup sliced green onions
  • Several dashes of paprika, for garnish
  • Optional: 1 jalapeño, sliced for garnish

  • Directions:

    1. Preheat oven to 400°F. Prick each sweet potato with a fork, and bake for 45-50 minutes, until sweet potatoes are soft all the way through. Allow sweet potatoes to cook 10-15 minutes, or until they are cool enough for you to handle.
    2. Slice each sweet potato in half. Use a spoon to scoop the flesh out of each potato half and into a bowl without breaking the skin of the potato (tip: leave about 1/4 inch of flesh attached to the skin, it helps keep everything together!).
    3. Mash sweet potato flesh with 1/3 cup sour cream, salt, and pepper until everything is incorporated (a few lumps are OK).
    4. Scoop mashed sweet potato into potato skins. Top with cheese and bacon bits. Place back in oven for 5-10 minutes until cheese is melted and just starting to bubble. Remove from oven, and top with green onions, a dollop of sour cream, a sprinkle of paprika, and if using, a slice or two of fresh jalapeño.
    5. Serve hot.
    Reheating leftovers: Leftovers can be reheated in a microwave (1-2 minutes, depending on microwave), toaster oven or oven (350° for 10-15 minutes, until warmed through)

    3 Comments