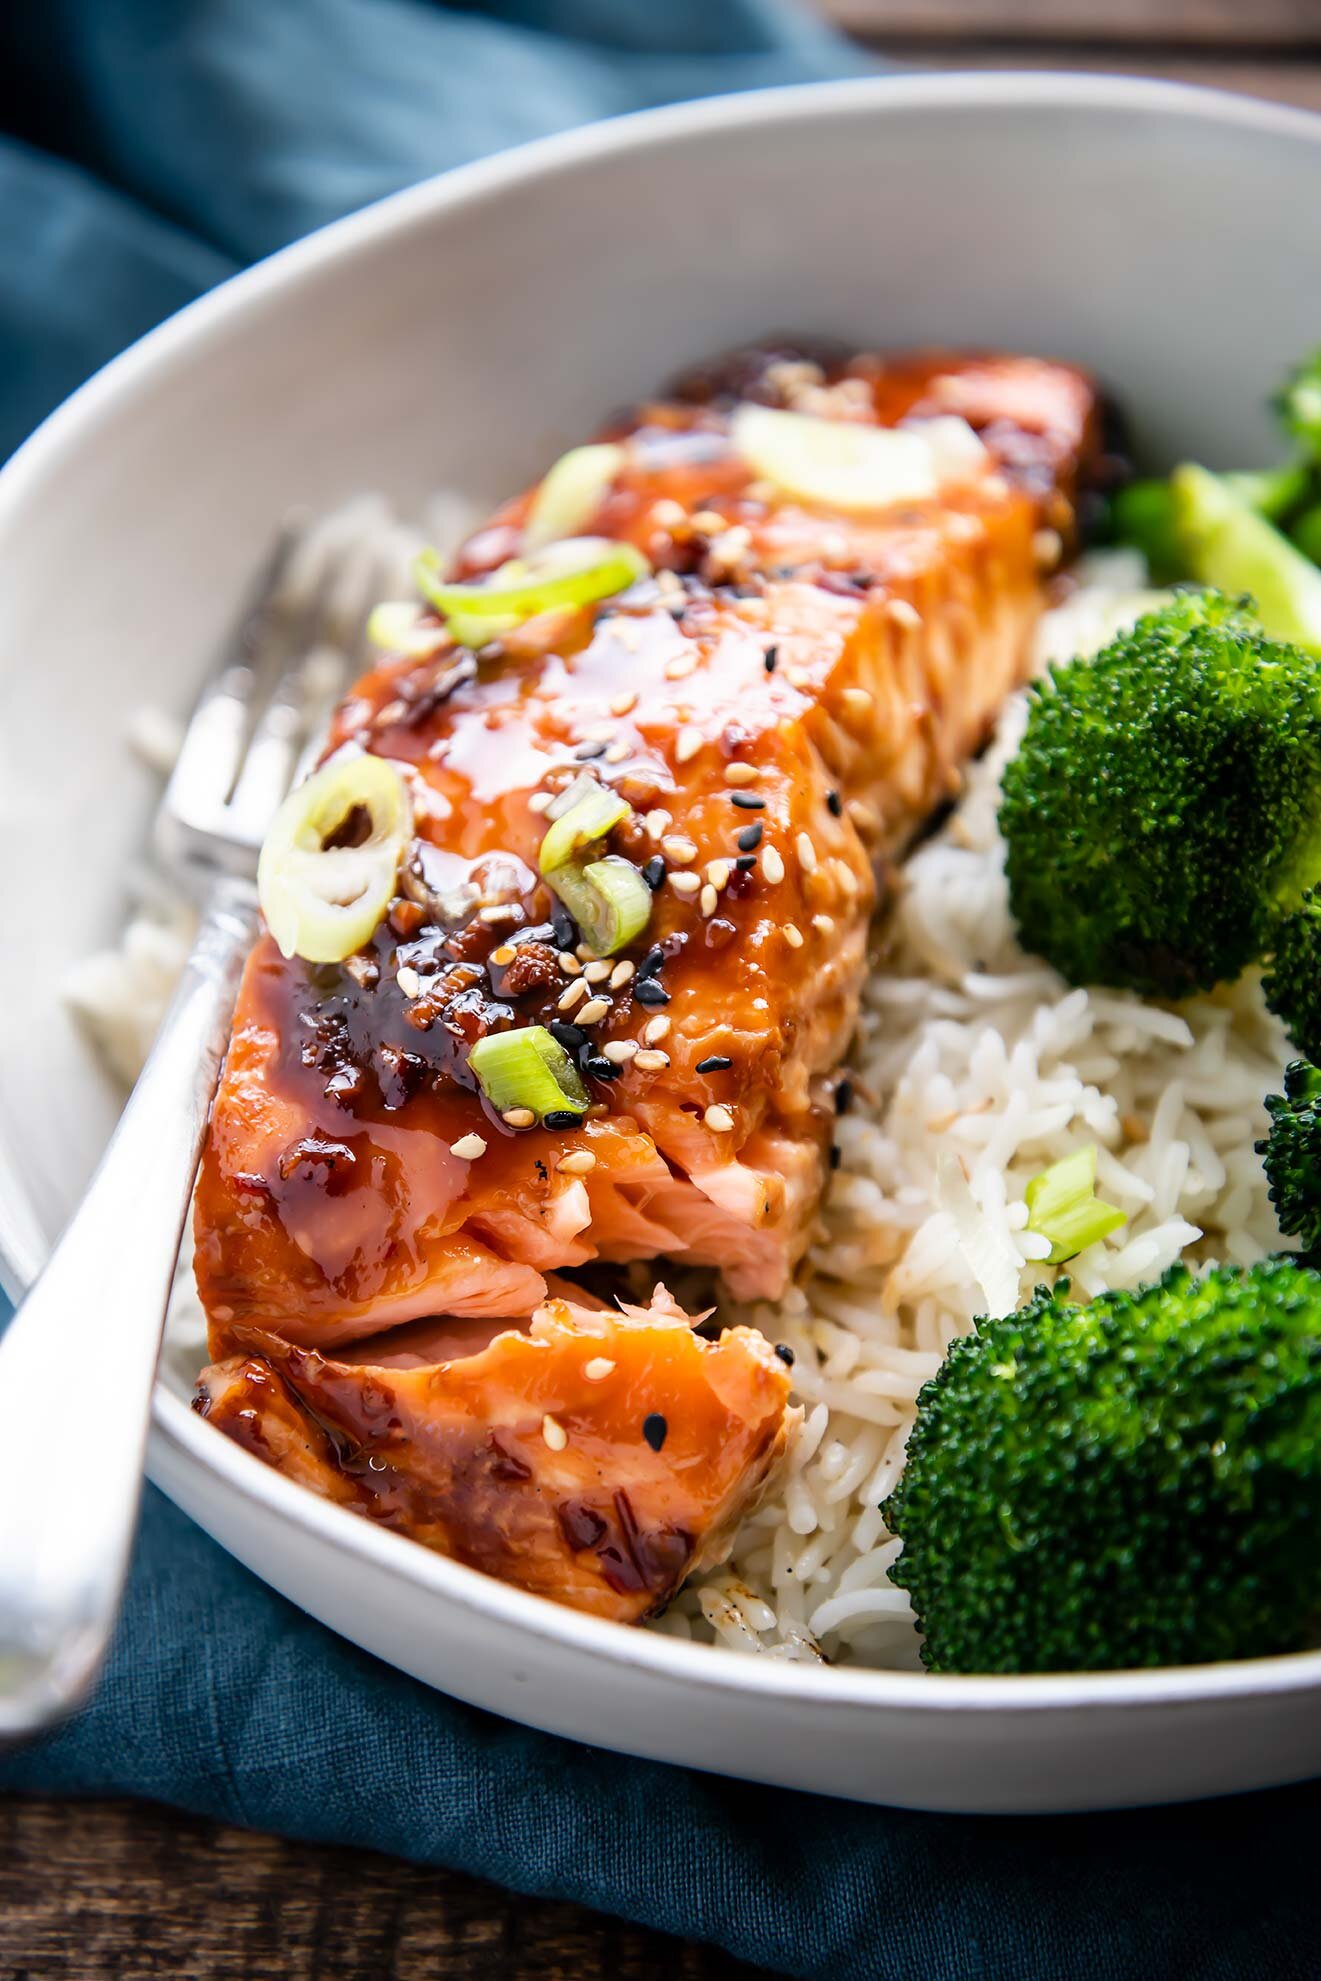
Grapefruit & Jalapeño Paloma

Grapefruit & Jalapeño Paloma

Zipping up and down the dusty desert hills of western Colorado this weekend, I would occasionally remember – I have a blog post to write (two, actually). It was a passing thought, there one minute and gone the next as several rocks on the trail would steal my focus back. So, I didn’t write, not even back at camp. I was unplugged and it was glorious. What I did do, was think—between burms and turns- how refreshing a Paloma would be after a long day of mountain biking in the sun. Of course, I hadn’t planned that well, and there were no grapefruits, or ice cubes, and certainly no jalapeño infused tequila back at our campsite. (Maybe I’ll pack better next time?)

This version of the classic drink has a few twists and turns, the largest of which is infusing the tequila with jalapeño. This adds a savory and spicy note to the drink, making it a bit more complex and, if you ask me, more delicious. I first found this combo in the book, Death & Co: Modern Classic Cocktails (I recommended this one!), and have made a few tweaks over the last year, landing on my go-to mix.

Grapefruit & Jalapeño Paloma

Grapefruit & Jalapeño Paloma

Published April 15, 2021 by
   Print This Recipe

Serves: 1   |    Active Time: 5 minutes


Ingredients:


For the jalapeño tequila
  • 1 jalapeño
  • 2 cups blanco/silver tequila

  • For the simple syrup
  • 1/4 cup sugar
  • 1/4 cup water

  • For the cocktail (quantities here are for a single cocktail, multiply by number of drinks to make a larger batch)
  • Salt, for rim of glass
  • Ice, for serving
  • 2 ounces grapefruit juice, freshly squeezed
  • Juice from 1/2 lime
  • 2 ounces jalapeño tequila (recipe above)
  • 1/2 ounce Cointreau (Palomas typically just call for tequila, but I like the citrusy sweetness this adds)
  • 1 tablespoon simple syrup (recipe above)
  • Dash of bitters (Optional, adds another layer of flavor)
  • 2 ounces club soda (or grapefruit La Croix)
  • Garnish: lime wedges, jalapeño slices

  • Directions:

    1. Infused tequila: Start infusing the the tequila at least 20 minutes before mixing your drinks: slice jalapeño, and place in a 16 ounce jar. Pour tequila over top. Place lid on jar, and allow tequila to sit for 20 minutes before straining out the jalapeño pieces. Save the infused tequila in an airtight jar until you’re ready to prepare your cocktails. This can be done several days in advance. You can also easily divide this recipe to make less (I often make just a few ounces, using just half a jalapeño)
    2. Simple Syrup: Next, prepare the simple syrup: combine sugar and water in a sauce pan and bring to a simmer, stirring until sugar is dissolved. Remove from heat and allow to cool. This can be made several days in advance. Once cooled, store in an airtight container in the fridge for up to 7 days.
    3. Now, mix the cocktail: Start by rimming your glass with salt (tip: to get salt to stick, rub a slice of lime on the edge of the glass before dipping it into the salt). Fill the glass halfway with ice.
    4. In a shaker, combine: grapefruit juice, lime juice, tequila, cointreau, simple syrup, and bitters to combine. Shake, and then pour into prepared glass. Top with club soda to taste, and garnish with a lime wedge and/or a slice of jalapeño.

    Comment

    Ramen Noodle Salad

    Ramen Noodle Salad

    Quick work day lunch. Lazy dinner.  Full of veggies, bright with flavor, and satisfying. Adaptable. Easy camping meal (and yes, there is still camping left to do this year!). This dish is all of those things, which is likely why it’s become a repeat hit for us this summer. 

    I stocked up on ramen noodles from Costco early last spring, and since they’ve become a fall back when I don’t want to go to the grocery store, or when I don’t want to spend a lot of time cooking. When weather turned hot, ramen went from soup to salad with surprising ease. I had extra appreciation for this meal just a few weeks ago, when I packed up a container of veggies and two packets of ramen noodles as a camping dinner. It was one of the fastest, mess- and stress-free camping dinners I’ve had! .

    Ramen Noodle Salad
    Ramen Noodle Salad

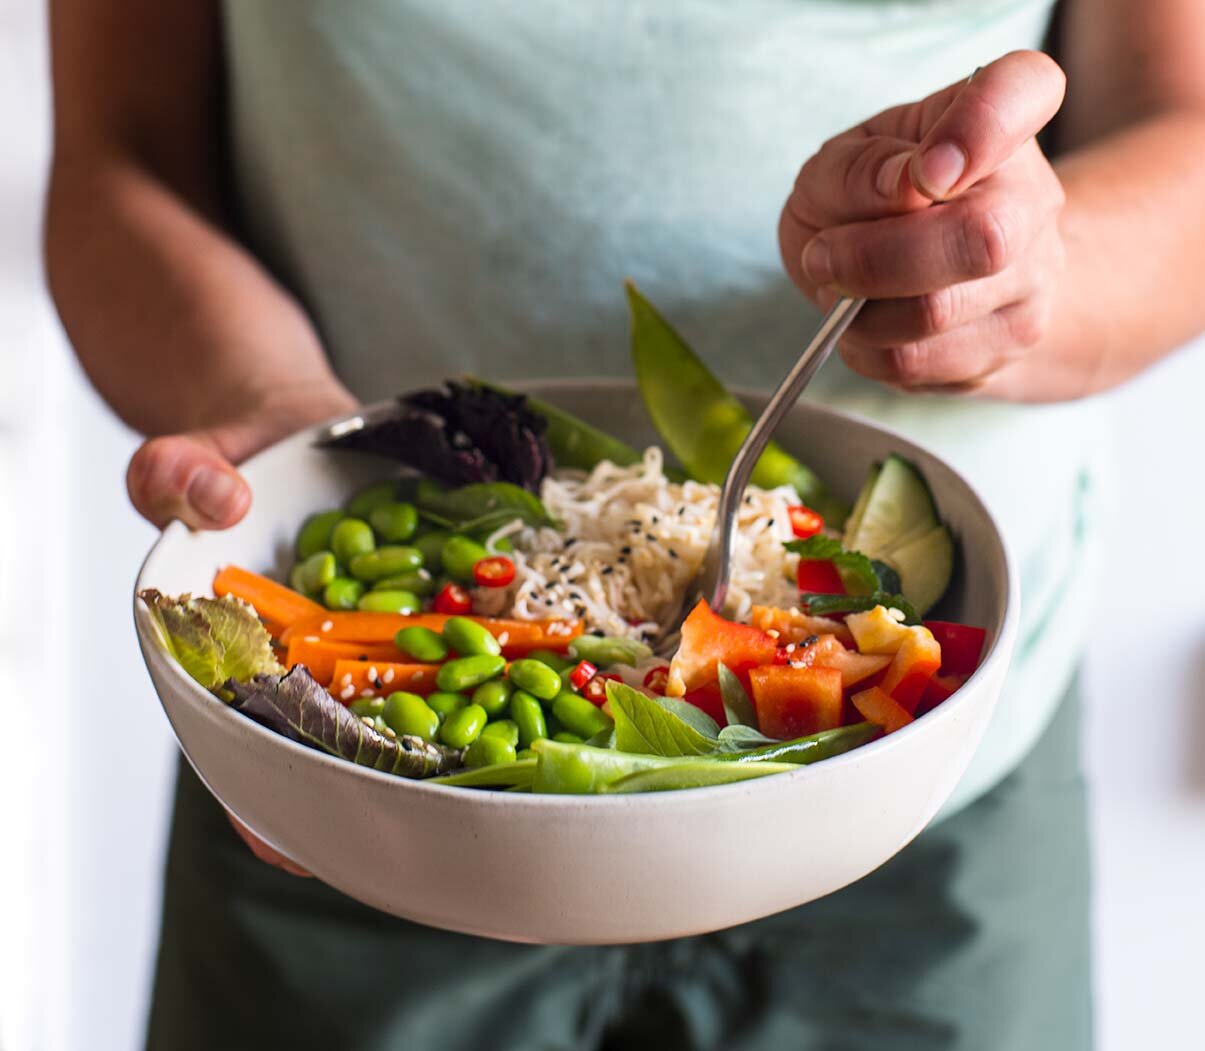
    This is more of a concept than a recipe. What I mean is you can swap ingredients in or out based on what you have. Just keep the concept in mind, which has a few core ingredient categories: ramen noodles, veggies and herbs, dressing, and crunchy toppings. From there, make it your own. Protein, like soy beans, tofu, or chicken/shrimp are optional bonuses.

    Ramen Noodle Salad

    Published September 22, 2020 by
       Print This Recipe

    Serves: 2   |    Active Time: 15 minutes


    Ingredients:

  • 2 packets ramen noodles (remove sauce or flavoring packets; they will not be used)
  • Water, for cooking noodles
  • 2-3 cups fresh vegetables, such as: lettuce, spring greens, cubed avocado, julienned carrots, sliced cucumbers, cherry tomatoes, diced bell pepper, snow pea, sugar snap peas, sliced radishes
  • 1/4 cup fresh herbs, such as: Thai basil, Genovese basil, mint, cilantro, sliced green onions
  • 2 tablespoons crunchy toppings, such as: toasted sesame seeds, slivered almonds, toasted cashews
  • Optional: 4 ounces protein, such as: steamed soy beans (edamame), tofu, roasted chicken, or shrimp
  • Optional, for added spice when serving: chili flakes or minced fresh Thai chilis to taste

  • For the dressing:
  • 1/4 cup white rice vinegar
  • 2 tablespoons cup soy sauce
  • 2 tablespoons olive oil
  • 1 tablespoon toasted sesame oil
  • 1 tablespoon sambal olek (chile-garlic sauce) or Sriracha
  • 1 teaspoon maple syrup

  • Directions:

    1. Cook noodles according to directions on package, but do not use any flavor packets or sauce included with them. Once cooked through, drain noodles through a strainer and rinse with cold water to cool.
    2. Divide cold noodles amongst serving bowls. Arrange chopped vegetables over top, along with herbs, and optional protein.
    3. In a jar, combine ingredients for dressing. Place lid on jar and shake to combine. Drizzle dressing over noodles and veggies.
    4. Top with toasted sesame seeds and/or nuts. Add chili flakes or minced Thai chilies to taste for add spice, and serve.

    Comment

    Grilled Sourdough Pizza

    Grilled Sourdough Pizza

    I have renewed energy for cooking when I think of the cooler weather to come. Summer produce is something special, but by September, I miss the comfort that comes from a cozy bowl of lentils or the fun of baking all day. But before summer closes out, there are a few recipes I’m overdue on sharing. The first is this — a pizza recipe which I adapted from The Perfect Loaf for the grill once summer hit. This has become a monthly, if not weekly, special in our house. It is supposed to snow tomorrow (!! One of the earliest first snows I can remember), but fall isn’t over yet. There are still plenty of heirloom tomatoes to eat (destined for a margherita pizza!) and warm days to come. Grilling the crust not only lets you skip the oven heat, it also yields a deliciously crispy crust. Pizza lovers, this one is for you. 

    Grilled Sourdough Pizza
    Grilled Sourdough Pizza

    Grilled Sourdough Pizza

    Published September 7, 2020 by
       Print This Recipe

    Serves: 4 (two 12-inch pizzas)   |    Active Time: 60 minutes


    Ingredients:

  • 285g bread flour
  • 32g all purpose flour
  • 212g room-temperature water
  • 9g salt
  • 47g mature (ripe) sourdough starter (100% hydration)
  • Optional: 6g diastatic malt (promotes a strong rise, but is not required) (you can buy it here)
  • 2-3 tablespoons olive oil
  • Pizza sauce of choice
  • Shredded mozzarella cheese, or other favorite pizza cheese
  • Pizza toppings, such as tomatoes, basil, pepperoni, mushrooms, pineapple, olives, bell peppers, etc.
  • Grated parmesan and red pepper flakes for garnish

  • Directions:

    Baking with sourdough starter takes a little practice, and some patience! This is fairly forgiving sourdough recipe, but to help you out I’m including suggested times to start each process, which factor in enough time for rise. Feel free to adjust the schedule based on your needs, but keep the length of time between steps the same. Additionally, review the “troubleshooting” notes below if you’re having difficulty.

    1. 8am: In the morning, feed your sourdough starter: discard 100g of your starter, and add back in 50g each flour and water, and stir). Loosely cover and set in a warm place (72-90°F) to ripen. (Try on top of the fridge, or on a sunny window sill).
    2. 4pm: By 4pm, your starter should be bubbly and active. Make your dough: in the bowl of a stand mixer, combine bread flour, all purpose flour, water, salt, ripe starter, and diastatic malt (if using). Using the dough hook of your mixer, knead for 5 minutes on medium-low, or until dough is fully incorporated (dough may not be totally smooth at this point — that’s ok!). Scrape sides of bowl as needed to get everything mixed in.
    3. 4:30pm: Once mixed, cover bowl with plastic wrap (or one of these silicons lids (affiliate link)) and set in warm place. Allow dough to ferment, covered, for 2.5 hours.
    4. 7pm: Dough should be slightly puffed (only slightly though, it will not have doubled in size yet!). Place bowl, still covered, in fridge overnight. This helps the flavors to develop.
    5. 11am the next morning: Lightly grease 2 medium-sized pyrex containers or Tupperwares with olive oil. Lightly flour a clean surface. Take dough from fridge, and turn it out on the floured surface. Using a pastry scraper, divide dough into 2 equal parts. Shape each piece into a ball (here is a good video on how to shape pizza dough balls). Place one dough ball into each container, and loosely place lids on.
    6. 11:15am: Place both containers in a warm place to proof for 6 hours. After 6 hours, dough balls should be doubled in size.
    7. Between 4:30 and 6:30pm, cook: There is some wiggle room on when you start this step, hence the time range! Prep your workspace so you can move quickly: Get out a large cutting board, which you can use to cut the finished pizzas and top the pizzas. Slice all of your toppings, and set out your sauce and utensils. Once you start cooking the pizzas, you’ll want to move quickly, so having everyone out already is important. Use a grill brush to scrape the grill wrack. Preheat a grill to 500°F.
    8. When grill is hot, lightly grease your hands with olive oil. Gently release one dough ball from its container — avoid deflating or smashing the dough too much in the process. Take the disc of dough, and gently flatten it between your hands. Then, stretch the dough by passing the disc back and forth between your hands, until the disc is about 12 inches in diameter (need a video? I prefer using the method shown at minute 2:00 in this video when grilling). Then, quickly place the disc on the grill, and close the lid. (Your pizza may not be a perfect circle — that’s just part of the artisan look!). Cook for 2-3 minutes with the grill lid on. Then, using a metal pizza peel (affiliate link) or large metal spatula, lift the crust from the grill. Place the crust cooked side up on the prepared cutting board. Spread sauce, cheese, and toppings over your pizza to your tastes. Then, using the pizza peel again, transfer the pizza back to the grill. Cook, with the lid on the grill, for another 2-3 minutes, or until the bottom of the pizza is charred in spots and the cheese on top is melted. Use the pizza peel to transfer pizza back to the cutting board.
    9. Repeat steps 7-8 for the second pizza.
    10. Allow pizzas to cool for 3-5 minutes before you slide them. Top with parmesan and red pepper flakes to your tastes! Enjoy.

    Troubleshooting:

    • My dough didn’t rise. There are many factors that going into a well-proofed dough. The most common pitfalls are: 1) Your starter wasn’t ripe when you added it to the dough. Make sure your starter is active and bubbly! and 2) The proofing environment wasn’t warm enough. Think of temperature as an ingredient, just like flour and water. The dough ideally should be between 72°-90°F for the fermenting and proofing stages.

    • The crust is hard to get off the grill. Make sure the dough is well oiled (olive oil) before you place it on the grill. I find that the residual oil from the pyrex containers for proofing, and some oil on my hands is enough, but a little extra isn’t going to hurt anyone.

    • The grill burnt a hole straight through my pizza! The grill is very hot, and if you make your crust extra thin, it may burn a hole straight through. While the rest of your pizza is still useable (donut pizza!) it is a bummer. Make sure you do not get too thin with the dough when in the stretching phase. You should not be able to see through the dough (i.e., no window panes for the bakers out there).

    • My crust is burnt on the bottom but the cheese didn’t melt. Balancing grill temperature is the answer here. If your crust is burning on the bottom (note that some charring is completely normal) but your cheese isn’t melting, your grill is too hot. Turn down the flame a tad. You can always finish your pizza under the broiler to melt the cheese further.

    Comment