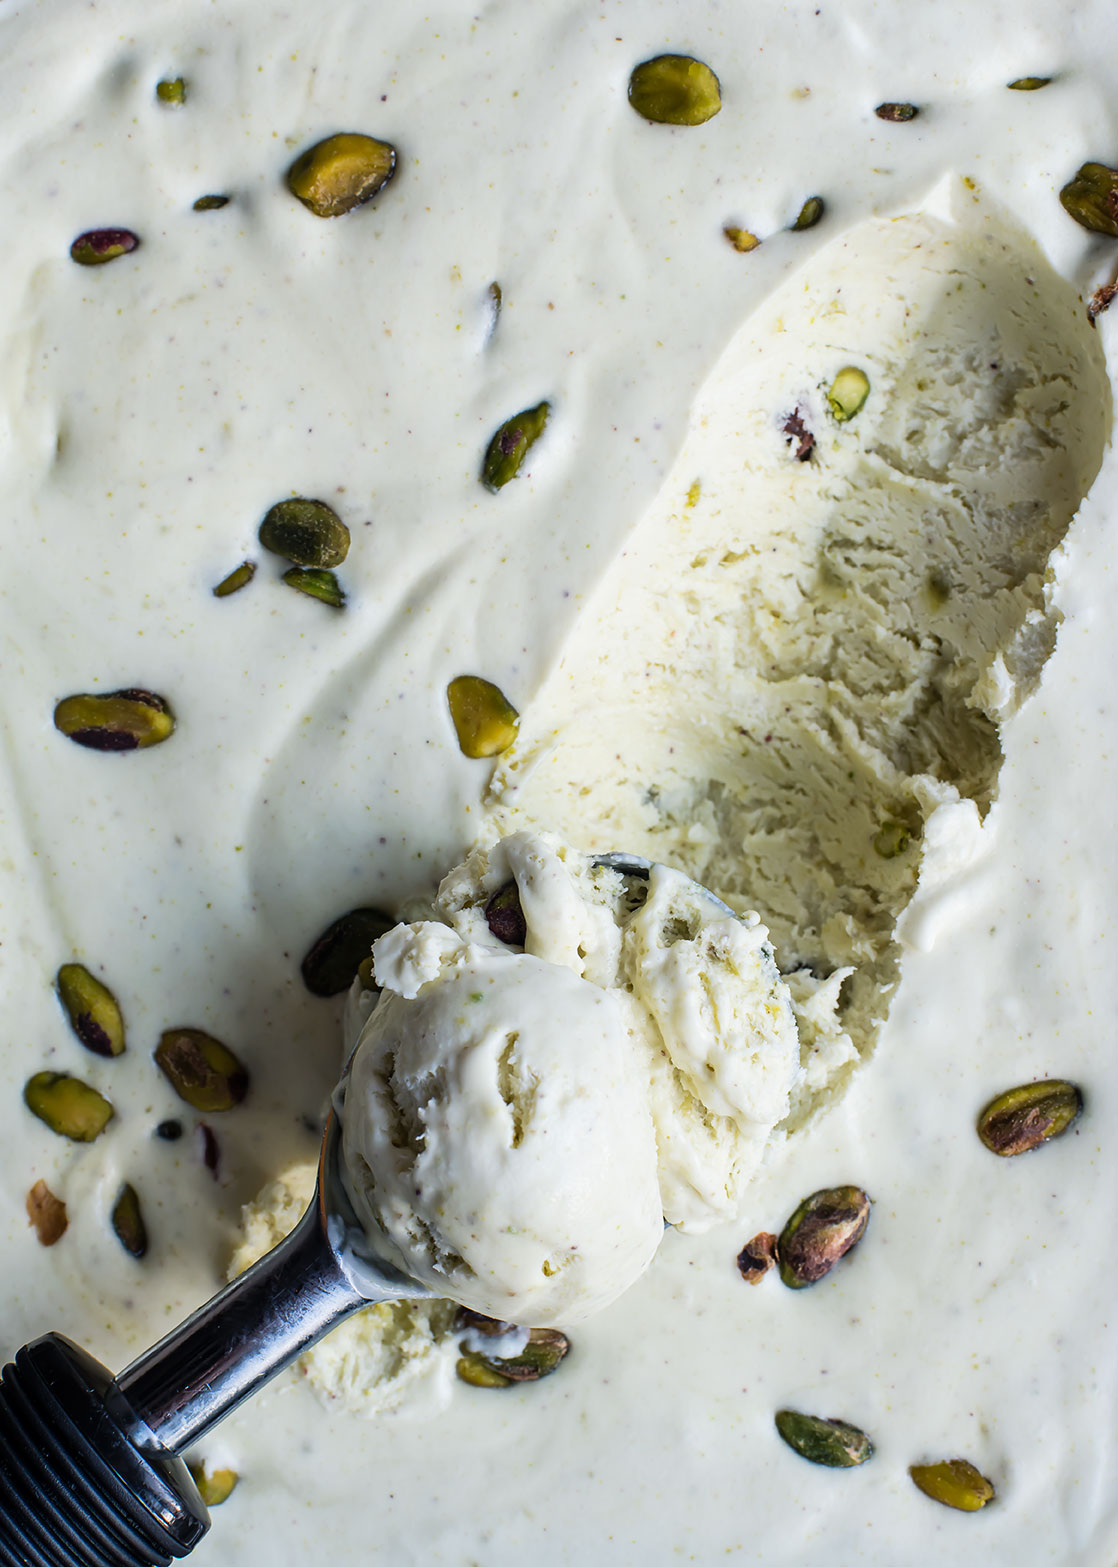
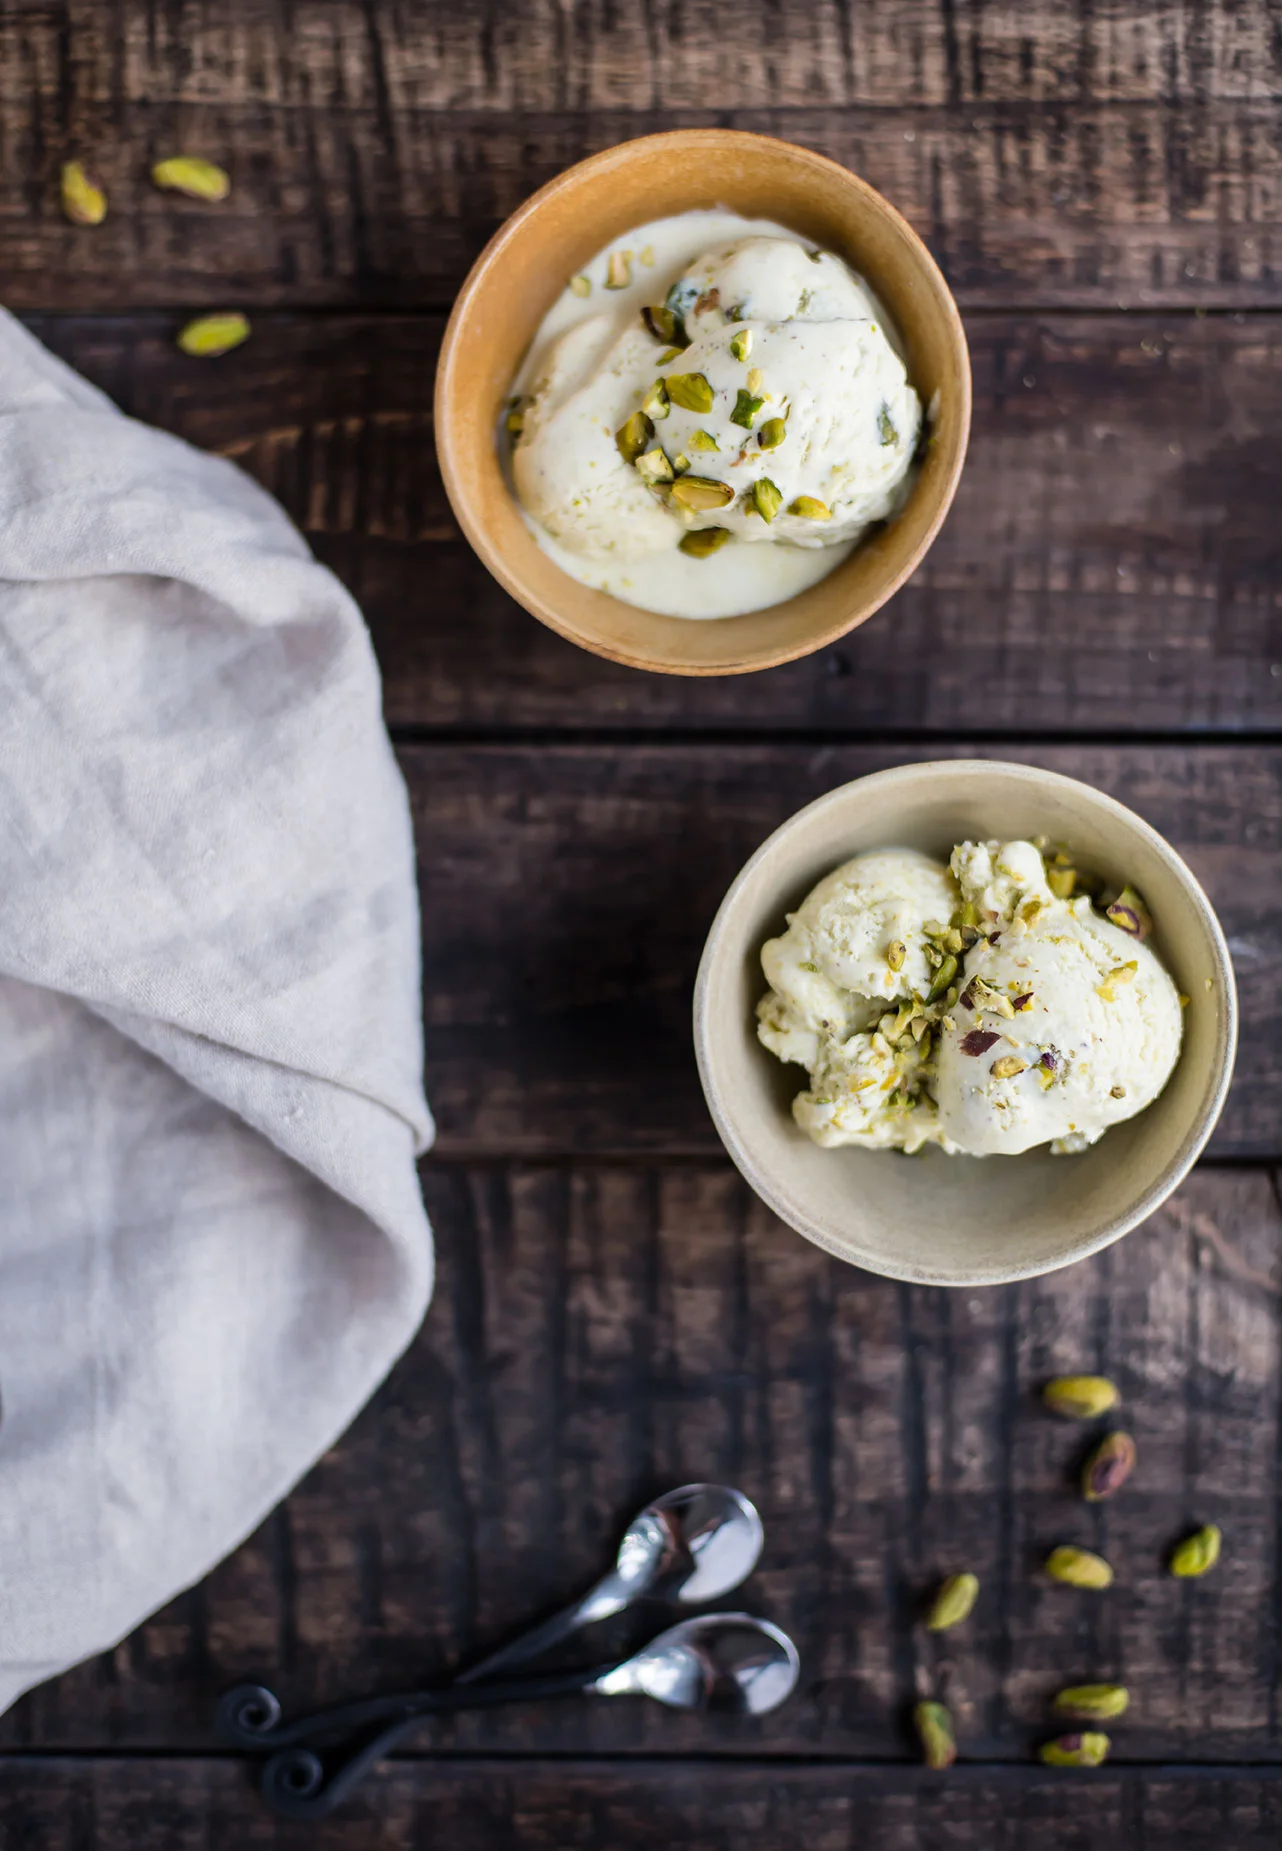
No-Churn, 5-Ingredient Pistachio Ice Cream
/
One of the first fare-weather recipes I shared this year was for No-Churn Rhubarb Crisp Ice Cream. There is some debate in the house on whether making a rhubarb crisp and turning it into ice cream is a good use of time, but I’ll tell you where I stand: ice cream is delicious.
In that same blog post, I promised to share some of the other recipe adaptions I had tried, including this winner, which causes no hot debates in the house. Other than who is getting the last scoop, of course. All you need is 5 ingredients, including real pistachios. (Real pistachios are important—something anyone who has ever bought a pistachio ice cream that tasted more like pistachio liquor than actual pistachios will understand).

No-Churn, 5-Ingredient Pistachio Ice Cream
Serves: 12 | Active Time: 20 active minutes
Ingredients:
Directions:
- Place half (1/3 cup) of pistachios in a blender, and blend on high until a paste begins to form. Add sweetened condensed milk, salt, and vanilla to blender and blend again until fully combined and smooth. Transfer for a small mixing bowl.
- In a separate, medium-sized mixing bowl, beat whipping cream with electric beaters until firm peaks form.
- Gently fold 1 cup of the whipped cream into the pistachio mixture until combined. Then, scape pistachio mixture into the rest of the whipped cream, gently folding it in. Do not over mix (you want as much air in the whipping cream as possible!). A few streaks of green or white are OK.
- Scrape the ice cream mixture into a glass pyrex with air-tight lid (about 9x5 inches, or equivalent volume). Place lid on container, and place flat in freezer for 2 hours.
- After 2 hours, gently swirl in remaining pistachios to taste, and sprinkle some pistachios on top. Place lid back on ice cream and freeze for at least 3 more hours before serving.