Instant Pot Moroccan Stew with Chicken, Quinoa, Chickpeas & Sweet Potato

Instant Pot Moroccan Stew with Chicken, Quinoa, Chickpeas & Sweet Potato

An unopened bottle of orange blossom water had been occupying precious real estate in our fridge for months as I debated the best thing to do with it. Finally I opened the bottle, just to smell. One whiff is all it took, and my thoughts were drifting away on a cloud of delicate blooms — soft and white, immensely fragrant. From that cloud, I landed in a darkly lit room, sitting at a large round table surrounded by smiling faces. My tenth birthday party.

We perch on round, gilded pillows at a low table. Silky fabrics hang from the ceiling, lining the walls and giving the room a sense of mystery. Someone has given me a warm, floral-scented cloth for cleaning my hands. A waiter is sprinkling us ceremoniously with orange blossom water, and the droplets land on my shoulders like the sweetest rain that ever rained. Talk about feeling like Queen for the day.

There are candles artfully lighting the space, but the most notable ones are balancing on a women’s body. A belly dancer. She gracefully juggles fire from her head to her elbows and back again, never missing a beat. We eat couscous, chicken with almonds, and b’stella pastry (a dish my dad would later take to making at home).

When it is time for tea, it is time for the greatest show of all. The waiter stacks drinking flutes in a pyramid. He makes a show of pouring the mint concoction from an ornate tea pot, starting with the top glass, and pouring until it pools over, filling the next two. The cascade continues, until each glass is full. (In my mind, the memory is almost a dream-state. I can’t quite figure out the physics of these glasses. How is it that they only spill in two directions? Did they have little spouts? Did he actually pour into glasses individually, and it is my memory that falters?)

We each take a glass and sip. It is, to this day, glorified as the best cup of mint tea I’ve ever had.

To say the least, I’ve been on a Moroccan food kick since I stole a breath of that orange blossom water in the fridge. I bought The Food of Morocco (affiliate link) and searched for something reminiscent of that day. I bought harissa paste and slivered almonds and actually started to use the orange blossom water.

Instant Pot Moroccan Stew with Chicken, Quinoa, Chickpeas & Sweet Potato

The flavors of Moroccan food are so different from what you find in other cuisines. Flowers take on a large role. Both roses and orange blossoms. Herbs are used fresh. Citrus is a star of the show. Lamb, goat, cumin, paprika; Roses, pomegranate, dried fruits.

But, this stew is not traditional. It was never supposed to be. Rather, it’s approachable. It’s a one-pot wonder that has been Americanized, Instant Pot-ized, and everyday dinner-ized. It doesn’t ask you to buy a bottle of orange blossom water, which you would surely have to get at a specialty store (or on Amazon (affiliate link), like me). It also calls for quinoa in place of couscous (Couscous is a hand rolled pasta, so not GF, despite it’s millet-y looking appearance). The recipe calls for ingredients you know, but combines them with Moroccan flare in mind. Cumin — lots of cumin. Paprika. Turmeric. And cinnamon, a small amount, something we rarely add to savory dishes here in the US.

For the curious: The restaurant I had my tenth birthday at, Boulder’s Mataam Fez, has since closed. There is a Mataam Fez in Denver that provides a similar (but IMO, not quite as magical) experience. Plan to make an evening of it.

Instant Pot Moroccan Stew with Chicken, Quinoa, Chickpeas & Sweet Potato

Published March 5, 2019 by
   Print This Recipe

Serves: 6   |    Active Time: 45 minutes


Ingredients:

  • 1 teaspoon coconut oil
  • 1/2 onion, diced
  • 2 cloves garlic, minced
  • 1 teaspoon ginger, minced
  • 2 stalks celery, diced
  • 1 sweet potato, diced
  • 2 large carrots, diced
  • 1/2 pound boneless skinless chicken breast or thighs, cubed
  • 1 16-ounce can chickpeas, strained
  • 1 16-ounce can diced tomatoes
  • 2 tablespoons tomato paste
  • 1/2 cup uncooked quinoa
  • 3 cups chicken broth
  • 1/3 cup currants
  • 1 teaspoon paprika
  • 1 teaspoon turmeric
  • 1 teaspoon cumin
  • Pinch of ground cinnamon
  • 1/4 teaspoon salt
  • 1/2 teaspoon black pepper
  • For serving: minced parsley or cilantro

  • Directions:

    1. In the bottom of an Instant Pot, heat coconut oil using the Sauté setting. When oil glistens, add onion, garlic, ginger and celery and sauté until onion is transparent.
    2. Add the remaining ingredients, and stir to combine.
    3. Secure lid on Instant Pot and press the “Manual” button. Set to “high pressure” (labeled “more” on some models) and set timer for 1 minute with vent in the sealed position.
    4. When the timer goes off, turn off the Instant Pot and allow it to set for 10 minutes with out releasing the steam. This will ensure the quinoa is cooked through.
    5. After 10 minutes, release any remaining pressure. Stir, and ladle into serving bowls. Garnish with fresh parsley or cilantro.

    Instant Pot Moroccan Stew with Chicken, Quinoa, Chickpeas & Sweet Potato
    6 Comments

    Leftover Turkey Enchiladas

    Leftover Turkey Enchiladas

    It’s not Thanksgiving for another week. I know. But here’s what else I know: when the day comes, and you eat everything delicious (stuffing, pie, turkey, gravy, potatoes, etc etc etc), there are going to be leftovers. (What’s Thanksgiving without leftovers?!)

    And the day after Thanksgiving, maybe you’ll want another round of traditional Thanksgiving fare, but after a few days, you’ll want to mix it up. And you’ll want to be prepared, because going to the store in that moment isn’t the answer (when you are tired from the holiday, and have plenty of turkey in the fridge and just need something to do with it). That’s where this recipe comes in.

    (I’m going to admit right now that I’m more excited about using leftover turkey in enchiladas than I am about actual Thanksgiving Turkey right now. Maybe you’re a turkey purist. But this is true: enchiladas are really hard to beat.)

    Leftover Turkey Enchiladas

    Now, last year when I started making enchiladas more frequently, my dad asked me if I was frying my tortillas. He said, you have to fry your tortillas. It’s far superior. And I remember the days of making enchiladas along side him — him frying the tortillas, and me, stuffing and rolling them and trying to keep up. And they were delicious.

    But this recipe doesn’t ask you to do that. What’s with that? Well, this recipe is a more “get these enchiladas made tonight,” “get dinner on the table,” type of recipe. Frying tortillas definitely takes a bit more commitment (and you must deal with that dreaded pot of hot, used oil when you are done!). And you know what? Even when you skip the frying part, they’re still delicious.

    So if you, like me, are trying to get dinner on the table, or hate slaving over a pot of boiling oil, try the sauce method. The sauce method is just easy enough that suddenly making enchiladas is something I do on a slow afternoon, rather than a production that requires planning and multiple hands and a commitment to the craft. Simplifying that one step makes enchiladas just that much more accessible for me.

    If you do want to fry your tortillas (🙌 good work!) you’ll have to change up step 4 in the recipe below. You’ll need to heat up a pan with enough frying oil to dip a tortilla into it, and you’ll want to set up a place to let the fried to tortillas drain. We always used a plat stacked with paper towels, which soak up excess grease. Once the oil is hot, you’ll want to use tongs to place tortillas one at a time in the hot oil. Fry for 5 seconds on each side, and then set on the prepared plate. Many hands make for fast work. The reason why this was practical (and fun!) when I was a kid was that there were two of us: my dad would do the frying while I would do the stuffing. If you don’t have the luxury of a friend or helper in the kitchen, you can fry all the tortillas, placing them in a stack, and then stuff them. Placing them in a stack will help keep them soft. But again, if you just want some enchiladas now, use the sauce method in the recipe below.

    Leftover Turkey Enchiladas

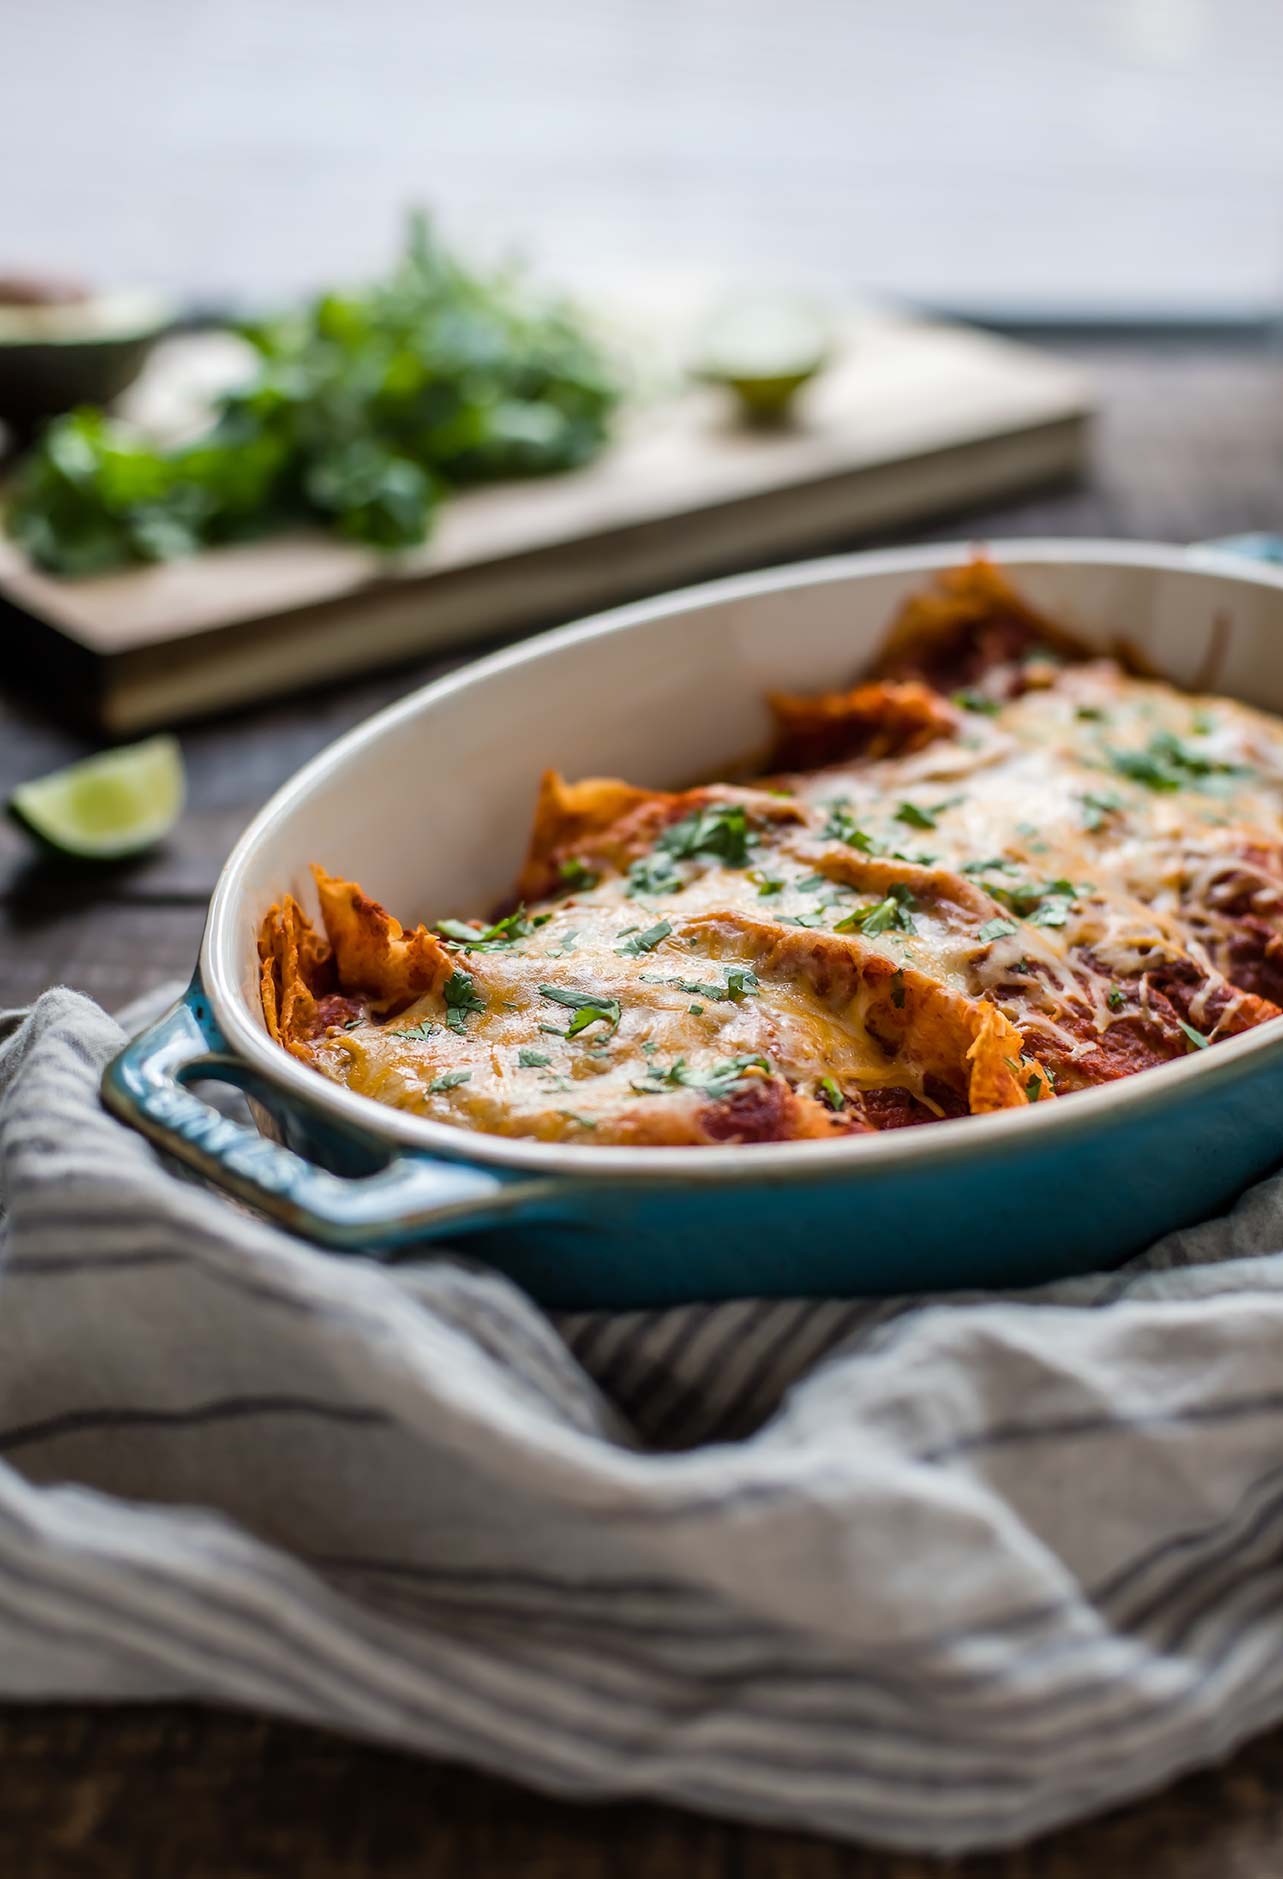
    P.S. The turquoise casserole dish in these images is my newest kitchen toy, and I love a) how well it cooks things, b) it’s rustic style, and c) the color. I got it on Amazon (affiliate link!).

    P.S.S. Enchiladas SCREAM Christmas to me. I guess it’s a family thing. So, you can also use chicken in this recipe if you no longer have leftover turkey around. I use chicken in enchiladas all the time!

    Leftover Turkey Enchiladas

    Published November 13, 2018 by
       Print This Recipe

    Serves: 6-8   |    Active Time: 60 minutes


    Ingredients:

  • 3 cups shredded leftover turkey or chicken breast
  • 1 teaspoon coconut oil
  • 1 cup diced onion
  • 2 teaspoons minced garlic
  • 1/4 cup minced cilantro, plus more for garnish
  • 1/4 teaspoon salt (or to taste)
  • 1 teaspoon ground cumin
  • 1/2 teaspoon dried oregano
  • 1 teaspoon chipotle chili powder
  • To assemble:
  • 2 cups enchilada sauce
  • 1-1/2 cups shredded cheese (try Colby Cheese, Monterrey Jack Cheese or a mix of the two)
  • 16-20 six-inch corn tortillas

  • Directions:

    1. In a skillet, heat the coconut oil over medium heat until it sizzles. Sauté onion and garlic in oil until onions are translucent, and then remove from heat.
    2. In a medium mixing bowl, combine: shredded turkey, onion and garlic, cilantro, salt, cumin, oregano, and chili powder. Mix to combine and set aside.
    3. Preheat oven to 350°F. While the oven heats, assemble the enchiladas.
    4. Work with one tortilla at a time. Dip a tortilla into the enchilada sauce and allowing the tortilla to soften for 20-30 seconds. This helps the tortillas from cracking as you roll them (they still might a little bit, though once it's all baked up no one will know). Then, scoop 2-3 tablespoons of the turkey mixture into the middle of the tortilla, and roll it around the filling. Place the rolled enchilada seam-side down in a baking dish.
    5. Repeat step 4 until all of the turkey and tortilla mixture is used. Then, pour remaining enchilada sauce over the enchiladas, and top with shredded cheese.
    6. Bake enchiladas for 20 minutes, until cheese and sauce are bubbling and edges of tortillas are starting to crisp.
    7. Allow to cool for 5 minutes, and then garnish with minced cilantro and serve warm.

    Comment

    Vanilla Chai Spice Dried Pears

    Vanilla Chai Spice Dried Pears

    A big box showed up in our dining room in mid-September with my name on the shipping label. 

    It was my birthday but I still scratched my head. This September, I had been so stressed that I mostly avoided the topic of my birthday or gifts with anyone that asked— I certainly didn’t need anything, but I also just couldn’t find a minute to think about it clearly.

    I had ordered nothing from Amazon myself (though in the same minute that thought entered my mind I also started doubting myself— had I hit “buy now” on that Dehydrator I had been eyeing instead of “add to cart?”). 

    When I got halfway through opening the box with a paring knife and found it was a Dehydrator, I doubted myself even further. So much so, that I stopped right there and pulled out my phone to check my Amazon order history.

    Vanilla Chai Spice Dried Pears

    Relief washed over me when I saw I had placed no orders in the last month, but I still had a mystery on my hands. I finished unpacking the appliance before drilling Oliver on who had bought it. It probably took me four tries to get it right, but when I did land on my dad it all made sense. I had given him a non-answer when he had asked about my birthday in general, so he had asked Oliver.

    This new dehydrator was about five times nicer than any of the ones I was planning to buy myself! Quieter, easy to use, and has a timer (key, if you ask me!). It’s the Excalibur 5-Tray Dehydrator (affiliate link!). (THANKS DAD!)

    So far, my absolute favorite thing to dehydrate has been pears.

    This recipe is inspired by one I found in Dried and True (affiliate link), a cookbook that takes dehydrating to the next level, moving it from boring old-fashioned recipes to new, inventive, and tantalizing flavors. I made the Dried Vanilla Pears from the book twice before venturing out on my own.

    Vanilla Chai Spice Dried Pears

    As soon as our first fall day hit, I immediately was dreaming about warmer flavors, like cinnamon, nutmeg, and cloves. Chai. And that’s how these pears came to be — a day dream, like most of my recipes 😉

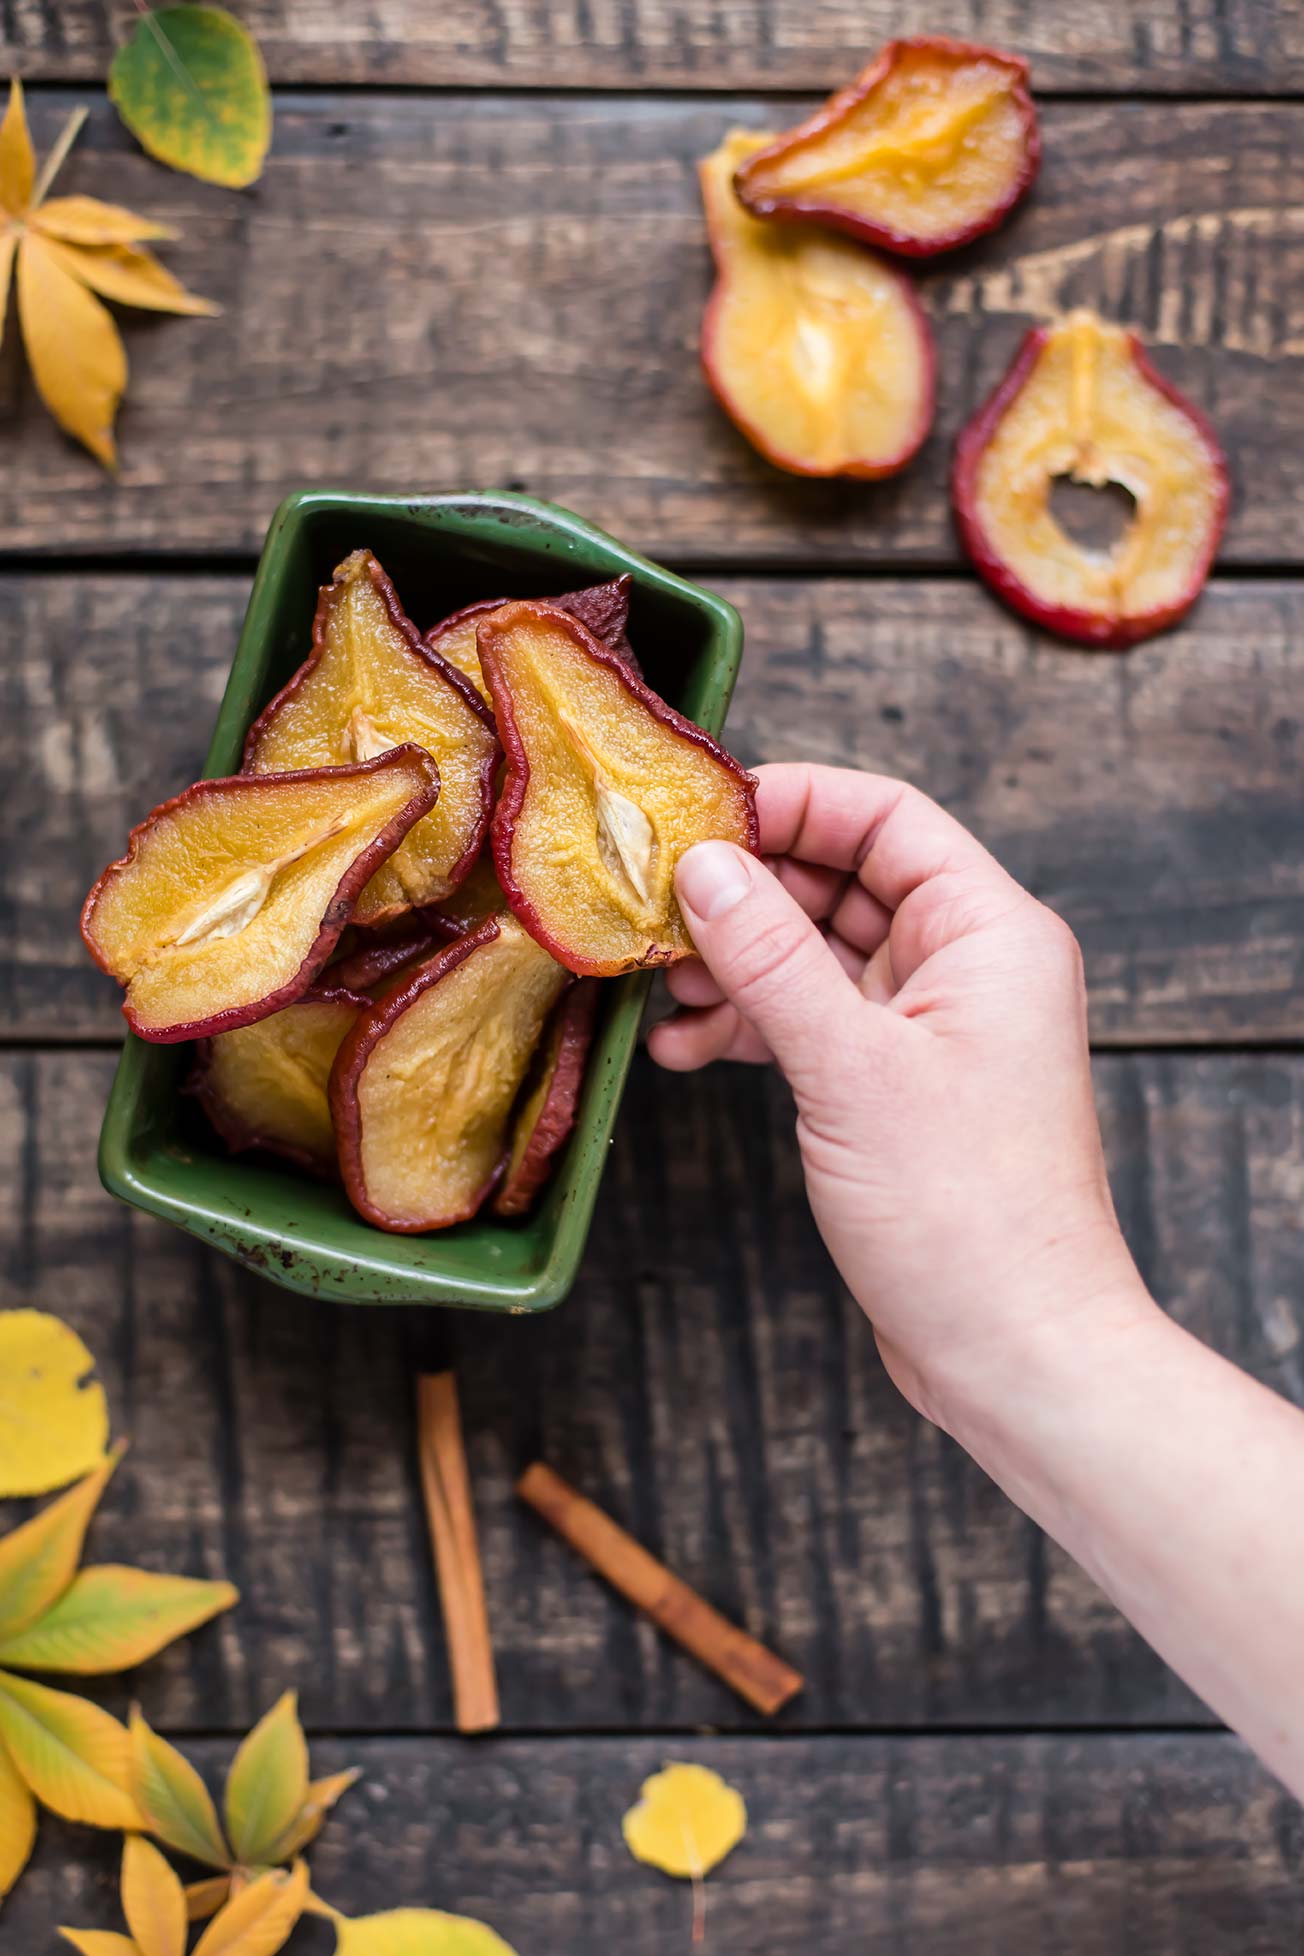
    In real life, each slice of pear was such a treat, I savored every one. We took them hiking, ate them around the house, and packed them in our bags for outings around town. I always looked forward to those delicious pears. I thought, for about 5 seconds, about sharing them with a few coworkers but greed got the best of me and I kept it to myself. Sharing the recipe is almost as good, right?!

    This recipe is good for dehydrating-pros or a newbies like me. Make it while the pears are at their peak! I used Starkrimson Pears one round and Colorado Heirloom Pears another; Bartlette and D’Anjou would also be great.

    Vanilla Chai Spice Dried Pears

    Vanilla Chai Spice Dried Pears

    Published October 16, 2018 by
       Print This Recipe

    Yield: 20 slices   |    Active Time: 8-9 hours


    Ingredients:

  • 4 ripe pears Starkrimson
  • 1/2 cup granulated sugar or coconut sugar
  • 1 cup water
  • 5 slices of fresh ginger - each about the size of a nickel
  • 1/8 teaspoon ground cinnamon
  • 1/8 teaspoon vanilla extract
  • 1/16 teaspoon ground nutmeg
  • 1/16 teaspoon ground cardamom
  • Pinch of ground cloves

  • Directions:

    1. Combine all ingredients but the pears in a sauce pan, and bring to a simmer, stirring until sugar is dissolved.
    2. Wash pears and cut into 1/4-inch thick slices. Remove seeds and cut of stems as you go.
    3. Work with 3-4 pear slices at once: submerge pears in syrup on the stove, simmering slices for 10 minutes. Pears should be softened through but should not fall apart easily.
    4. Use a slotted spoon to remove slices from syrup and set on a plate to cool for several minutes.
    5. When all of the pears are done, spread them out on the wracks of your dehydrator (I use this one - affiliate link!), with at least 1/4-inch of space between each slice.
    6. Place wrack in dehydrator and set to 135°F for 8-10 hours, until pears are dried but still chewy.

    Comment