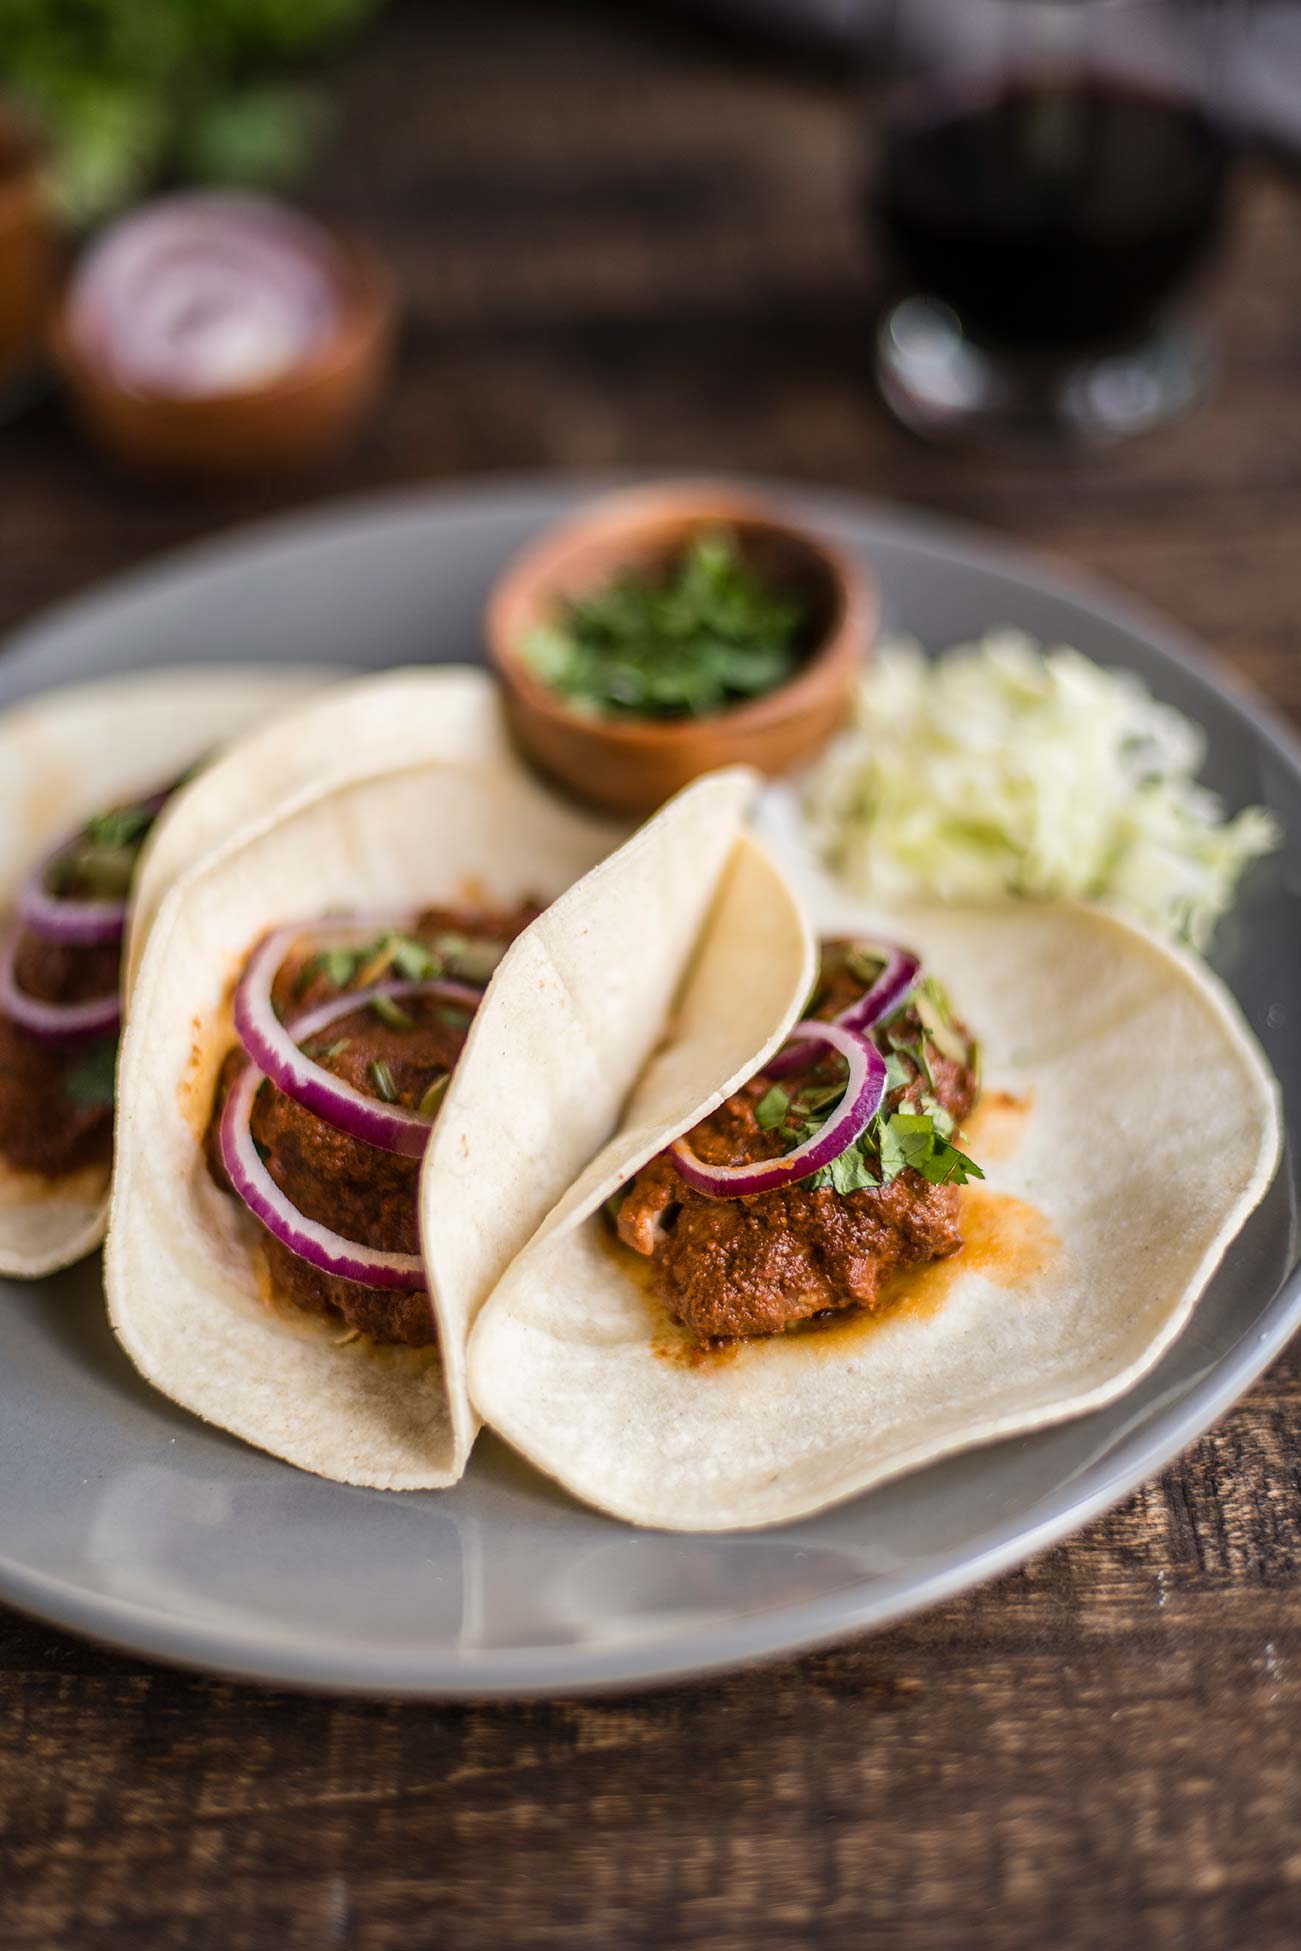
Slow Cooker Mole Chicken Tacos

Slow Cooker Mole Chicken Tacos

There is a lot of folk lore surrounding the creation of mole poblano — the chocolate chili sauce Mexico is so known for.

One theory is that a convent of nuns invented mole for an archbishop in an effort to impress him, when no other ingredients could be found. Another story says that it was all a mistake, that a monk (rather than a nun) first made the dish for the archbishop when he accidentally knocked several stray spices into the pot. Either way, both versions tie the sauce back to over 300 years ago!

It’s no wonder there is so much speculation over the dish’s origins… mole sauce recipes typically call for a hefty list of seemingly random ingredients. But that’s part of the magic: it may not strike you that raisins and tomatoes and chili powder and cocoa will blend well together, but sure enough, the result is stellar. Spicy, tangy, with a rich backdrop, thanks to the chocolate.

Slow Cooker Mole Chicken Tacos

Something else stays consistent across almost every origin story, and that’s that mole is for special occasions. My dad will slave over a batch of mole for Christmas dinner; and me? I usually save it for a day when I know I can sit down and really take the time to enjoy the meal.

Such a complex sauce does not need many frills. Simmer some chicken (or turkey, or pork, or black beans, or whatever you have) until tender, and then serve simply. All you need for a fancy taco is a corn tortilla, some chicken in mole sauce and a sprinkle of cilantro. A few thin slices of red onion certainly brighten it up, and why not — a few pepitas on top for crunch (you have them out from making the sauce, anyhow). Now, this isn’t the traditional way to serve mole, which is over a bed of rice, but it’s easy nonetheless, and everything is delicious as a taco.

Slow Cooker Mole Chicken Tacos

Slow Cooker Mole Chicken Tacos

Published December 18, 2018 by
   Print This Recipe

Serves: 6-8   |    Active Time: 60 active minutes


Ingredients:

  • 2 pounds boneless skinless chicken (breasts or thighs)
  • 1 white onion, diced
  • 2 cloves garlic, minced
  • 1 tablespoon coconut oil
  • 2 tablespoons cocoa powder
  • 2 tablespoons ancho chili powder
  • 2 chipotle chile peppers in adobo sauce, plus 1 teaspoon of the adobo sauce from the can (find canned chipotles in adobo in the Mexican section of your grocery store. Most canned have quite a few peppers, use a spoon to scoop out two)
  • 1 16-oz can of diced tomatoes
  • 1/8 teaspoon ground cumin
  • 1/8 teaspoon ground coriander
  • 1/8 teaspoon ground anise
  • 1/4 teaspoon ground black pepper
  • 1/2 teaspoon salt
  • Pinch ground cloves
  • 1/4 cup pepitas, plus more for garnish
  • 2 tablespoons sesame seeds
  • 2 tablespoons raisins
  • 1 cinnamon stick (about 2-3 inches long)
  • For serving: corn tortillas, cilantro, finely sliced red onion

  • Directions:

    1. In a skillet, or the bottom of you Instant Pot/Slow Cooker (set to the Sauté setting), heat coconut oil and sauté onion and garlic until onion is transparent. Turn off heat once onions are cooked.
    2. Transfer the onion mixture to a blender, and add cocoa, chili powder, chipotles and adobo sauce, canned tomatoes, cumin, coriander, anise, black pepper, salt, ground cloves, pepitas, sesame seeds, and raisins. Place lid on blender and purée until smooth.
    3. Place chicken in the bottom of your Instant Pot/Slow Cooker. Pour sauce over top, and add cinnamon stick. Place lid on pot and set to slow cook on “medium” for 6 hours or “high” for 4 hours.
    4. When timer goes off, cut chicken into bite-sized pieces (should fall apart easily) and serve in warm tortillas topped with fresh cilantro, red onion, and pepitas.

    2 Comments

    Instant Pot Tom Yum Soup

    Instant Pot Tom Yum Soup

    This is an older recipe from Foraged Dish. I wanted to give it a little update, so here it is! 

    There is a Thai restaurant in Estes Park, which we drive by after visiting Rocky Mountain National Park. After a long day outside, when it's starting to get a bit chilly, nothing is better than a stop at that restaurant for a cozy Thai soup or spicy curry. 

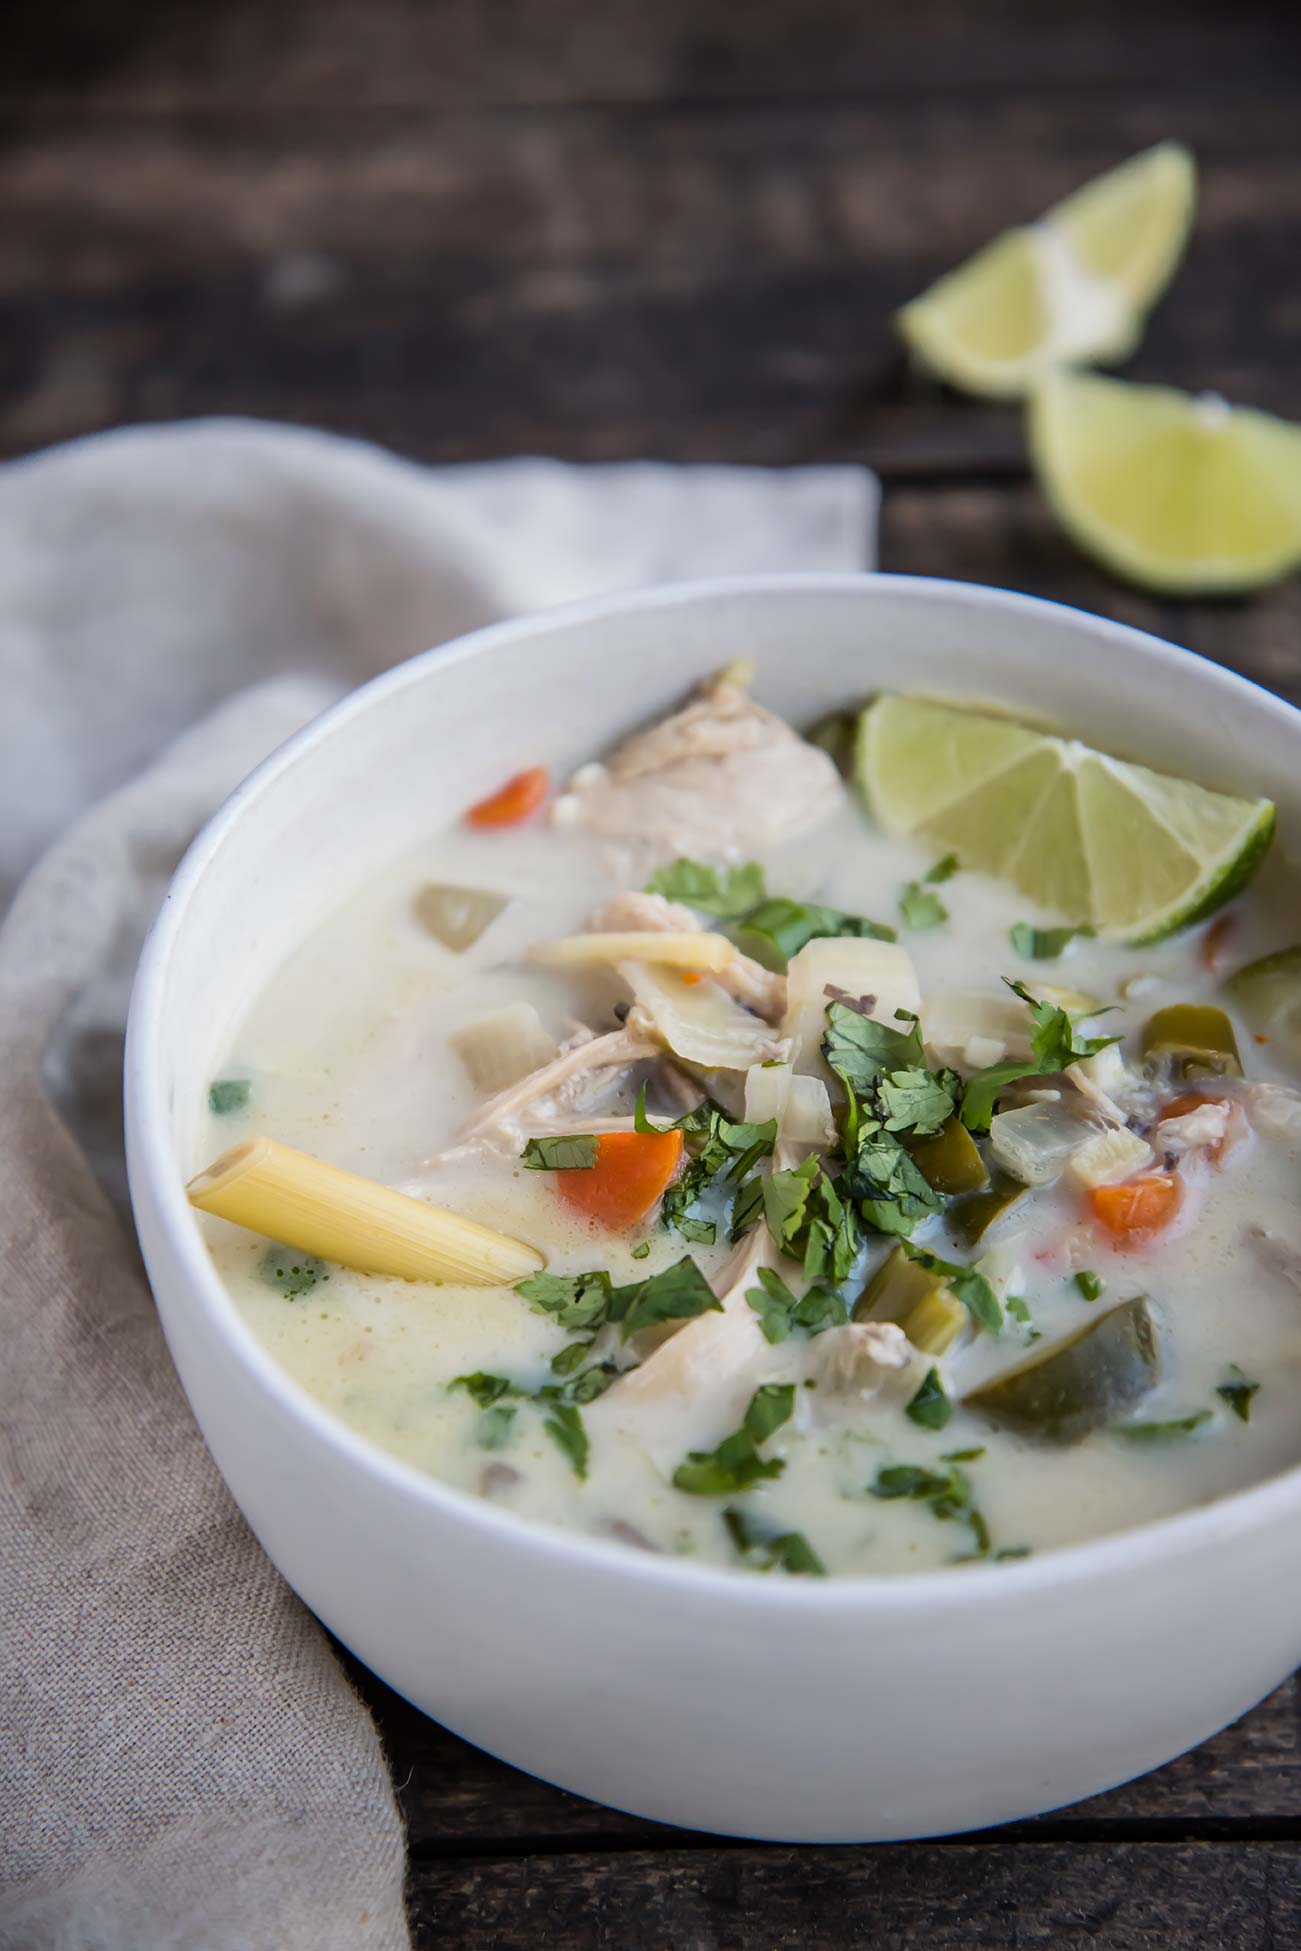
    Tom Yum soup is also the ultimate soup when you're sick. It's brothy, with chicken and veggies, and scented with lemongrass and ginger. This version is an Instant Pot recipe -- easy is key when you're not feeling your best. 

    Instant Pot Tom Yum Soup

    Some typical Thai ingredients can be hard to find here in the states! Here's where to look and what to do if you can't find it: 

    You can find lemongrass in the herb section of some grocery stores, at a local Asian Market, or online. Use it while it's fresh! The Asian Market near me sells it in sets of two stalks. This recipe only calls for one, but I try to use the second one for another batch of soup within a week because I find that as soon as the lemongrass dries out it loses it's flavor. I've had poor success in freezing it, unfortunately. (Anyone have tips?) 

    In this recipe, I call for ginger and not galangal. Most Tom Yum recipes call for both, but galangal is another ingredient that can be hard to get your hands on. If you do go to an Asian Market, look there and use half galangal, half ginger in the recipe. Otherwise, don't worry about it for one minute -- the favor of ginger is very similar to galangal (galangal is just a bit more mild), so using all ginger is just fine!

    Kaffir lime is in a lot of Thai recipes but I don't include it in the instructions below at all because I've found it's nearly impossible to buy in the states! (That said, it has an amazing aroma, so if you can find it, add 3 leaves to the pot before closing it up, and then remove them before serving). It's also very hard to buy kaffir lime seeds in the United States, but I would love to grow one! I have seen a few companies that will ship a grafted plant, so I might try it. 

    Last but not least: fish sauce isn’t for everyone (but you can usually find it in the Asian section of your grocery store). If you're not that into it, use Worcestershire sauce instead (it's ok, I have my own trepidations). It's not quite the same, but it will provide some of that Unami flavor that rounds out the broth. 

    Phew! Thai food is an adventure on it's own! But don't let that stop you -- this soup is delicious, nourishing, and cozy. And this version has been adapted to make it a bit more approachable. Enjoy! 

    Instant Pot Tom Yum Soup

    Instant Pot Tom Yum Soup

    Published December 11, 2018 by
       Print This Recipe

    Serves: 6   |    Active Time: 15 minutes


    Ingredients:

  • 1 tablespoon coconut oil
  • 4 garlic cloves, minced
  • 1/2 onion, diced
  • 3 tablespoons ginger, finely minced
  • 1 large carrot, diced
  • 1 zucchini, diced
  • 2 cups mushrooms, sliced or quartered
  • 1/2 pound boneless chicken breast
  • 3 green onions, white and dark green parts removed, then sliced
  • 2-5 minced Thai chili peppers, depending on spice preference
  • 8 cups chicken or bone broth
  • 1 cup canned full-fat coconut milk
  • 1 teaspoon lime juice
  • 1 stalk lemongrass
  • 1/8 teaspoon fish sauce
  • Optional for serving: chili oil, cilantro, lime wedges

  • Directions:

    1. Heat coconut oil in the bottom of an Instant Pot on the “Sauté” setting. When oil is melted, add diced onion, and minced garlic and ginger. Sauté until onions are translucent.
    2. Add diced carrots, diced zucchini, sliced mushrooms, chicken breasts, green onions, Thai chili peppers, broth, coconut milk, lime juice, stalk of lemongrass, and fish sauce.
    3. Place lid on Instant Pot and turn to “Soup” setting with timer set to one minute. Turn vent to sealed position.
    4. When timer goes off, release the pressure through the vent. Using tongs or a slotted spoon, pull chicken from soup and use two forks to shred it into bite-sized pieces. Place shredded chicken back in soup and stir. Remove lemongrass stalks (you can use them as garnish, but they are not great for just eating -- they just add flavor to the broth).
    5. Serve hot with additional chili oil, cilantro, lime, or hot sauce (such as Sriracha).

    9 Comments

    Leftover Turkey Enchiladas

    Leftover Turkey Enchiladas

    It’s not Thanksgiving for another week. I know. But here’s what else I know: when the day comes, and you eat everything delicious (stuffing, pie, turkey, gravy, potatoes, etc etc etc), there are going to be leftovers. (What’s Thanksgiving without leftovers?!)

    And the day after Thanksgiving, maybe you’ll want another round of traditional Thanksgiving fare, but after a few days, you’ll want to mix it up. And you’ll want to be prepared, because going to the store in that moment isn’t the answer (when you are tired from the holiday, and have plenty of turkey in the fridge and just need something to do with it). That’s where this recipe comes in.

    (I’m going to admit right now that I’m more excited about using leftover turkey in enchiladas than I am about actual Thanksgiving Turkey right now. Maybe you’re a turkey purist. But this is true: enchiladas are really hard to beat.)

    Leftover Turkey Enchiladas

    Now, last year when I started making enchiladas more frequently, my dad asked me if I was frying my tortillas. He said, you have to fry your tortillas. It’s far superior. And I remember the days of making enchiladas along side him — him frying the tortillas, and me, stuffing and rolling them and trying to keep up. And they were delicious.

    But this recipe doesn’t ask you to do that. What’s with that? Well, this recipe is a more “get these enchiladas made tonight,” “get dinner on the table,” type of recipe. Frying tortillas definitely takes a bit more commitment (and you must deal with that dreaded pot of hot, used oil when you are done!). And you know what? Even when you skip the frying part, they’re still delicious.

    So if you, like me, are trying to get dinner on the table, or hate slaving over a pot of boiling oil, try the sauce method. The sauce method is just easy enough that suddenly making enchiladas is something I do on a slow afternoon, rather than a production that requires planning and multiple hands and a commitment to the craft. Simplifying that one step makes enchiladas just that much more accessible for me.

    If you do want to fry your tortillas (🙌 good work!) you’ll have to change up step 4 in the recipe below. You’ll need to heat up a pan with enough frying oil to dip a tortilla into it, and you’ll want to set up a place to let the fried to tortillas drain. We always used a plat stacked with paper towels, which soak up excess grease. Once the oil is hot, you’ll want to use tongs to place tortillas one at a time in the hot oil. Fry for 5 seconds on each side, and then set on the prepared plate. Many hands make for fast work. The reason why this was practical (and fun!) when I was a kid was that there were two of us: my dad would do the frying while I would do the stuffing. If you don’t have the luxury of a friend or helper in the kitchen, you can fry all the tortillas, placing them in a stack, and then stuff them. Placing them in a stack will help keep them soft. But again, if you just want some enchiladas now, use the sauce method in the recipe below.

    Leftover Turkey Enchiladas

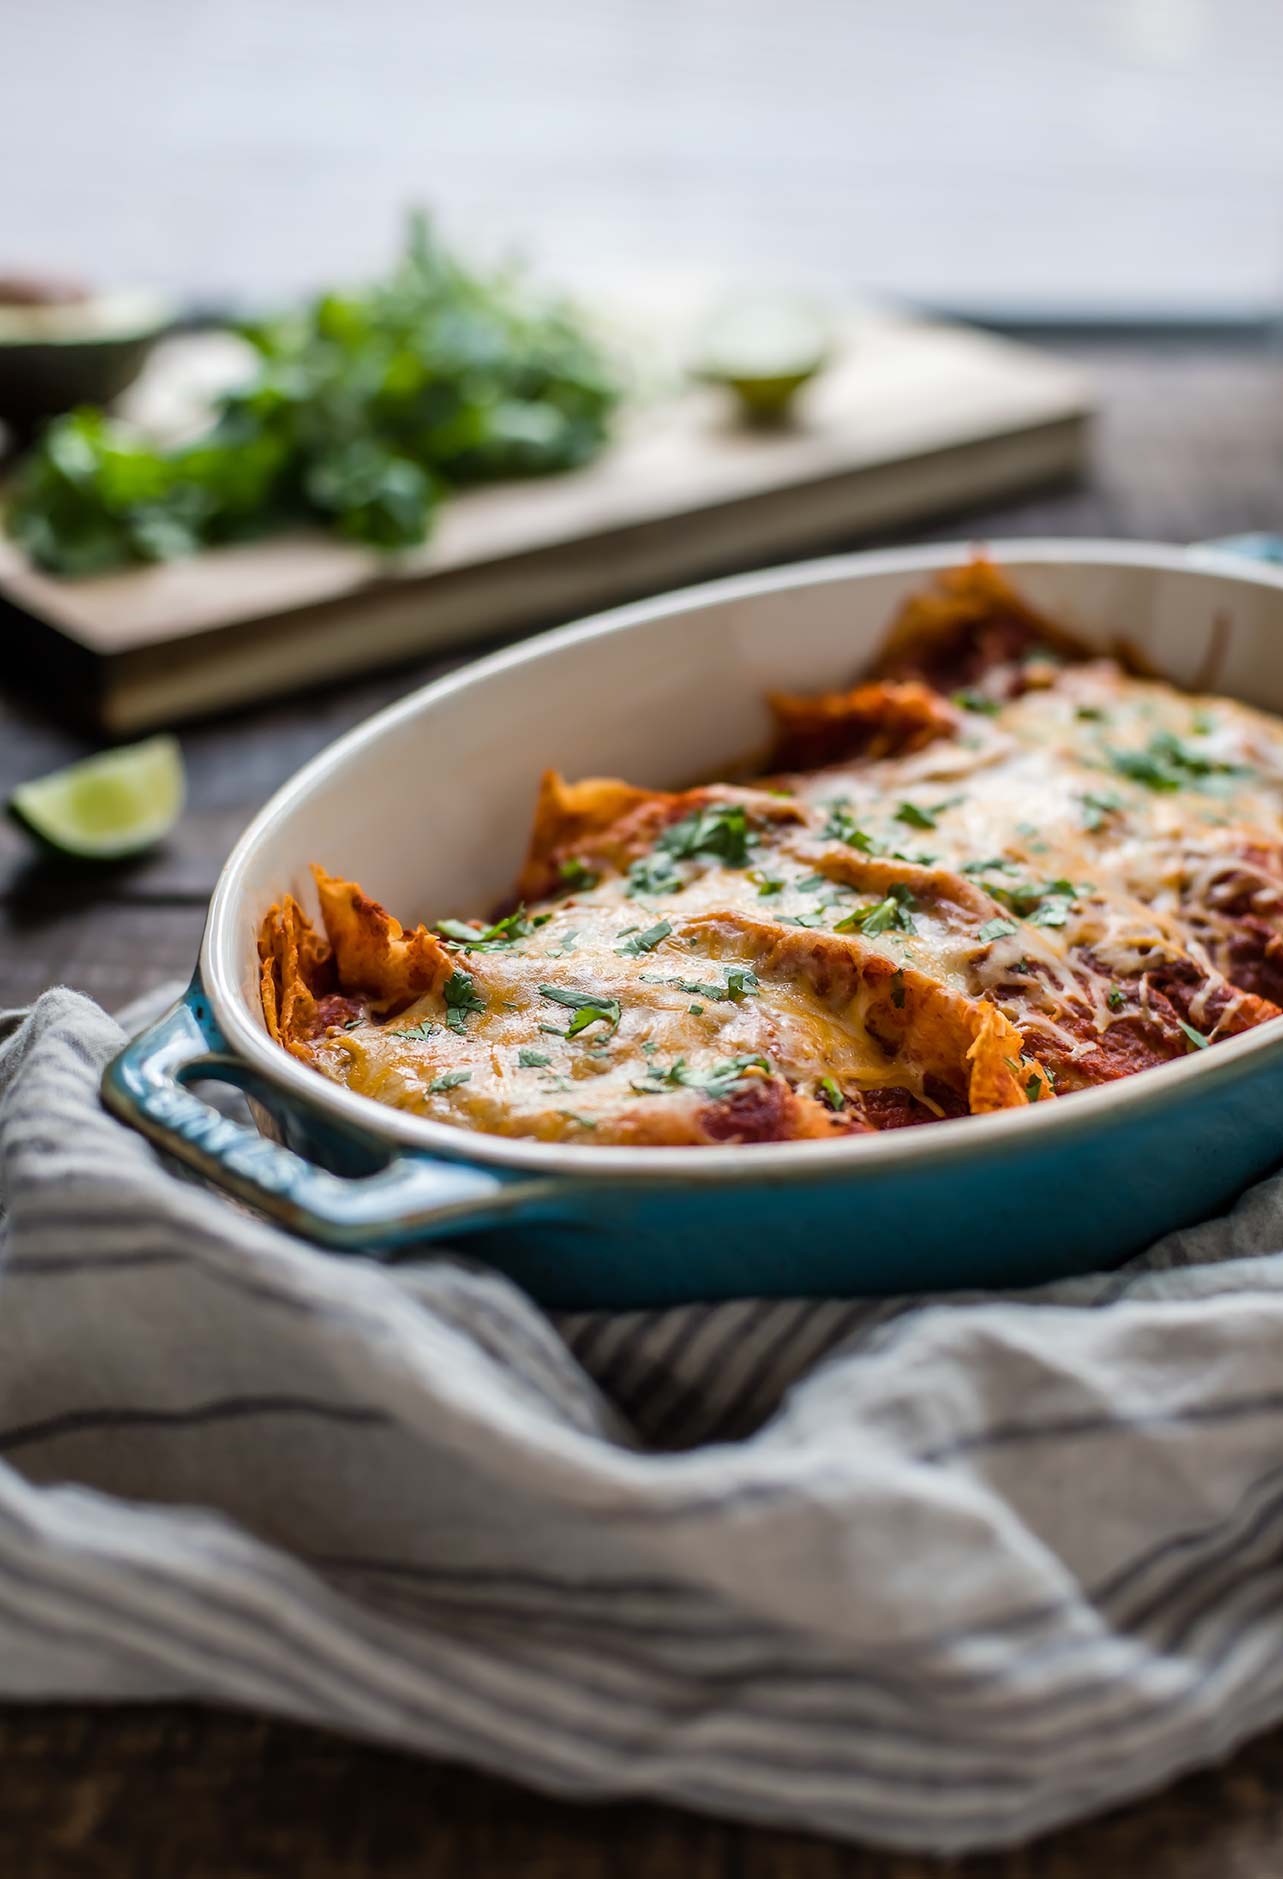
    P.S. The turquoise casserole dish in these images is my newest kitchen toy, and I love a) how well it cooks things, b) it’s rustic style, and c) the color. I got it on Amazon (affiliate link!).

    P.S.S. Enchiladas SCREAM Christmas to me. I guess it’s a family thing. So, you can also use chicken in this recipe if you no longer have leftover turkey around. I use chicken in enchiladas all the time!

    Leftover Turkey Enchiladas

    Published November 13, 2018 by
       Print This Recipe

    Serves: 6-8   |    Active Time: 60 minutes


    Ingredients:

  • 3 cups shredded leftover turkey or chicken breast
  • 1 teaspoon coconut oil
  • 1 cup diced onion
  • 2 teaspoons minced garlic
  • 1/4 cup minced cilantro, plus more for garnish
  • 1/4 teaspoon salt (or to taste)
  • 1 teaspoon ground cumin
  • 1/2 teaspoon dried oregano
  • 1 teaspoon chipotle chili powder
  • To assemble:
  • 2 cups enchilada sauce
  • 1-1/2 cups shredded cheese (try Colby Cheese, Monterrey Jack Cheese or a mix of the two)
  • 16-20 six-inch corn tortillas

  • Directions:

    1. In a skillet, heat the coconut oil over medium heat until it sizzles. Sauté onion and garlic in oil until onions are translucent, and then remove from heat.
    2. In a medium mixing bowl, combine: shredded turkey, onion and garlic, cilantro, salt, cumin, oregano, and chili powder. Mix to combine and set aside.
    3. Preheat oven to 350°F. While the oven heats, assemble the enchiladas.
    4. Work with one tortilla at a time. Dip a tortilla into the enchilada sauce and allowing the tortilla to soften for 20-30 seconds. This helps the tortillas from cracking as you roll them (they still might a little bit, though once it's all baked up no one will know). Then, scoop 2-3 tablespoons of the turkey mixture into the middle of the tortilla, and roll it around the filling. Place the rolled enchilada seam-side down in a baking dish.
    5. Repeat step 4 until all of the turkey and tortilla mixture is used. Then, pour remaining enchilada sauce over the enchiladas, and top with shredded cheese.
    6. Bake enchiladas for 20 minutes, until cheese and sauce are bubbling and edges of tortillas are starting to crisp.
    7. Allow to cool for 5 minutes, and then garnish with minced cilantro and serve warm.

    Comment