Wontons in Gingery Broth
/
Happy New Year! We do not have any New Year’s Eve (or day) traditions, though I’d like to make this soup a repeating occurrence.
For many, cooking is purely functional—a thing you do so you can eat. If you’re in that boat, this soup might seem like far too much work, as it asks you to make not just the soup base but also the wontons. For me, cooking an activity in itself, almost—if not more—as enjoyable than the eating. If you’re a let’s-cook-something-interesting DIY-type, this recipe is right up your alley. I admit to one shortcut that I always take: buying wonton wrapper dough. You can find wonton wrappers in the freezer aisle of most Asian Markets (try H Mart or Pacific Ocean).
Making little wontons is fun (they’re cute!) and the soup is fantastic. Any day off from work (even just a standard Sunday) is perfect for this recipe.


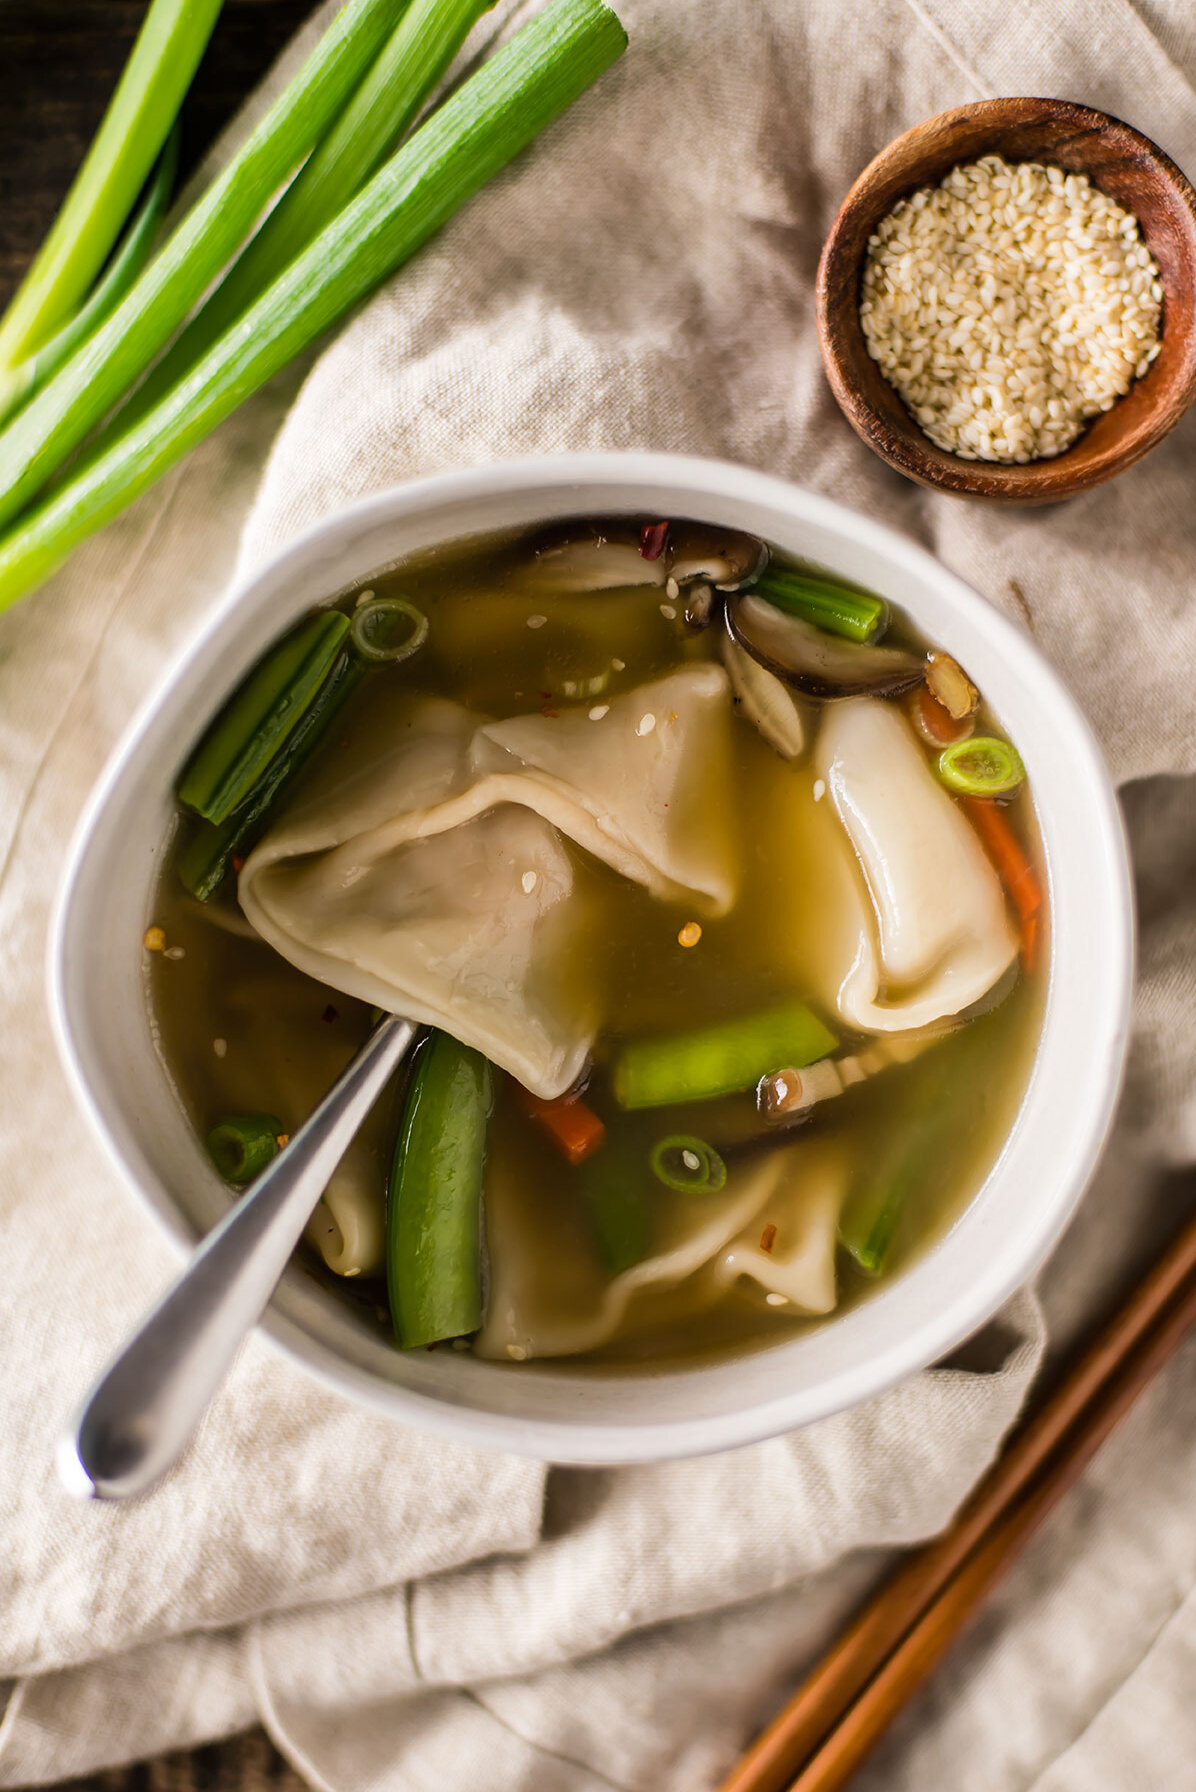
Wontons in Gingery Broth
Serves: 6 | Active Time: 70 minutes
Ingredients:
For the Broth:Directions:
- Prepare the wonton filling: In a medium-sized mixing bowl, combine ground chicken with the minced green onion, garlic, and grated ginger. Add salt, sesame oil, soy sauce, and ground black pepper. Mix until ingredients are well distributed.
- Assemble wontons: Prepare your work station by setting up a clean work surface (I use my counter, you can also use piece of parchment paper), and filling a medium-sized bowl with 2 cups of cold water (this will be used for sealing wontons). Working in batches, lay several wonton wrappers out flat on your work surface. Scoop 1 teaspoon of filling into center of wonton wrappers. Be careful not to overfill the wontons, as they will not seal properly. Using a finger dipped in your bowl of cold water, lightly dampen the edges of the wonton wrapper. You need just enough water to get the dough to stick. Now, fold the wontons (see image above as reference): Fold the bottom right corner up to meet the top left corner, creating a triangle. Press the edges with your fingers to seal the wonton. Then, fold the top-right corner of the triangle into the middle of the wonton, followed by the bottom-left corner, using a drop of water to make them stick. Place wontons in a large container with lid (ie., a pyrex or Tupperware). Repeat this step until the wonton filling is all used up. Place lid on container, and set in fridge until ready to use (Can be made in advance and refrigerated for up to 3 hours).
- Prepare the gingery broth: Pour broth into a large soup pot. Add green onions, ginger slices, and whole garlic cloves. Cover, and bring to a simmer for 15-20 minutes to develop flavor. Then, using a slotted spoon, remove garlic, ginger, and green onions from broth and discard.
- Assemble soup: Slice the shiitake mushrooms, and remove and discarding the stems. Place mushrooms in the soup and bring to a simmer. Cook for 1-2 minutes. Add the carrots, and then working one at at time, carefully lower the wontons into the soup with a slotted spoon. Gently stir occasionally to prevent the wontons from sticking to the bottom of the pot. Once all wontons are in, bring the soup back to a gentle simmer and cook for another 2 minutes, until wontons have floated to the top. Add snow peas to the soup, stirring gently. Cook for 1 more minute, until snow peas are bright green and tender. Taste broth, and season with salt as needed. Remove pot from heat.
- Serve: Label soup into bowls, and top with sliced green onions, toasted sesame seeds, and red chili flakes to taste. Enjoy hot!