Vanilla Chai Spice Dried Pears

Vanilla Chai Spice Dried Pears

A big box showed up in our dining room in mid-September with my name on the shipping label. 

It was my birthday but I still scratched my head. This September, I had been so stressed that I mostly avoided the topic of my birthday or gifts with anyone that asked— I certainly didn’t need anything, but I also just couldn’t find a minute to think about it clearly.

I had ordered nothing from Amazon myself (though in the same minute that thought entered my mind I also started doubting myself— had I hit “buy now” on that Dehydrator I had been eyeing instead of “add to cart?”). 

When I got halfway through opening the box with a paring knife and found it was a Dehydrator, I doubted myself even further. So much so, that I stopped right there and pulled out my phone to check my Amazon order history.

Vanilla Chai Spice Dried Pears

Relief washed over me when I saw I had placed no orders in the last month, but I still had a mystery on my hands. I finished unpacking the appliance before drilling Oliver on who had bought it. It probably took me four tries to get it right, but when I did land on my dad it all made sense. I had given him a non-answer when he had asked about my birthday in general, so he had asked Oliver.

This new dehydrator was about five times nicer than any of the ones I was planning to buy myself! Quieter, easy to use, and has a timer (key, if you ask me!). It’s the Excalibur 5-Tray Dehydrator (affiliate link!). (THANKS DAD!)

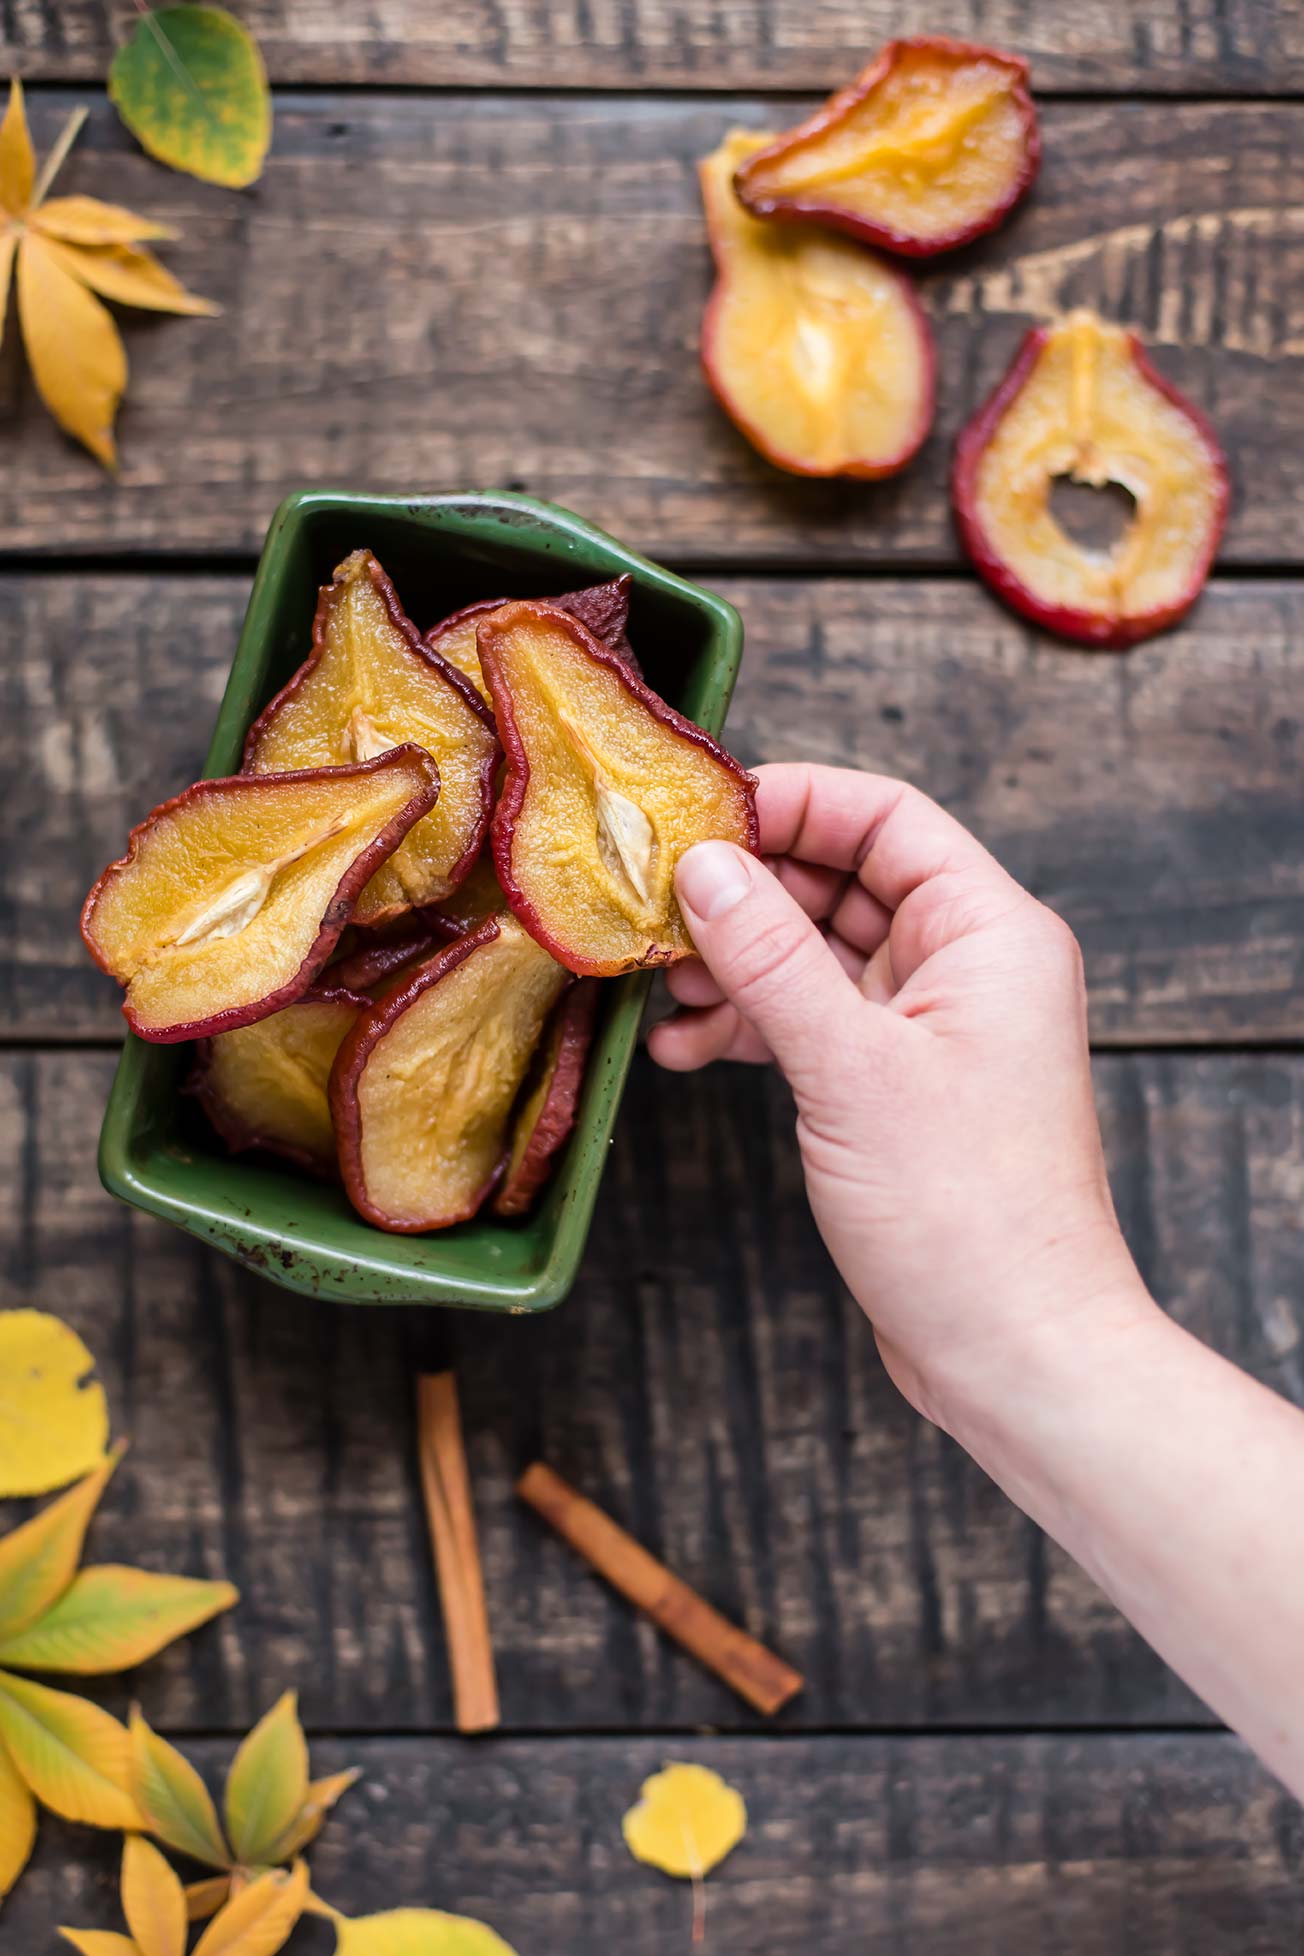
So far, my absolute favorite thing to dehydrate has been pears.

This recipe is inspired by one I found in Dried and True (affiliate link), a cookbook that takes dehydrating to the next level, moving it from boring old-fashioned recipes to new, inventive, and tantalizing flavors. I made the Dried Vanilla Pears from the book twice before venturing out on my own.

Vanilla Chai Spice Dried Pears

As soon as our first fall day hit, I immediately was dreaming about warmer flavors, like cinnamon, nutmeg, and cloves. Chai. And that’s how these pears came to be — a day dream, like most of my recipes 😉

In real life, each slice of pear was such a treat, I savored every one. We took them hiking, ate them around the house, and packed them in our bags for outings around town. I always looked forward to those delicious pears. I thought, for about 5 seconds, about sharing them with a few coworkers but greed got the best of me and I kept it to myself. Sharing the recipe is almost as good, right?!

This recipe is good for dehydrating-pros or a newbies like me. Make it while the pears are at their peak! I used Starkrimson Pears one round and Colorado Heirloom Pears another; Bartlette and D’Anjou would also be great.

Vanilla Chai Spice Dried Pears

Vanilla Chai Spice Dried Pears

Published October 16, 2018 by
   Print This Recipe

Yield: 20 slices   |    Active Time: 8-9 hours


Ingredients:

  • 4 ripe pears Starkrimson
  • 1/2 cup granulated sugar or coconut sugar
  • 1 cup water
  • 5 slices of fresh ginger - each about the size of a nickel
  • 1/8 teaspoon ground cinnamon
  • 1/8 teaspoon vanilla extract
  • 1/16 teaspoon ground nutmeg
  • 1/16 teaspoon ground cardamom
  • Pinch of ground cloves

  • Directions:

    1. Combine all ingredients but the pears in a sauce pan, and bring to a simmer, stirring until sugar is dissolved.
    2. Wash pears and cut into 1/4-inch thick slices. Remove seeds and cut of stems as you go.
    3. Work with 3-4 pear slices at once: submerge pears in syrup on the stove, simmering slices for 10 minutes. Pears should be softened through but should not fall apart easily.
    4. Use a slotted spoon to remove slices from syrup and set on a plate to cool for several minutes.
    5. When all of the pears are done, spread them out on the wracks of your dehydrator (I use this one - affiliate link!), with at least 1/4-inch of space between each slice.
    6. Place wrack in dehydrator and set to 135°F for 8-10 hours, until pears are dried but still chewy.

    Comment

    Instant Pot Yellow Dal

    Instant Pot Yellow Dal

    The air smells of pine as it whips in the window. Up here, it’s 62 degrees. The Aspens have turned; their bright yellow leaves look stark against the pine trees mixed among them. The air is thin, there is not a bar of cell service to be found, and the moon is up. This is Mount Evans.

    We’ve gone to Mount Evans to climb several times this summer and the change in elevation is always the perfect escape from the summer heat. (Eh-hem, I’ve obnoxiously shared the exact same view every weekend for the last month on my Instagram stories. I just can’t help it — the view takes my breath away every time.) Lately though, it’s been even better than usual because of the fall colors and crisp air. And, even I avoid cooking when it’s ninety degrees out, but when it’s only sixty-two, bring ooooon the baked goods, stews, and cozy foods.

    Instant Pot Yellow Dal
    Instant Pot Yellow Dal

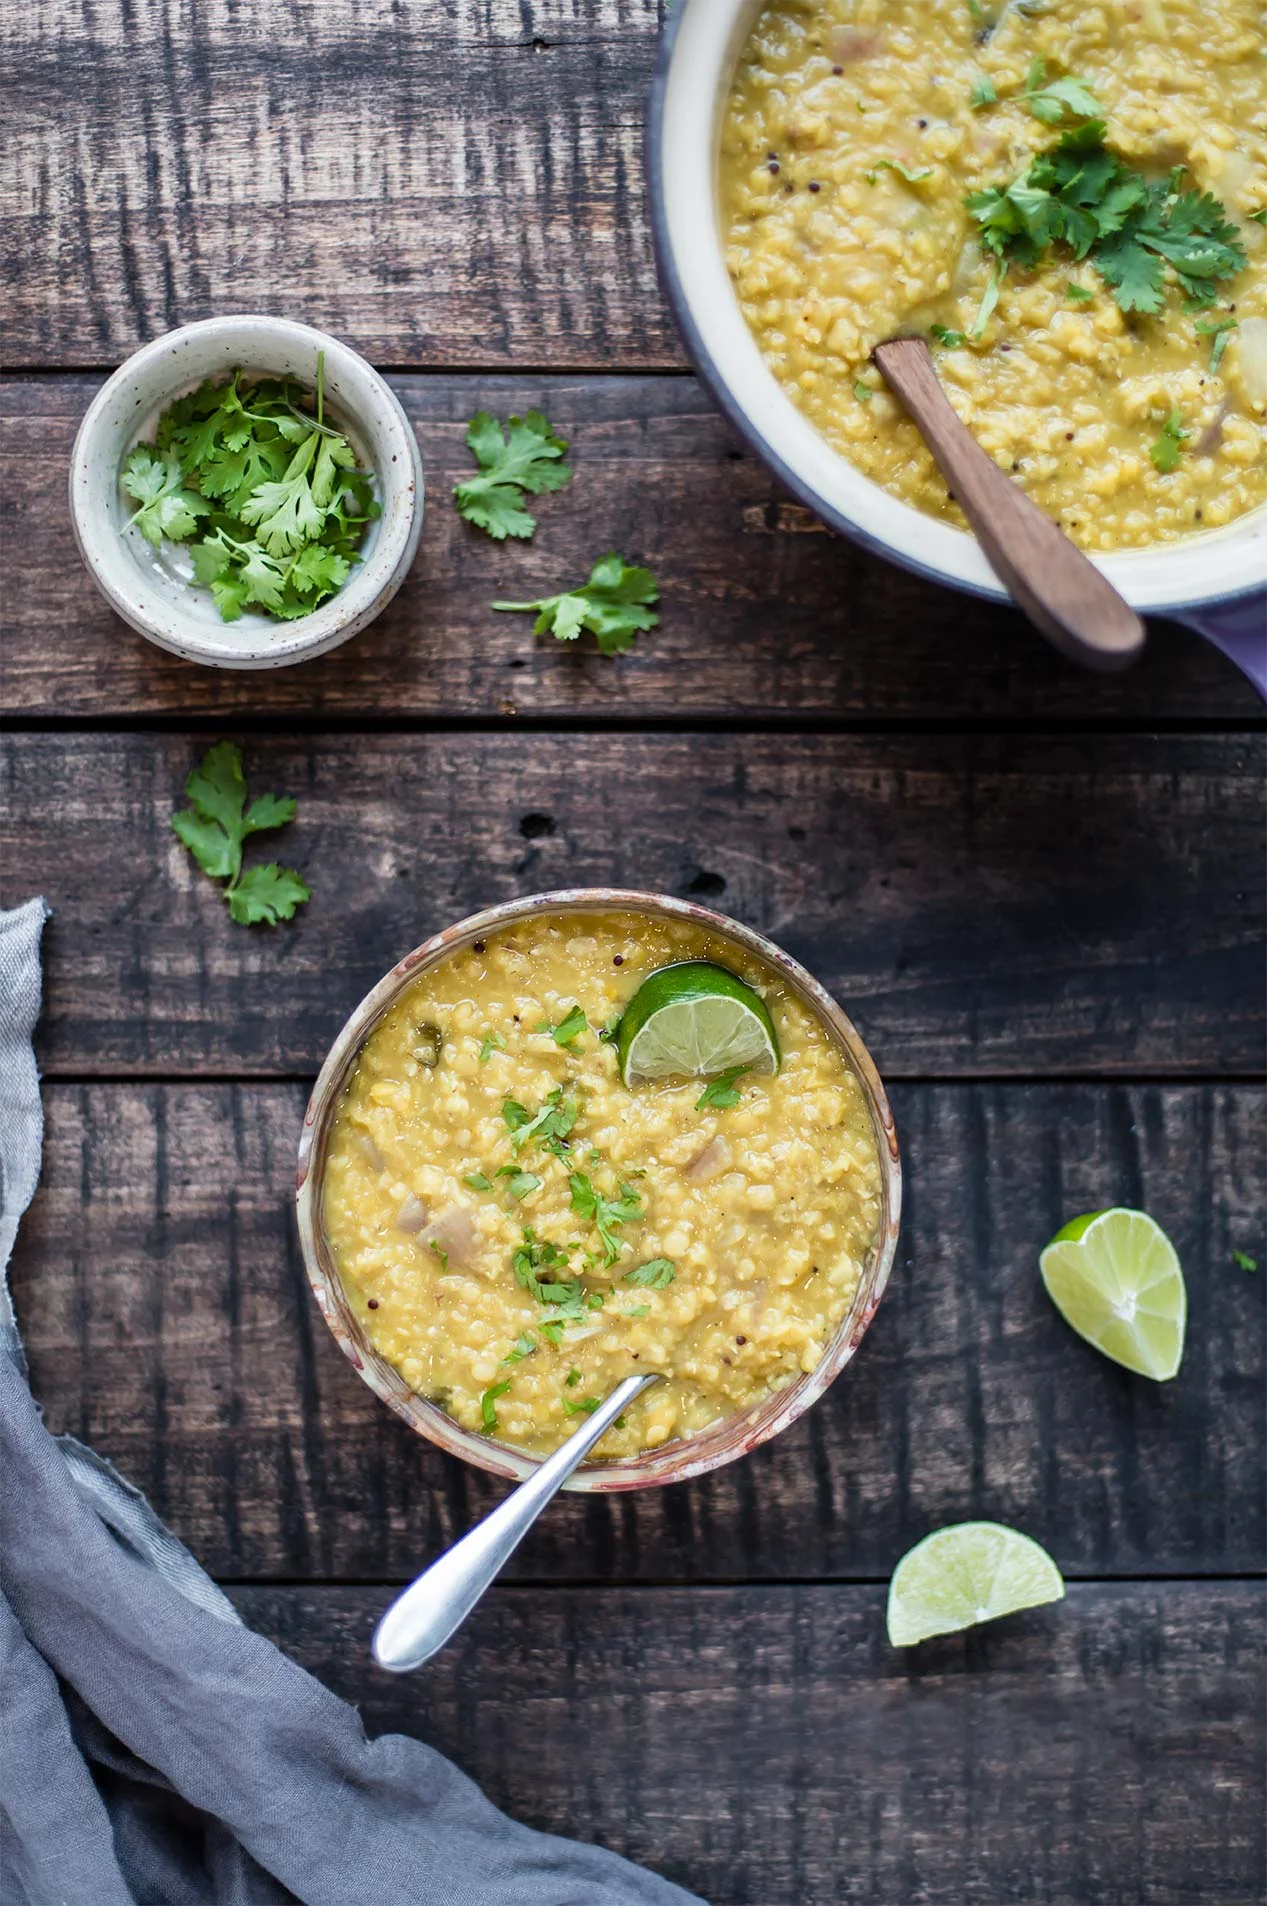
    I love red lentils when the weather starts to turn, and my go-to is dal. It’s creamy, spicy, satisfying, and so easy to make in an Instant Pot. So easy! The best weekend days start with breakfast, take us climbing somewhere among the Aspens, and end in dinner from the Instant Pot.

    Instant Pot Yellow Dal

    Instant Pot Yellow Dal

    Published October 11, 2018 by
       Print This Recipe

    Serves: 8   |    Active Time: 30 minutes


    Ingredients:

  • 2 cups red lentils
  • 2 tablespoons coconut oil, divided
  • 6 cloves garlic, minced
  • 2 small red onions or 1 large, diced
  • 2-inch piece of ginger, minced
  • 1 jalapeño, minced
  • 1 teaspoon whole black mustard seeds
  • 1 teaspoon whole cumin seeds
  • 1 teaspoon ground coriander
  • 1 teaspoon ground turmeric
  • 1/4 teaspoon ground cayenne
  • 1/2 teaspoon salt
  • 1/4 teaspoon ground black pepper
  • 4 cups vegetable broth
  • Juice 1/2 lime, plus wedges for serving
  • 1/4 cup cilantro, minced, plus more for garnish

  • Directions:

    1. Turn the Instant Pot (affiliate link!) to sauté setting. Add 1 tablespoon coconut oil to the Instant Pot. When the oil is hot, sauté the garlic, onions, ginger, and jalapeño, stirring occasionally.
    2. While onions cook, heat the remaining tablespoon of oil in a small skillet over medium-low heat. When oil is hot, add mustard seed and cumin seeds, and toast until fragant. (Watch the seeds closely to avoid burning them—the cook quicly).
    3. Scape the cumin and mustard mixture into the Instant Pot. Add broth, ground coriander, ground turmeric, ground cayenne, salt, ground black pepper, lime juice, and cilantro and stir.
    4. Place lentils in a fine mesh strainer and rinse with cool water. Strain, then add to the Instant Pot. Stir well.
    5. Place lid on Instant Pot and turn to “Manual” setting and adjust to high pressure. Set timer for 10 minutes with the seal closed.
    6. When the timer goes off, release the pressure or allow it to release naturally. Stir the lentils, and serve hot with lime wedges and cilantro.
    7. To make this on the stove top instead of an Instant Pot: Use a large soup pot. In step 3, bring everything to a simmer and cook, stirring occassionally, for 15-20 minutes, until lentils are softened through.
    8. Note: If you soak your lentils for 6-12 hours ahead of time (we usually do this), then strain water from lentils before use. Reduce cooking time to 4 minutes.

    2 Comments

    Roasted Zucchini, Corn & Basil Salad

    Roasted Zucchini, Corn & Basil Salad

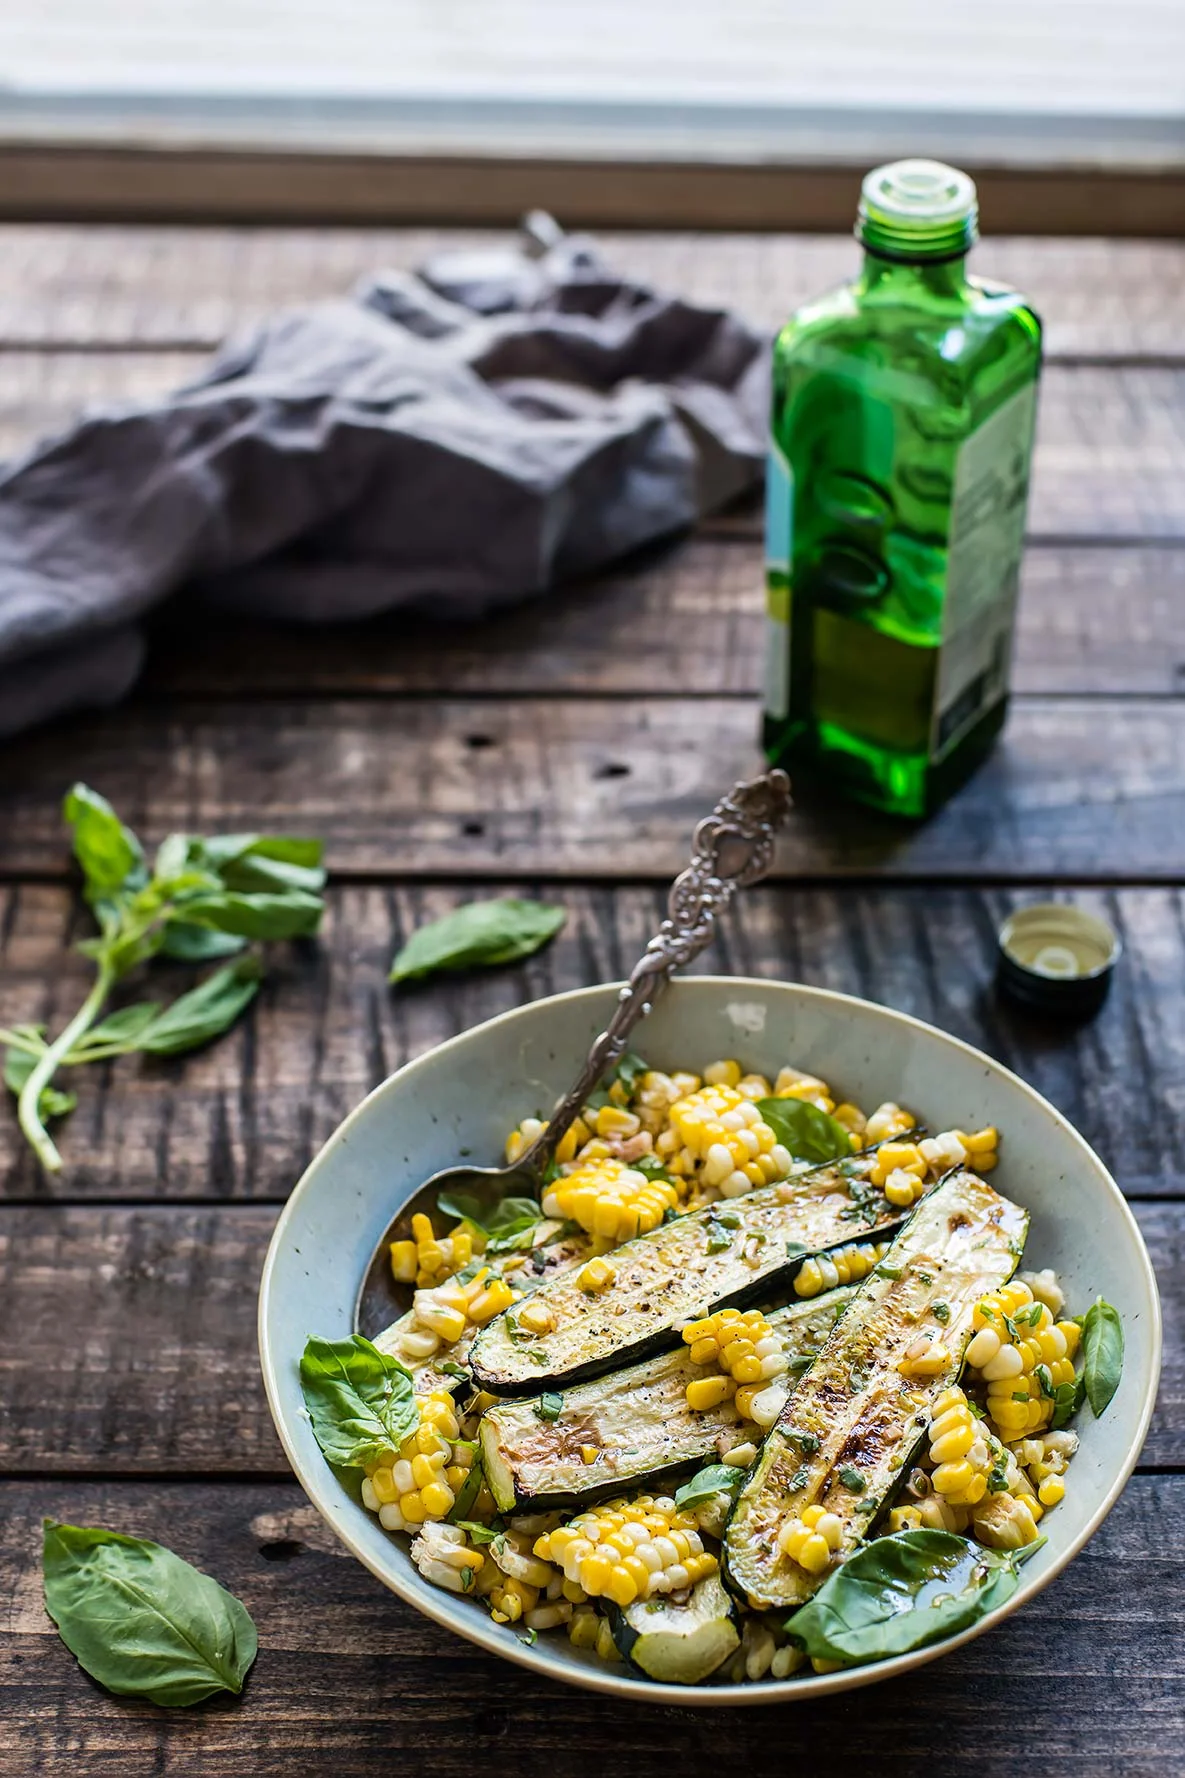
    This salad is made of three quintessential mid-summer crops: corn, zucchini, and basil.

    Zucchini is one of my all-time favorite veggies, because it’s so versatile. It’s good sautéd, raw, zoodled, or in this case, roasted (any grill masters out there? You can do the roasting over an open flame if that’s more your style!). Use young zucchini in this recipe. They are more tender, have smaller seeds, and you can simply cut them in half (the long way) rather than into strips. Yellow summer squash would work well too! 

    There’s a saying, “things that grow together go together,” and it’s certainly the case here. Roasted zucchini needs little in terms of seasoning, but a little fresh basil brightens this dish up. Good warm or cold, this salad is the perfect backyard grill out side dish! To turn this recipe into a heartier salad, one you could eat for lunch, try adding shredded parmesan and diced avocado. 

    Roasted Zucchini, Corn & Basil Salad
    Roasted Zucchini, Corn & Basil Salad
    Roasted Zucchini, Corn & Basil Salad

    Have even more zucchini to use? Try these zucchini bread pancakes.

    Roasted Zucchini, Corn & Basil Salad

    Published July 24, 2018 by
       Print This Recipe

    Serves: 4   |    Active Time: 30 minutes


    Ingredients:

  • 4 small zucchini
  • 3 cobs of corn
  • 1/2 cup fresh basil
  • 2-3 tablespoons olive oil

  • For the vinaigrette:
  • 1 clove garlic, minced
  • 1/4 cup extra virgin olive oil
  • 2 tablespoons red wine vinegar
  • 1/8 teaspoon salt
  • 1/8 teaspoon pepper
  • 1/8 teaspoon honey or maple syrup

  • Directions:

    1. Preheat oven to 450°F. Slice the zucchini into long strips, about 1/4 inch to 1/2 inch thick. Brush zucchini and corn with olive oil and place on sheet pan. Bake for 20 minutes, until softened. Turn oven to high broil, and cook for 3-5 more minutes, just to get the corn and zucchini really roasted. (Note: You can also do this step on your grill, and skip the oven!)
    2. Allow zucchini and corn to cool so that you can handle them with out burning yourself. Arrange zucchini in a salad bowl, and then use a knife to cut the kernels from each corn cob. Add kernels to the bowl. Cut basil chiffonade style, reserving a few whole leaves for garnish, and add to the bowl. Toss everything to combine.
    3. Combine all ingredients for the dressing in a jar and shake. Pour over salad, top with reserved basil leaves, and serve.

    Comment