Broccolini & Mushrooms with Fried Shallots

Broccolini & Mushrooms with Fried Shallots

Two words for you: fried shallots.

They are crispy, salty, savory, and akin to those French’s Crispy Onions, but they’re just fried shallots with a little bit of salt. They can be used just about about any way you’d normally use French’s, but are also used in many Vietnamese recipes (like as a topping on Pho… YUM!). And they can be made ahead — one of two days before you’re going to use them. They add a crispy crunch to whatever you serve with them!

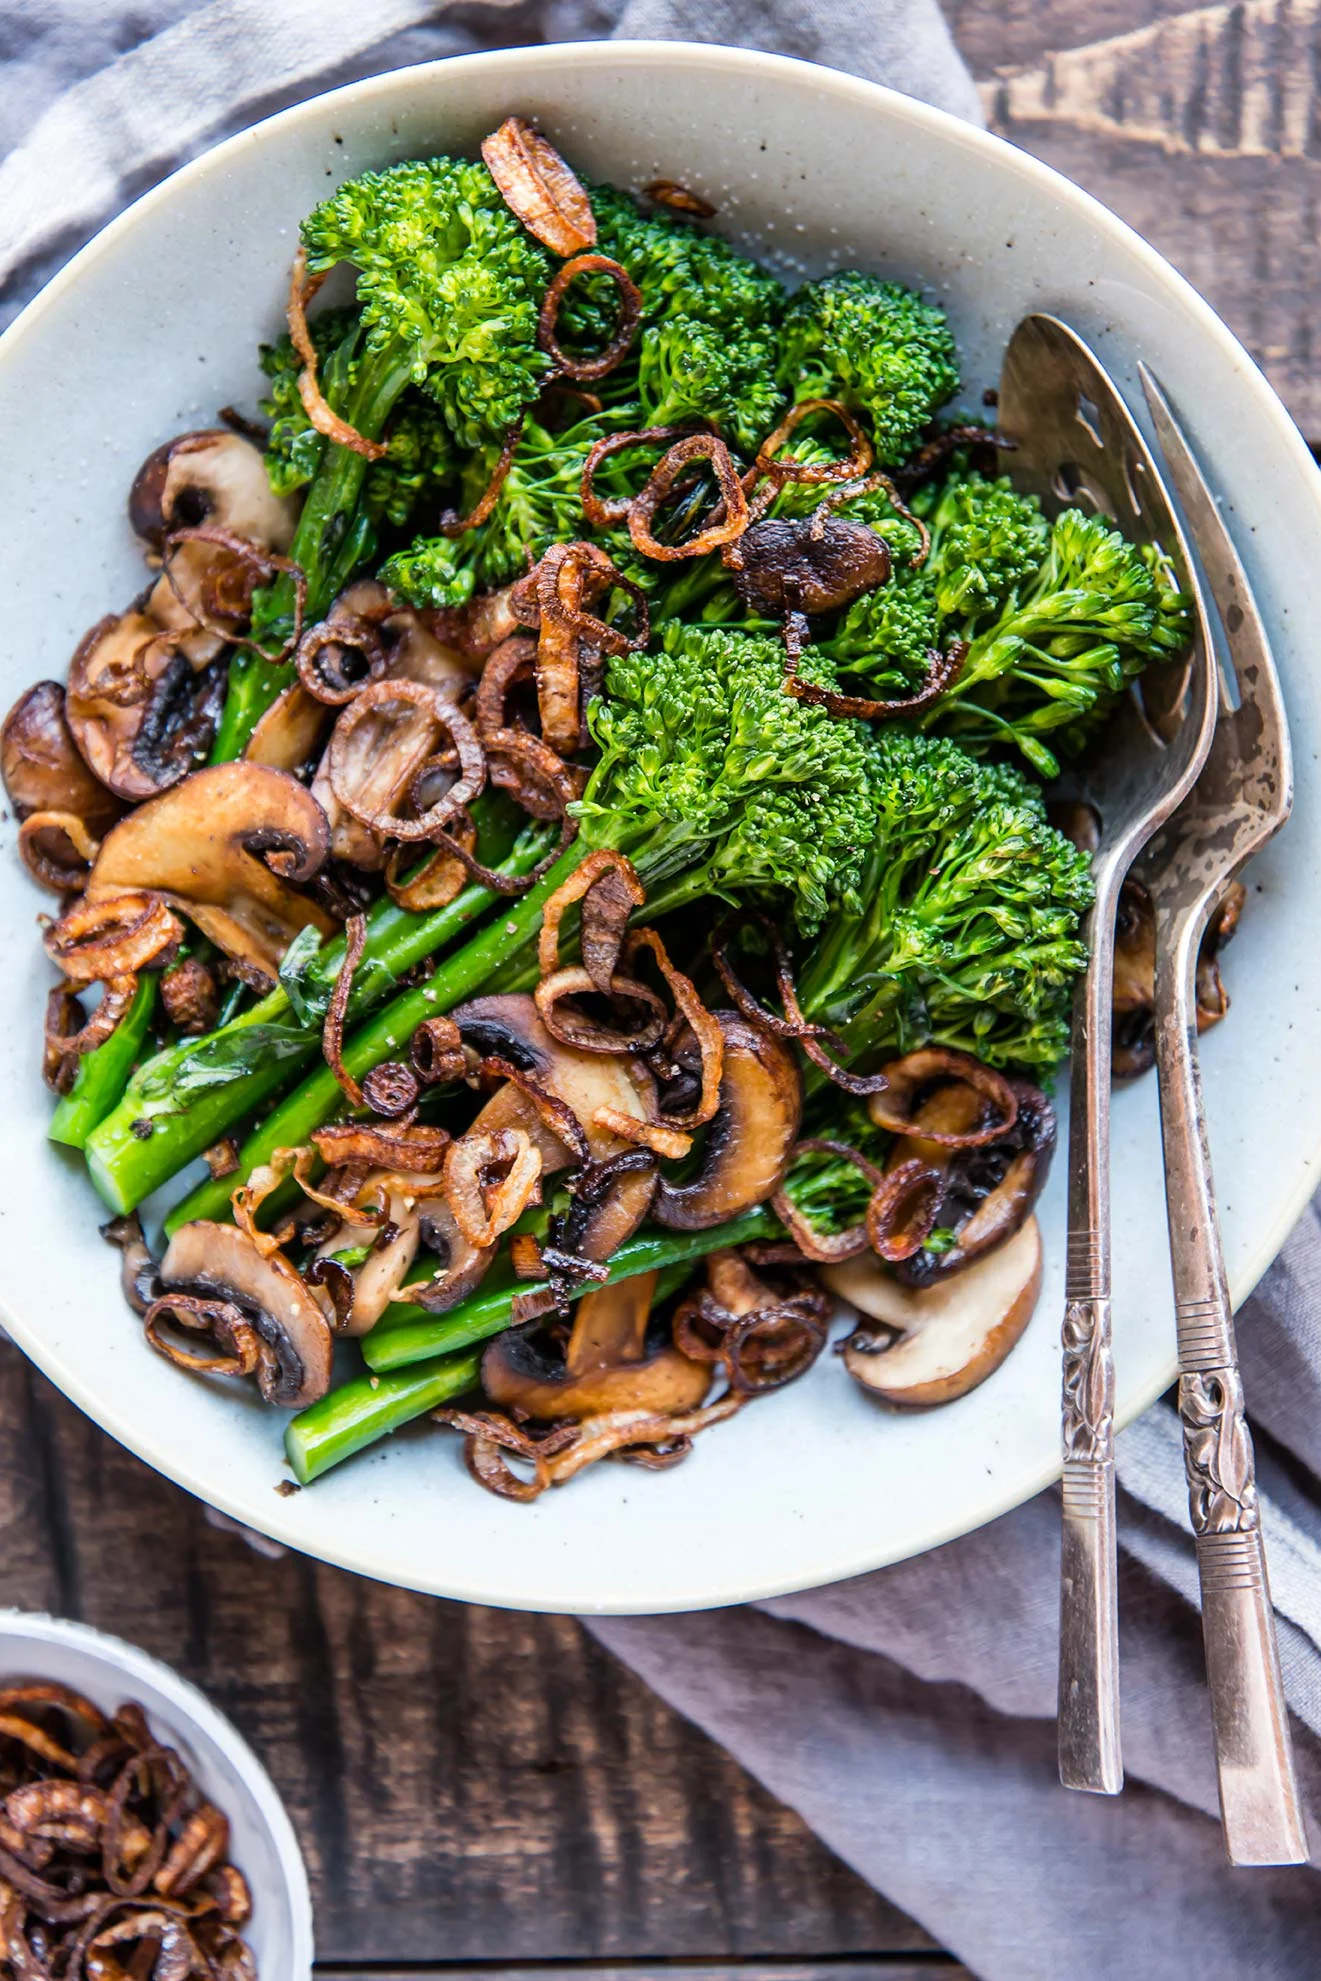
In this case, broccolini and mushrooms get the special treatment. After being sautéd, They’re topped with a generous amount of crispy shallots. It’s a fun way to make something so simple (sautéd broccolini) feel special — special enough to be a side dish at a holiday meal, or topped with a poached egg for breakfast 😍 …runny yolk and fried shallot is a particularly great combo.

With Winter Solstice tomorrow, it felt good to eat something earthy and fresh between all of the holiday cookies. 🌎 Happy Solstice! 

Broccolini & Mushrooms with Fried Shallots

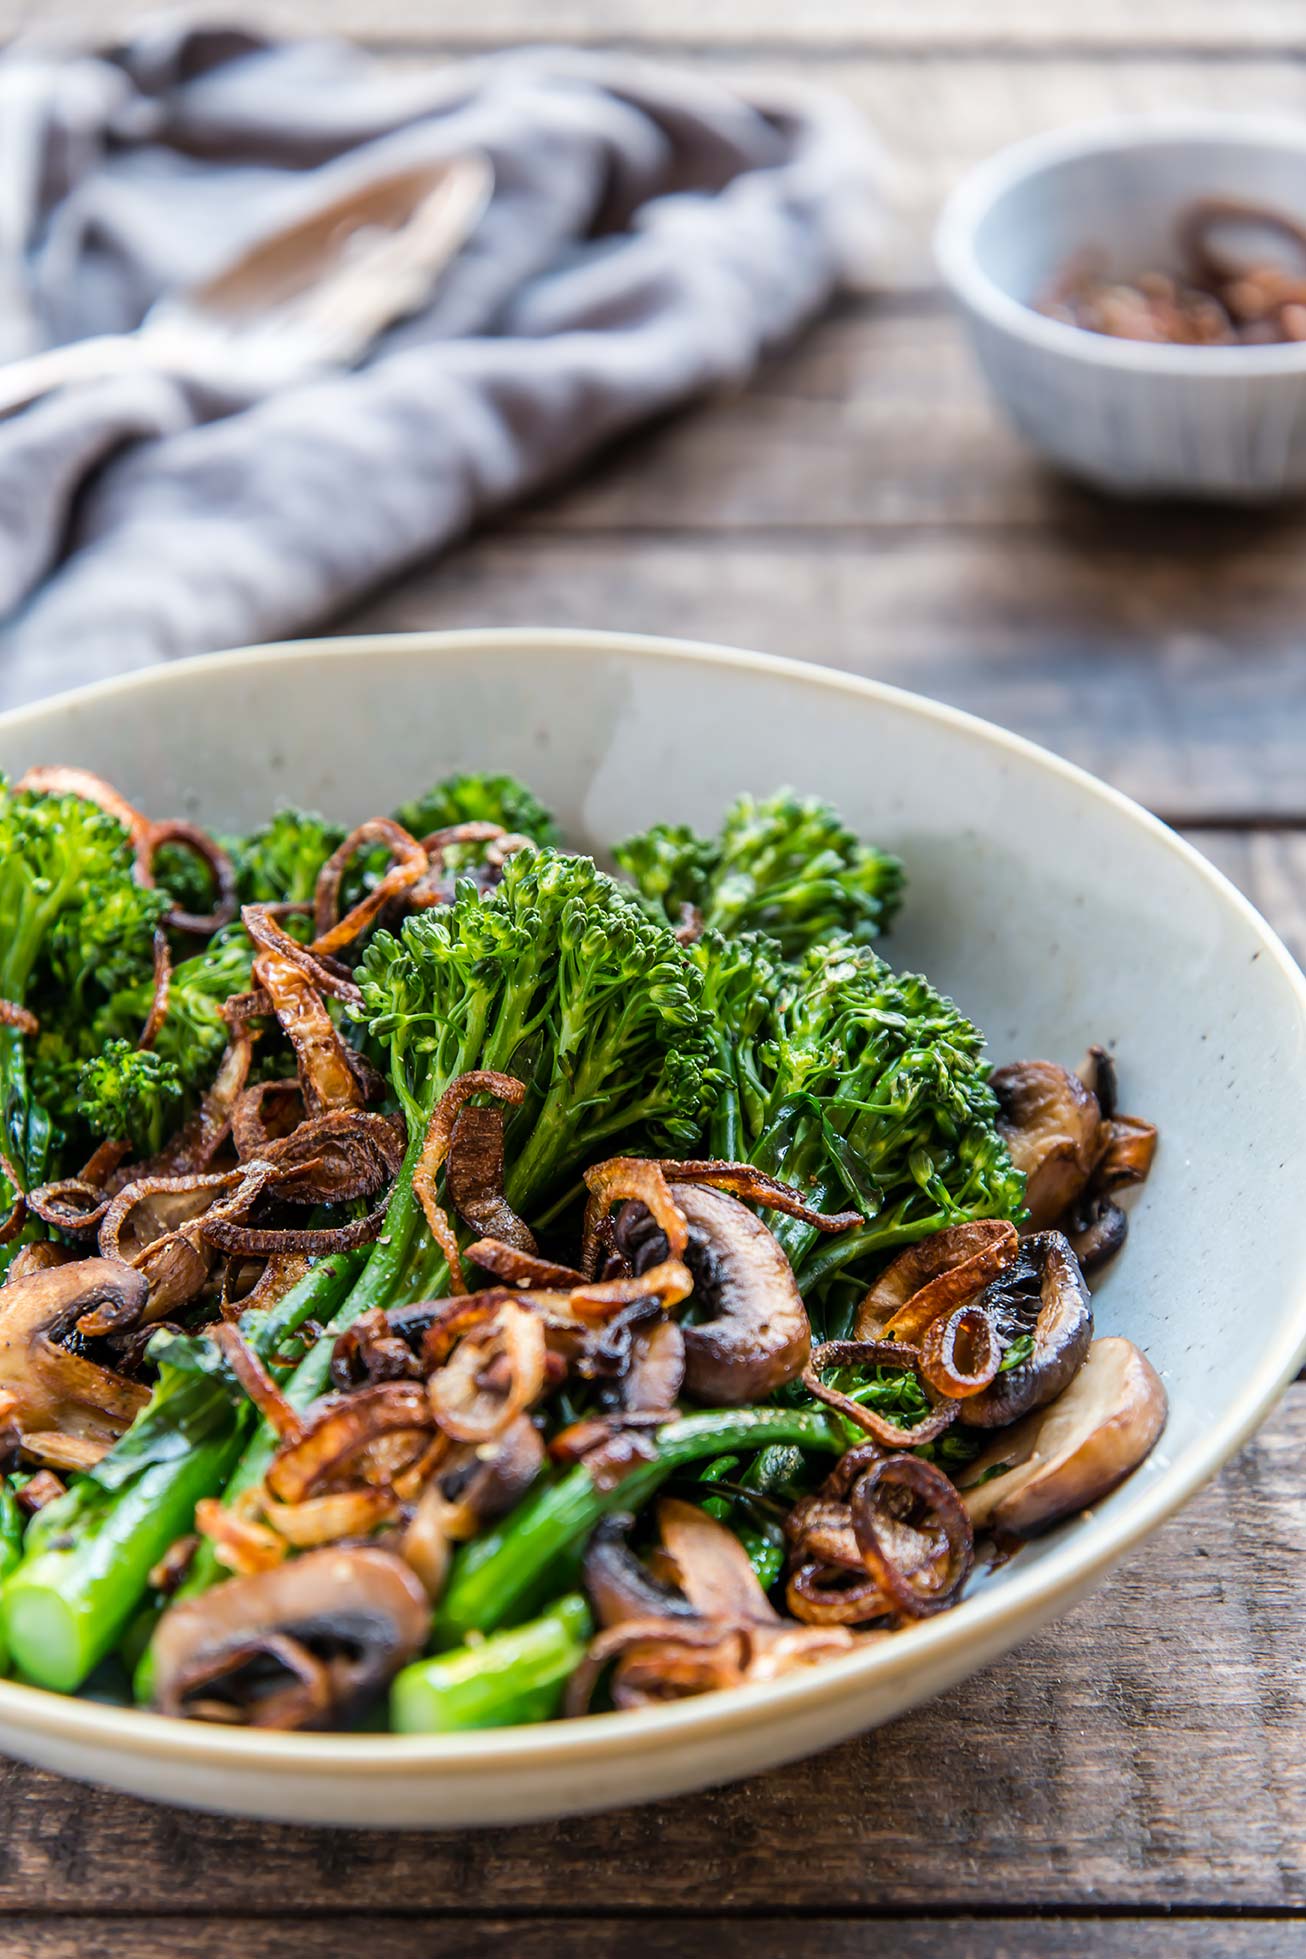
So how do you make those little golden rings? It’s not too difficult, and once you’ve done it once you’ll be pro. Here are a few tips:

  • Slice two shallots extra thin.

  • Use an oil with a high smoke point. I used avocado oil, which has a fairly high smoke point — 520°F, far below what we’ll need here. Avoid olive oil.

  • Use an instant read thermometer to monitor the temperature of your oil. In this case, using a thermometer makes it way easier to get timing right!

  • You can drain fried shallots on a plate stacked with paper towels, but we don’t keep paper towels in the house. Imstead, I place a fine mesh sieve over a heat-proof bowl or pot. Works great, less waste!

  • Salt immediately. With all fried food, salting right after frying helps the salt stick to the food, so salt those shallots up! A few sprinkles will do. Toss them gently to coat.

Broccolini & Mushrooms with Fried Shallots

Making fried shallots ahead of time: This can be very helpful, especially if you plan to already be at the stove earlier in the week. Plan ahead, and you’ll be glad. Store fried, cooled shallots in an air-tight container in the fridge (let them cool completely, so that no steam is trapped in the container — that will make for soggy shallots). You can store them in the fridge for two days, though the shallots are really best used right after they are fried or the next day. If they feel a little soft when you go to use them, you can toast them in a  oven or toaster oven for 10 minutes at 350°F, and then leave them to cool again (they will at first feel even softer when heated, and then will crisp up again as they cool).

Broccolini & Mushrooms with Fried Shallots

Published December 20, 2018 by
   Print This Recipe

Yield: 4   |    Active Time: 40 minutes


Ingredients:

  • 2 shallots, sliced thin
  • 1-inch high-heat oil for frying (such as avocado), plus one tablespoon for sautéing broccolini
  • 1 bunch broccolini
  • 1 cup sliced baby portobello mushrooms
  • Salt & pepper to taste

  • Directions:

    1. Place a fine mesh sieve over a heat-proof bowl or pot. Set aside for later use.
    2. Heat oil in a skillet. Use an instant read thermometer to monitor the temperature of the oil. When the oil reach 275°F, carefully add shallots to the oil. Shallots will slowly turn from pink-white to yellow-brown. Stir occasionally. When the oil temperature reaches 375°F, wait 5 more seconds. Then, use a slotted spoon to transfer shallots from oil to prepared sieve. Sprinkle salt over shallots and toss to coat (1/16 to 1/8 teaspoon). Allow shallots to continue to cool in sieve.
    3. Sauté mushrooms & broccolini: heat remaining 1 tablespoon oil in a skillet over medium heat. Once oil glistens, add sliced mushrooms. Cook for about 5 minutes, and stir. Add broccolini, and place lid on pan. After about 5 minutes, stir again, and then return lid to pan, cooking until broccolini is bright green and tender through.
    4. Transfer cooked broccolini and mushrooms to a serving dish, and top with fried shallots. Season to taste with salt & black pepper.
    5. Serving suggestion: Serve this as a dinner side, and top with freshly grated Parmesan Reggiano, or for breakfast, topped with a poached egg.

    Comment

    Lower Sugar Sweet Potato Casserole with Oatmeal Pecan Topping

    Lower Sugar Sweet Potato Casserole with Oatmeal Pecan Topping
    Lower Sugar Sweet Potato Casserole with Oatmeal Pecan Topping

    I grew up on the sort of sweet potato casserole that is topped with marshmallows, and I love the stuff.

    One Thanksgiving in California is vividly stamped in my mind — the year we visited my grandparents and I realized for the first time that my grandma cooked almost every dish for Thanksgiving dinner in the microwave. IN THE MICROWAVE! Coming from rather culinary parents, it was a bit of a shock, and I’m not sure why I hadn’t noticed in previous years (I don’t even remember other Thanksgiving dinners at their house; maybe this was a first).

    Anyways… this sweet potato casserole is not made in the microwave (do I even need to say that?) and so it’s off to a far superior start already! But it’s also been revised in other ways, calling for less sugar and being topped with crumbly, crispy pecans and oats instead of marshmallows. Because, sugar and marshmallows just don’t leave me feeling my best.

    Sweet potatoes are quite sweet as they are, so adding sugar to the filling feels unnecessary (most recipes call for 1/4 to 1/2 cup of added sugar). In this version the filling is “natural,” meaning all the sweetness comes from the sweet potatoes, and the topping is made with maple syrup and cinnamon (which has sweet notes of it’s own!).

    As Oliver would say, this dish comes out of the oven “smelling sweeter than a plate of yams with extra syrup.”

    Lower Sugar Sweet Potato Casserole with Oatmeal Pecan Topping
    Lower Sugar Sweet Potato Casserole with Oatmeal Pecan Topping

    Tip: Cook the sweet potatoes ahead of time! You can cook the potatoes up to three days before you’re going to make this casserole. Here are a couple of ways to cook them (affiliate links ahead!):

    • In an Instant Pot: Place whole sweet potatoes in your Instant Pot with 1 cup of water (use a steamer basket if you have one). Use manual mode and set to high for 15 minutes (vent in sealed position). Allow pressure to release naturally, then open pot. Allow potatoes to cool, and then remove skins, which should easily pull off at this point.

    • In an oven: Preheat oven to 425°F. Prick sweet potatoes with a fork and rub with oil (such as coconut oil). Place potatoes on a baking sheet lined with aluminum foil or a sil-pat and bake for 45 minutes.

    In both of these methods, the natural sugars in the sweet potatoes will caramelize so that your sweet potato casserole tastes sweet without the added sugar.

    Thanksgiving is THIS WEEK. What else are you making? What’s your favorite thing once you sit down at the table?

    Lower Sugar Sweet Potato Casserole with Oatmeal Pecan Topping

    Lower Sugar Sweet Potato Casserole with Oatmeal Pecan Topping

    Published November 20, 2018 by
       Print This Recipe

    Serves: 4   |    Active Time: 4 hours


    Ingredients:

  • 3-4 cups mashed sweet potato
  • 1/4 cup half and half or canned coconut milk
  • 3 tablespoons melted butter or coconut oil
  • 1/2 teaspoon salt
  • 1 teaspoon vanilla

  • For Crumble Topping:
  • 1/4 cup melted butter or coconut oil
  • 1/4 cup maple syrup
  • 1/3 heaping cup rolled oats
  • 1 heaping cup pecan halves

  • Directions:

    1. Preheat oven to 350°F.
    2. Combine the first five ingredients in a mixing bowl and stir until well incorporated.
    3. Spread sweet potato mixture in an even layer in a 9x9 baking dish.
    4. In a separate bowl, combine ingredients for crumble topping. Spread crumble topping in an even layer over the sweet potatoes.
    5. Place baking dish in the middle rack of the oven and bake 25-30 minutes. Sweet potatoes should be warmed through and pecans on top should be lightly toasted. Allow to cool 10 minutes before serving.

    1 Comment

    Chopped Kale Salad with Bacon, Dates & Pecans

    Chopped Kale Salad with Bacon, Dates & Kale

    Two co-workers were talking about the best kale salad ever at this fancy restaurant downtown — Oak. They both noted that it was most memorable part of their meal. The salad. Can you believe that?!

    That conversation got my mind going, and somehow I invented a story in my head about that salad. In my mind, it had pecans, dates, and even bacon. It wasn’t just kale, there were other greens to lighten it up. And the dressing was tangy and sweet but not overpowering. I thought about that salad so much that I went ahead and made it (because why not?).

    Chopped Kale Salad with Bacon, Dates & Kale
    Chopped Kale Salad with Bacon, Dates & Kale

    It wasn’t until I went to write this post that I remembered the original inspiration (Oak’s famous salad), and figured I should probably look up what their kale salad actually contains. Boy was I off the mark!

    Shaved Apple & Kale Salad. Grana Padano, togarashi, candied almonds.

    Say what??! Kale, apples, cheese, candied nuts, you have me on the edge of my seat! But then, Togarashi?!

    I guess I have to just go try the original. Until then, I’m going to pretend my own kale salad is just as famous.

    Chopped Kale Salad with Bacon, Dates & Kale

    Chopped Kale Salad with Bacon, Dates & Pecans

    Published October 4, 2018 by
       Print This Recipe

    Serves: 4   |    Active Time: 20 minutes


    Ingredients:


    For the Salad:
  • 4 kale leaves, chopped into bite-sized pieces
  • Sprinkle of salt
  • Drizzle of extra virgin olive oil
  • 1 cup romaine, shredded
  • 1 cup radicchio, shredded
  • 6 medjool dates, pitted and roughly chopped
  • 4 slices cooked bacon, cooled and chopped in bite sized pieces
  • 1 tablespoon dijon mustard
  • 1/2 cup extra virgin olive oil
  • Salt and pepper to taste

  • Directions:

    1. Place kale in a salad bowl. Drizzle lightly with oil and a sprinkle of salt. Using your hands, “massage” the kale, rubbing the leaves with your hands until they are bright green and tender. This will make them easier to eat.
    2. Add shredded romaine and radicchio to the bowl, and toss to combine. Add bacon, dates, and pecans.
    3. Combine first four ingredients for vinaigrette in a small jar and shake to combine. Season with salt and pepper to taste. Drizzle over salad to your tastes and toss. Serve.

    Comment