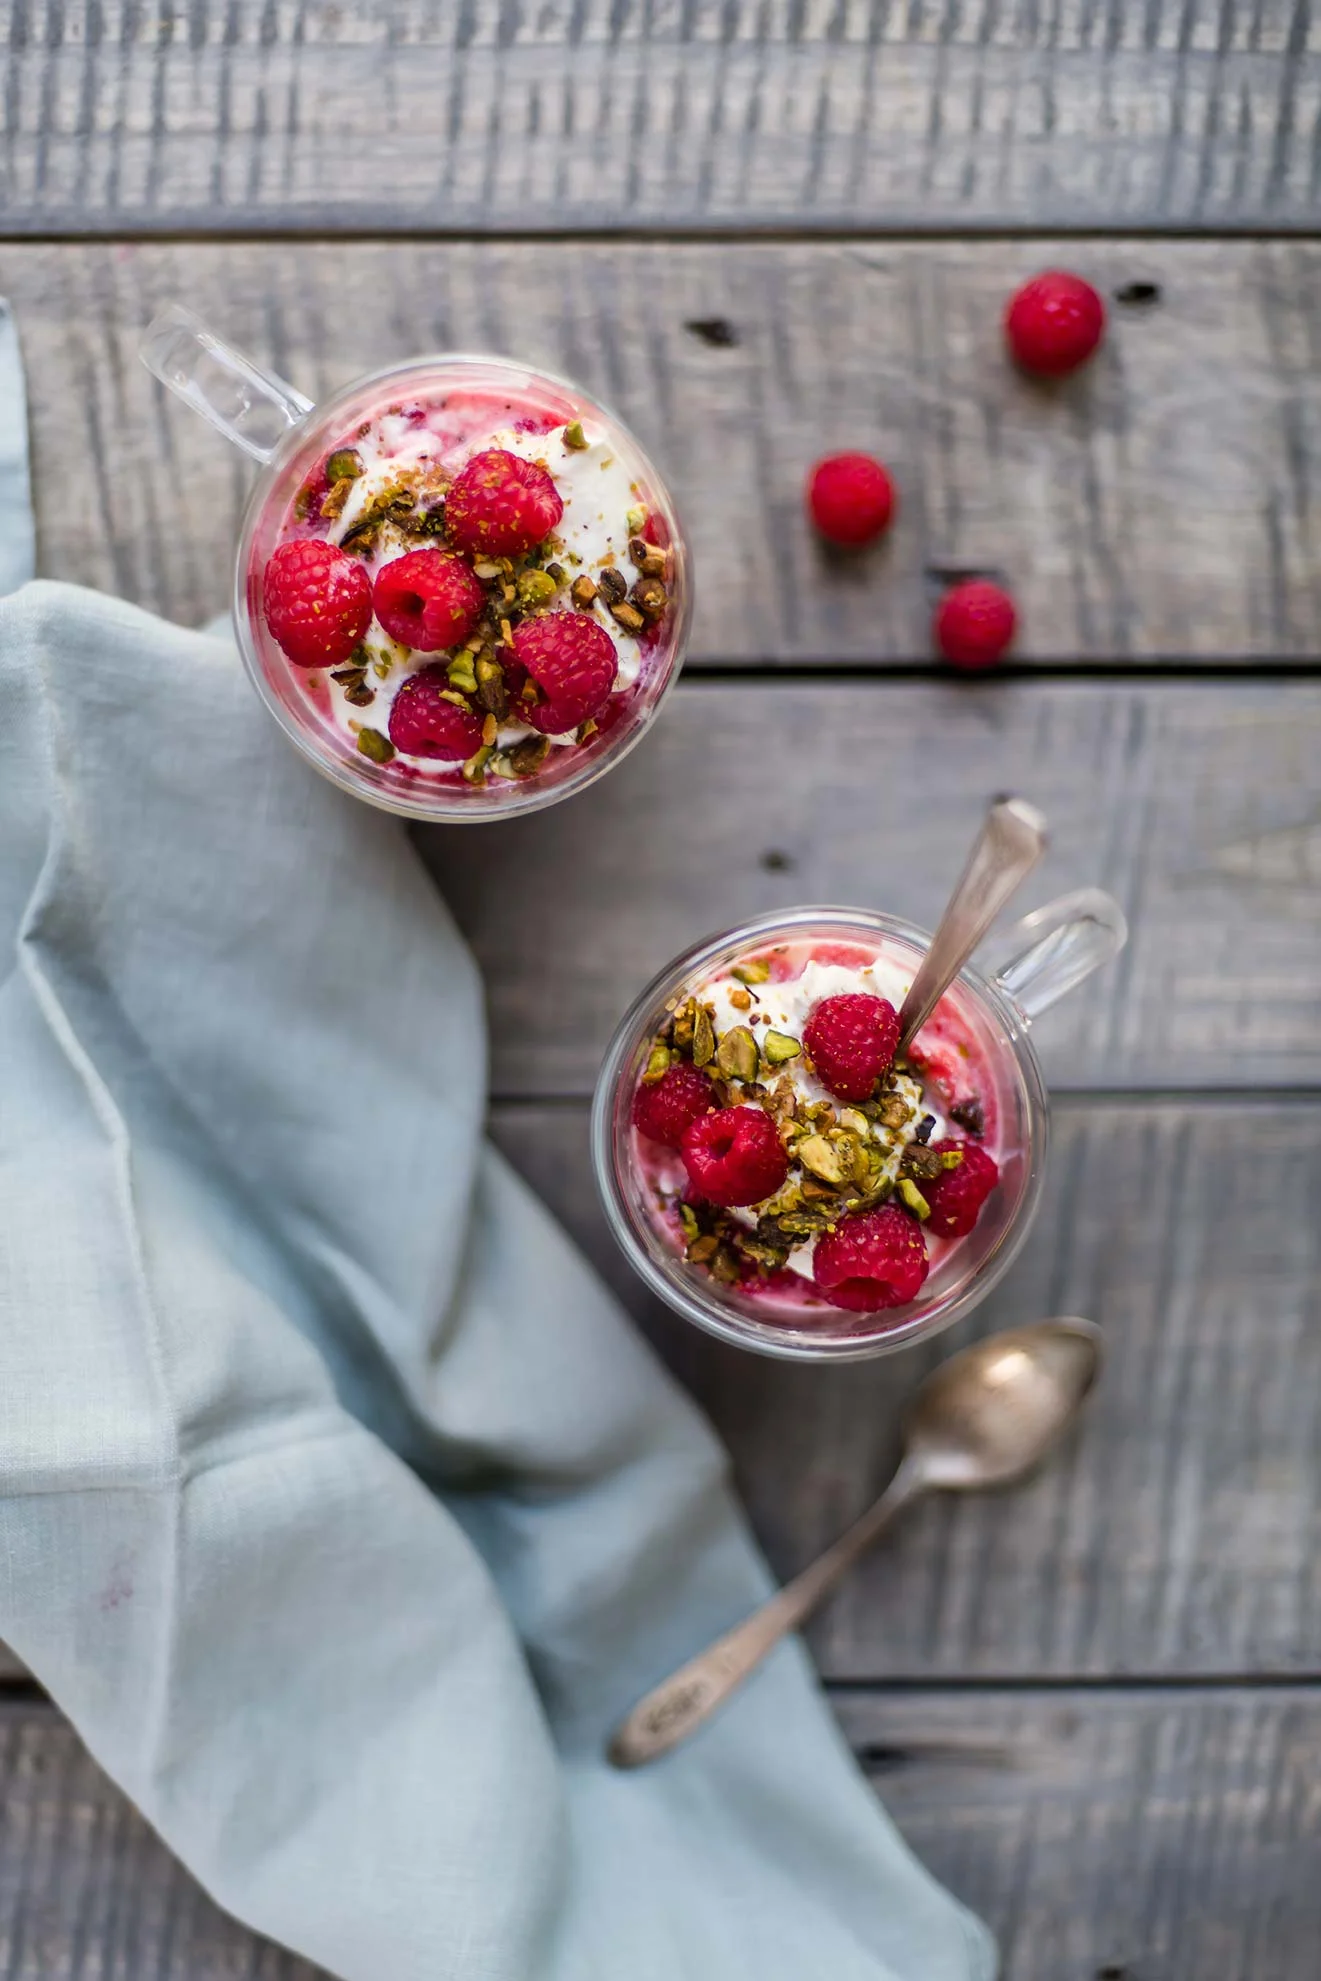
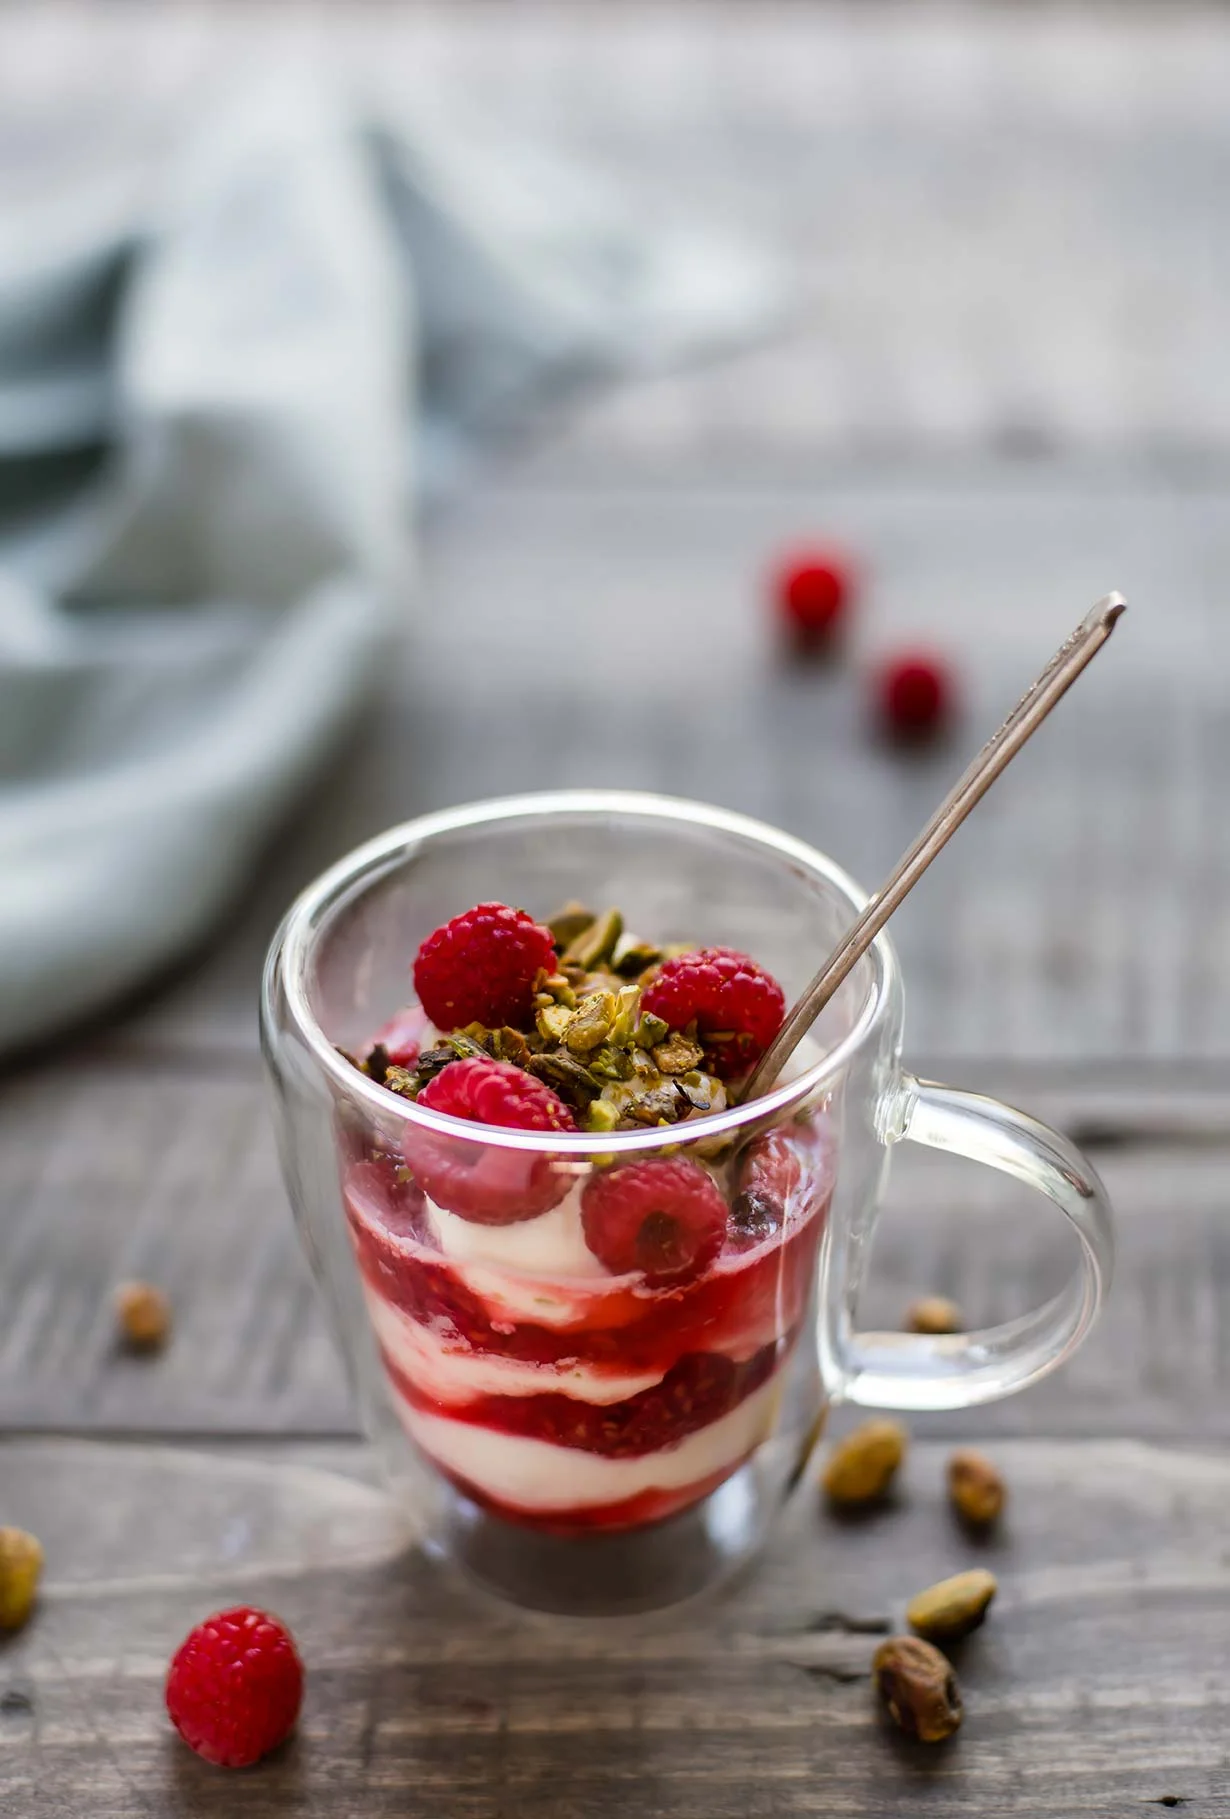
Raspberry Pistachio Fool (Sweetened with honey!)
/
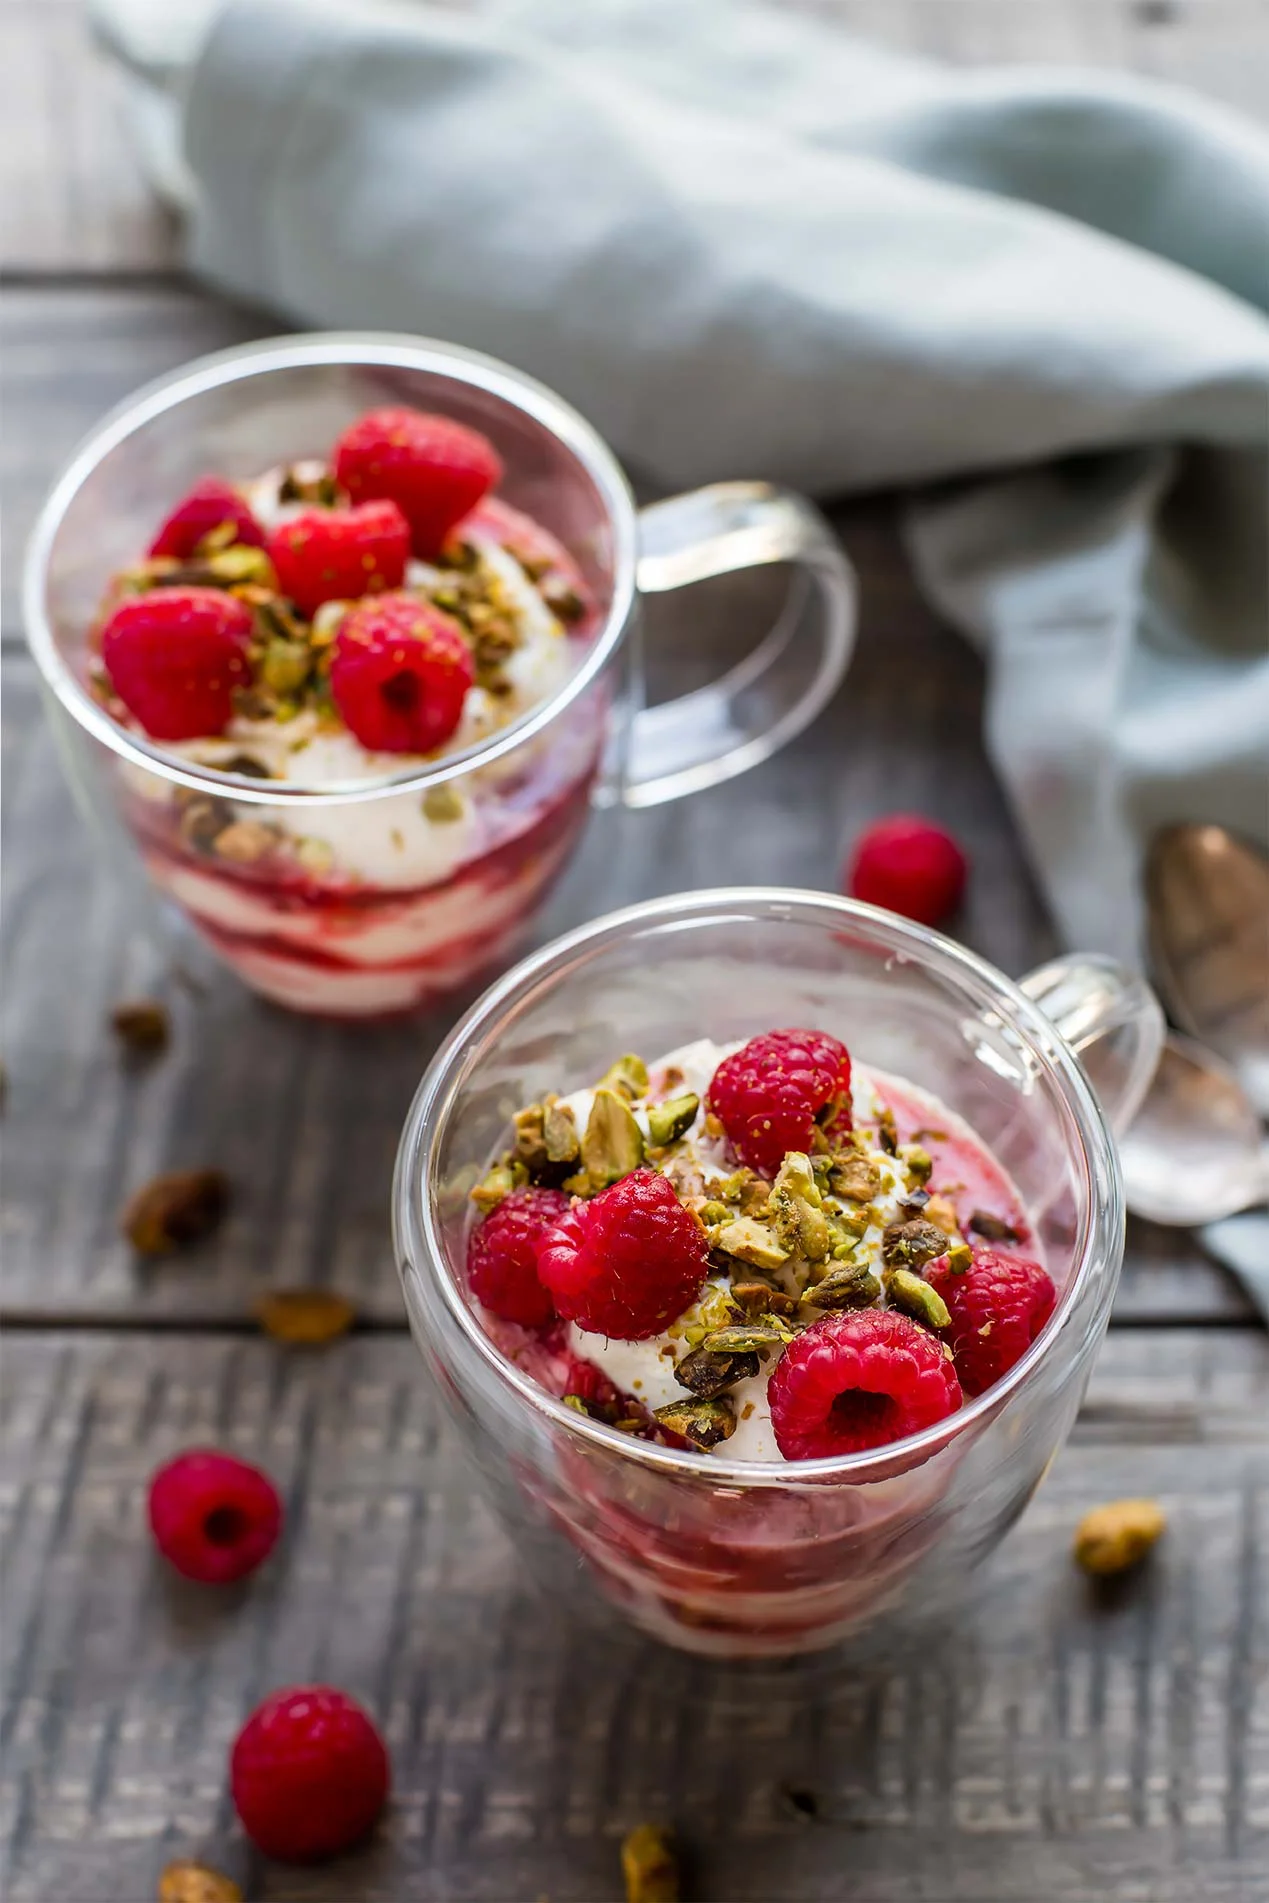
A simple dessert such as this one hardly needs a full blog post to go with it — soft folds of whipped cream, fresh raspberries accentuated with just a touch of honey and lemon, bits of slightly salty pistachio. That ingredients list alone will do. 🤤
A “fool” is a British dessert where puréed fruit is layered with custard or whipped cream. This version used whipped cream, which is lighter and pairs well with fresh raspberry, which are sweet and delicate at their peak.
The raspberry bush I planted last year is producing it’s first round of berries right now (a miracle really, because the backyard is basically a jungle of weeds). There are only a few berries and they’re not quite ripe yet, so I used store bought for this recipe. In a pinch, frozen berries would work — just thaw the berries before macerating.
And — I’m all for dessert-for-breakfast, so if you're looking for something you could eat in the morning, you could swamp the whipped cream in this recipe for your favorite Greek yogurt and make a parfait.
Pistachios add a nice crunch to this fool, which is otherwise all fluff and fruit. You could really use any type of nut, but I like the flavor of pistachio with raspberry and whipped cream, and also love the way the color pops!
And now, onwards, because there’s really nothing better than tasting this one for yourself.
Raspberry Pistachio Fool (Sweetened with honey!)
Serves: 3 | Active Time: 20 minutes
Ingredients:
Directions:
- In a small bowl, combine 8 ounces of raspberries with lemon juice and 1 teaspoon honey. Set remaining raspberries aside. Using a fork, mash the 8 ounces of raspberries with the lemon and honey. The mixture should resemble a jam or compote. Set aside.
- In a second mixing bowl, whip cream to soft peaks using an electric mixer. Add in vanilla and 1-2 teaspoons of honey, depending on your tastes, and continue to whip cream for another minute to incorporate.
- In three serving glasses or bowls make alternating layers of whipped cream and the raspberry mixture. Place reserved fresh raspberries on top, and sprinkle with crusted pistachios. Serve immediately.