Power Cookies
/
Last night, the snow fell as over-sized flakes and we tried to catch them on our tongues, like we were 5 years old. Just two days ago, I was in a tank top looking for a mountain bike trail. This is Colorado springtime.
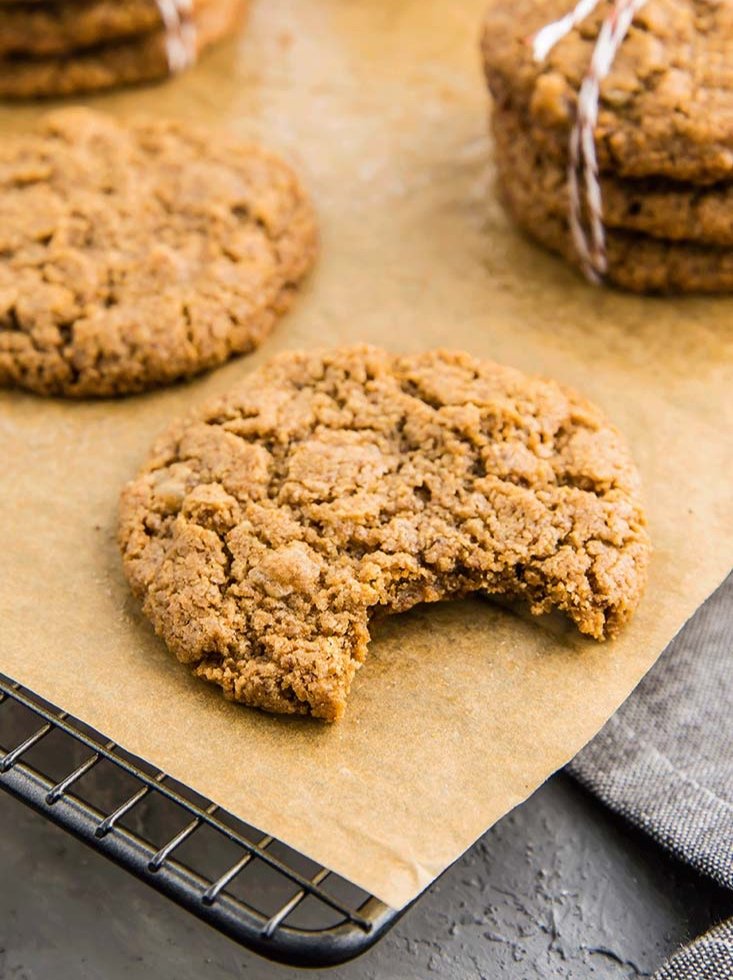
These Power Cookies enjoy all sorts of outings and fare well through all sorts of weather: throw them in your day bag for a hike, or munch on them while riding the ski lift. They are jam-packed with ingredients to give you energy. Peanut butter, oats, chocolate chips (how could I not include chocolate chips?) pecans, and coconut.
Why is it called a “Power Cookie?”
This cookie recipe sits somewhere between granola bar and cookie. But if you've ever made granola bars you know that they call for a lot (a lot a lot) of sugar in the form of honey, maple syrup, or (usually) rice syrup. That syrup is all there is to hold everything together. And don't get me wrong -- it's delicious! And there are some genius recipes that don’t call for quite as much sugar. But many have so much sugar, they are far too sweet for me. THESE cookies get the help of an egg, peanut butter and some almond meal, which helps them stick together without half as much syrup. YES: more whole foods, less processed syrup. So, it’s a power-bar slash cookie, making the final results a Power Cookie.

These Power Cookies are really inspired by my dad, who was the first person I knew to make a "energy cookie." He had a recipe similar to this on top of his fridge, in an over-stuffed manila folder. When I started baking a lot on my own (some time in high school), Power Cookies were one of the things I would make. This recipe is different -- the original is lost to me - but similar enough to be given the name "Power Cookies."
Hope you enjoy, whether you take them on an adventure or eat them right here at your computer, while they're still warm! (They are good either way — you do not need to be out and about to enjoy these. They make a GREAT mid-afternoon power up when you start feeling that 3pm slump, and since they are not so syrup-heavy, they keep you going longer, with real nutrients).

Power Cookies
Serves: 24 cookies | Total Time: 20 minutes
Ingredients:
- 1/2 cup nut butter (try peanut butter, almond butter, or cashew butter)
- 1/4 cup honey
- 1/4 cup melted butter
- 2 eggs
- 1 teaspoon vanilla extract
- 1 teaspoon cinnamon (optional - the cinnamon flavor comes through, so if you do not like cinnamon, skip it!)
- 1/2 teaspoon baking powder
- 1/2 teaspoon baking soda
- 1/4 teaspoon salt
- 1 cup rolled oats
- 1 cup shredded, unsweetened coconut
- 1/2 cup almond flour
- 1/2 cup pecan pieces
- 1/2 cup chocolate chips
Directions:
- Preheat oven to 350°F.
- In a large mixing bowl, cream together the nut butter, honey, butter, eggs, and vanilla using an electric mixer until smooth.
- Add optional cinnamon, baking powder, baking soda, and salt to the bowl, and beat into wet ingredients until incorporated.
- Now, add the rolled oats, coconut, almond flour, and mix until a stiff batter forms. Use a spatula to scrape the sides of the bowl as needed. Fold the chocolate chips and pecans into the batter.
- Scoop the batter by the heaping tablespoonful onto a cookie sheet fitted with parchment. Cookies will not spread as they bake, so flatten them slightly with the back of a spoon.
- Place in center wrack of oven and bake for 8-12 minutes. Cookies will be golden on the edges, but still soft—they will continue to set as they cool. Allow to cool 5-10 minutes before serving.