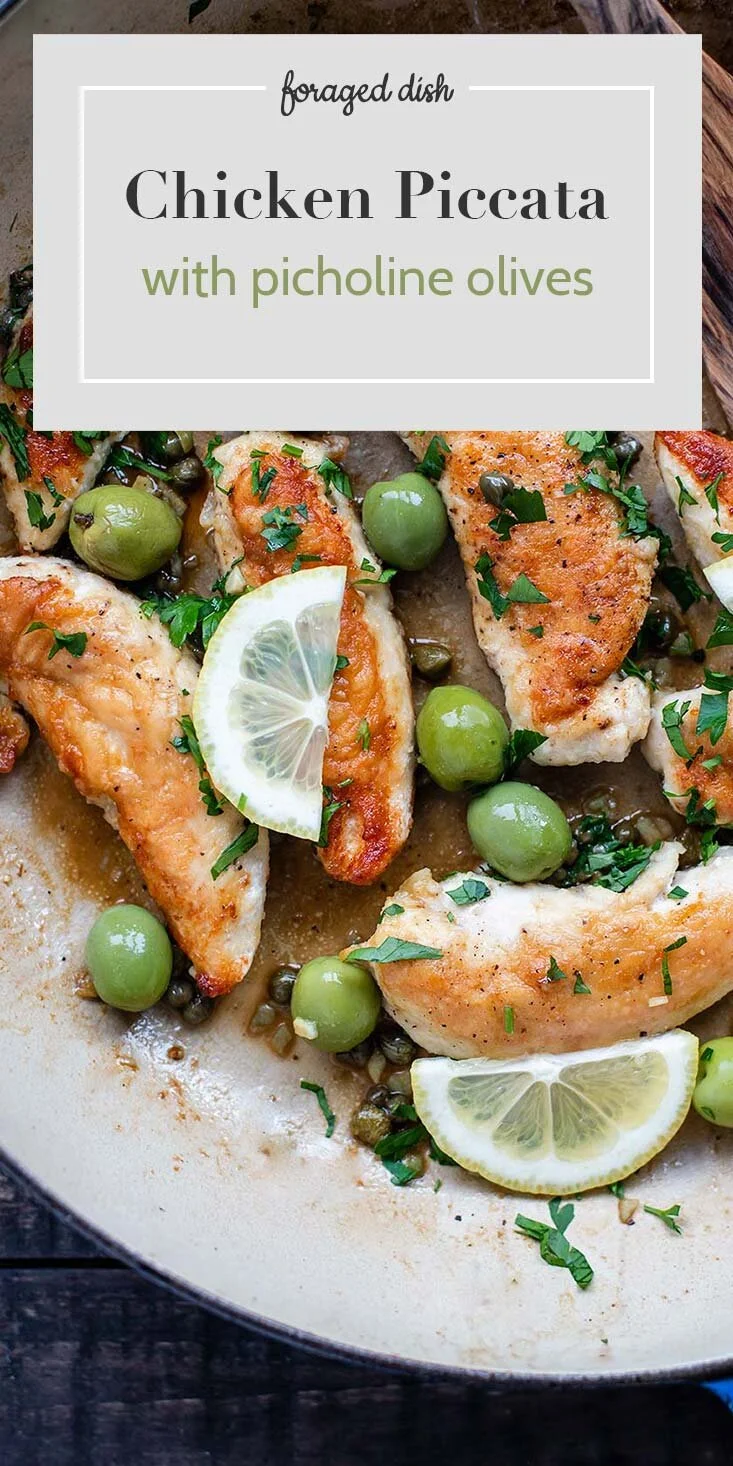
Chicken Piccata with Picholine Olives
/Today, I’m sharing an update to a a recipe that’s been on the blog for quite a while (since 2014!). This updated version still calls for olives, which is not a typical Piccata ingredient, but if you ask me, olives are rarely a bad idea.
When I think of chicken piccata, I don’t think of anything too bold or fancy. It evokes mental images of chain-style Italian restaurants. But that’s not quite right, because fresh home-style chicken piccata is bright. It’s surprising what a single lemon can do, and how briny capers awaken any dish. Bring an old classic back to the table—why not? Classics are classics for a reason, and this one is ready in under 30 minutes.

Chicken Piccata with Picholine Olives
Serves: 4 | Active Time: 25 minutes
Ingredients:
Directions:
- Sprinkle chicken, on both sides, with salt and pepper.
- Put flour on a plate. Coat each piece of chicken in the flour, shaking off excess.
- Heat olive oil in a pan over medium-high heat. When oil is glistening, place chicken in pan. Allow to cook for 3-4 minutes, undisturbed. Chicken should be white around the edges and golden on the cooked side. Add garlic to pan. Flip chicken to second side, and cook for 3 more minutes or until golden.
- Using a spatula or tongs, transfer chicken to a clean plate. Pour broth into pan, and reduce heat to medium-low. Squeeze lemon juice into pan. Using spatula, scrape the bottom of the pan, scraping up the brown bits for added flavor.
- Add chicken back to pan, and coat in sauce. Add capers and olives.
- Serve chicken on plates, and sprinkle with parsley.