Fall Black Rice Salad
/
Less than 2 weeks until Thanksgiving — though it feels like March was yesterday. In the spirit of the season, I thought I’d use this post to remind myself (and hopefully others!) of the positives. This week I’m thankful for:
How so many people showed up and voted for change and inclusivity in the US this month
Snow, which has helped combat Colorado’s wildfires, and reminded me that fall is really here, even though this year has gone by in the blur
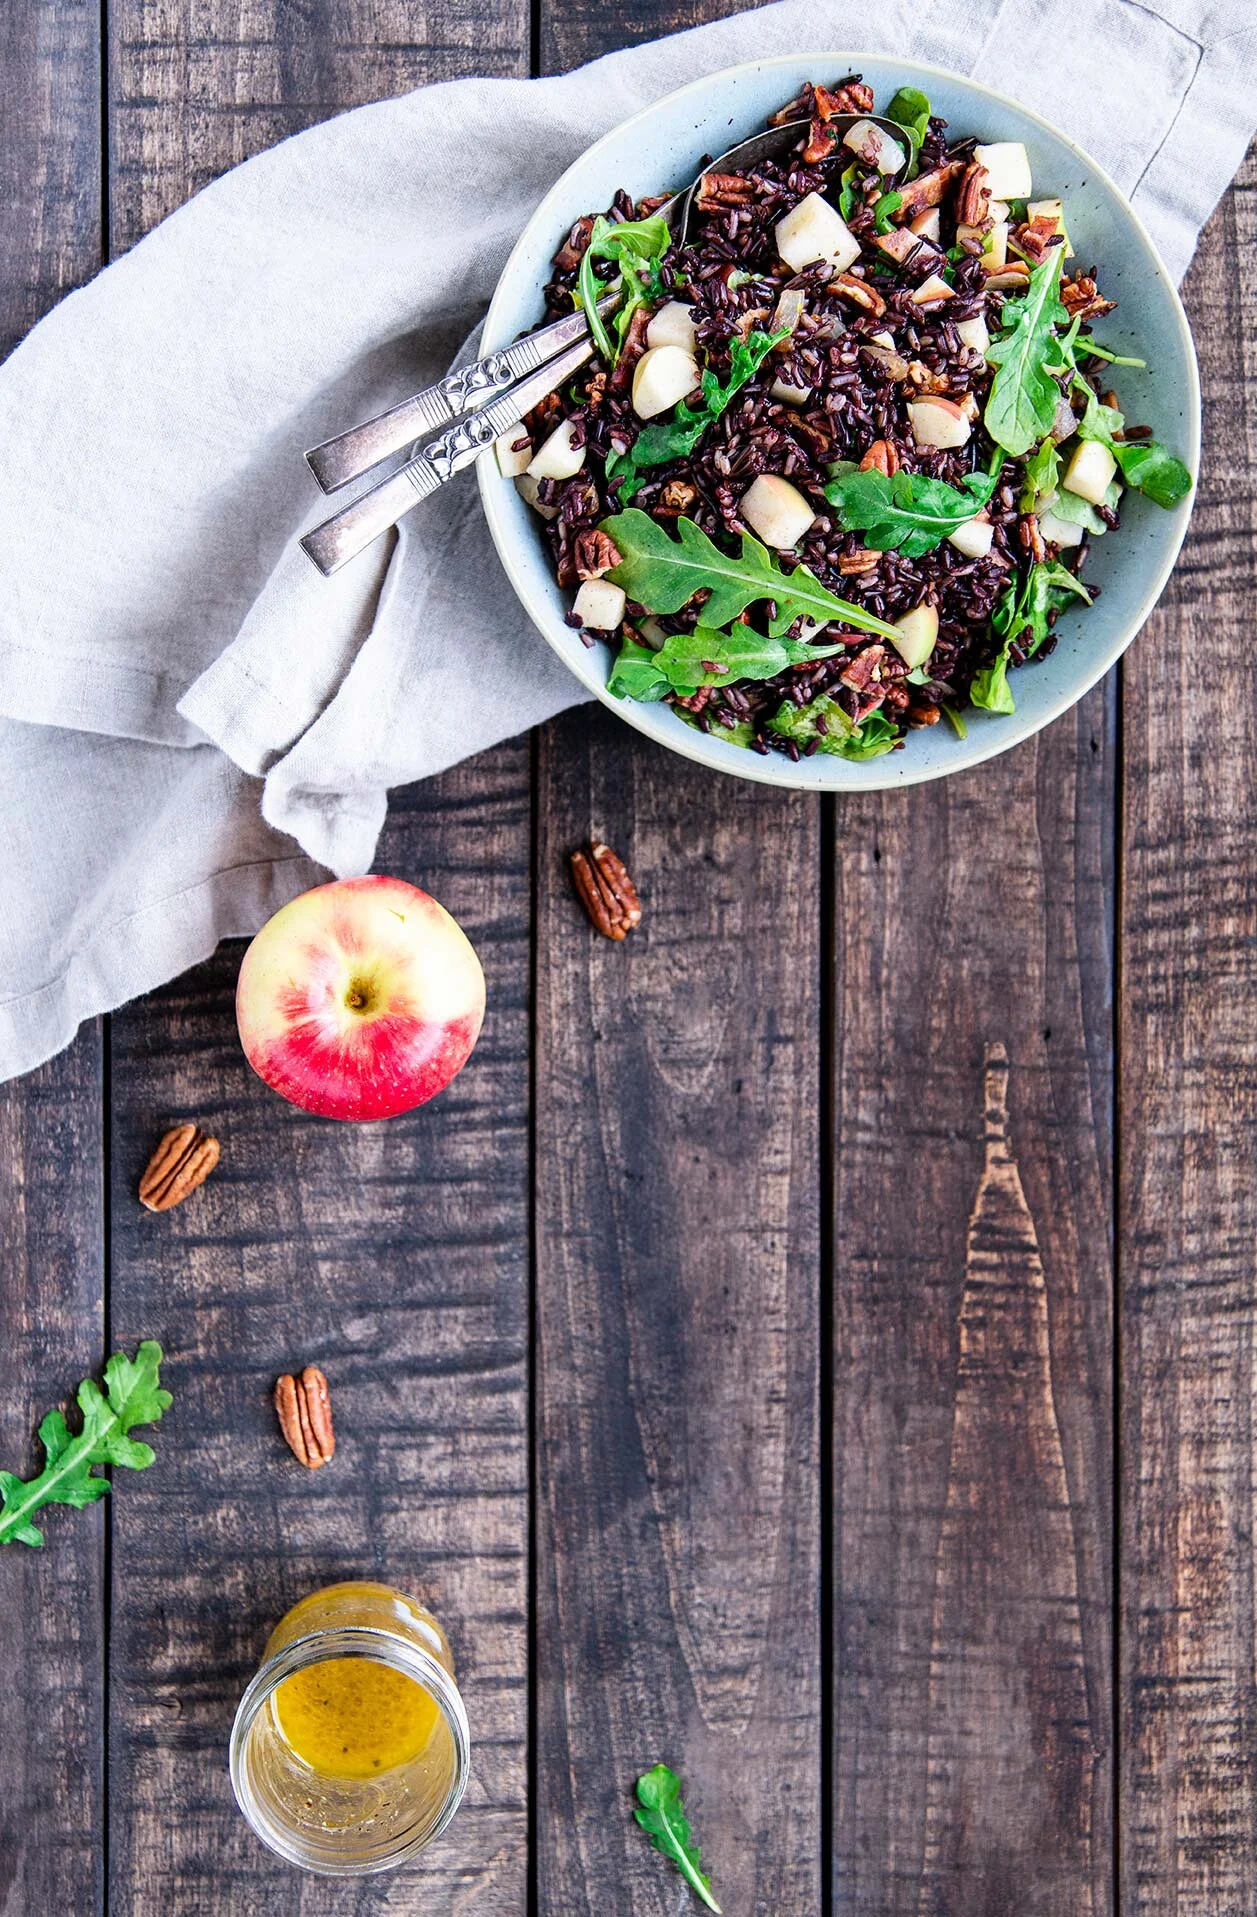
Fall cooking and baking. Favorites this week, were: this wild rice salad, tahini rice crispy recipe from Bon Appetit, quiche, Massaman coconut curry with tofu, sourdough focaccia, and miso braised greens. Next week I’d like to make cranberry hand pies and a pear coffee cake!
The upcoming holiday break — while it certainly won’t be a “normal” Thanksgiving, it will be nice to have a break and unplug

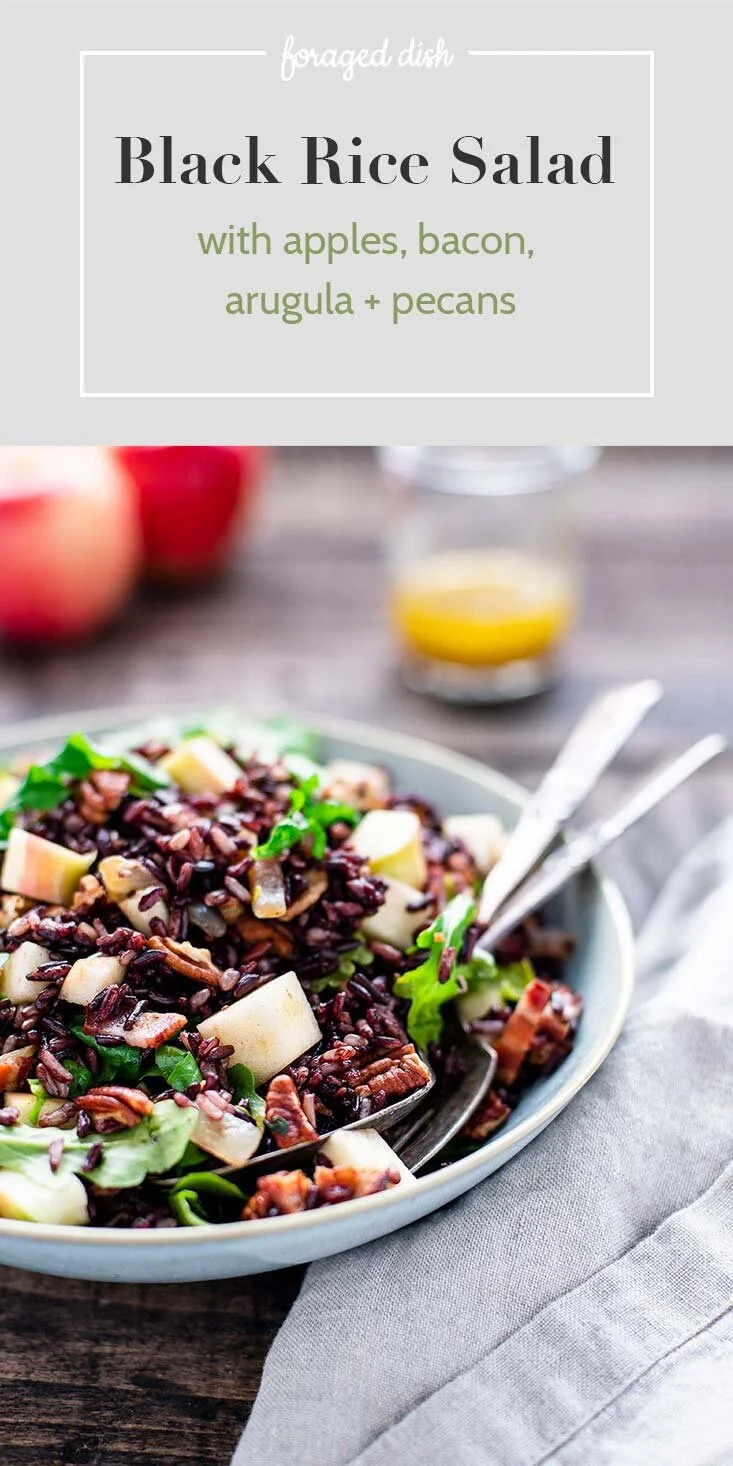
Fall Black Rice Salad
Serves: 6 | Active Time: 30 minutes
Ingredients:
Directions:
- Heat oil in the bottom of a sauce pan (or Instant Pot on Sauté setting). Sauté onions and garlic until transparent.
- Add rice to pot, along with broth. Cover, and cook according to instructions on the rice packet. (If using an Instant Pot, set to Multigrain setting for 14 minutes with the vent in the sealed position. Natural release for 10 minutes.)
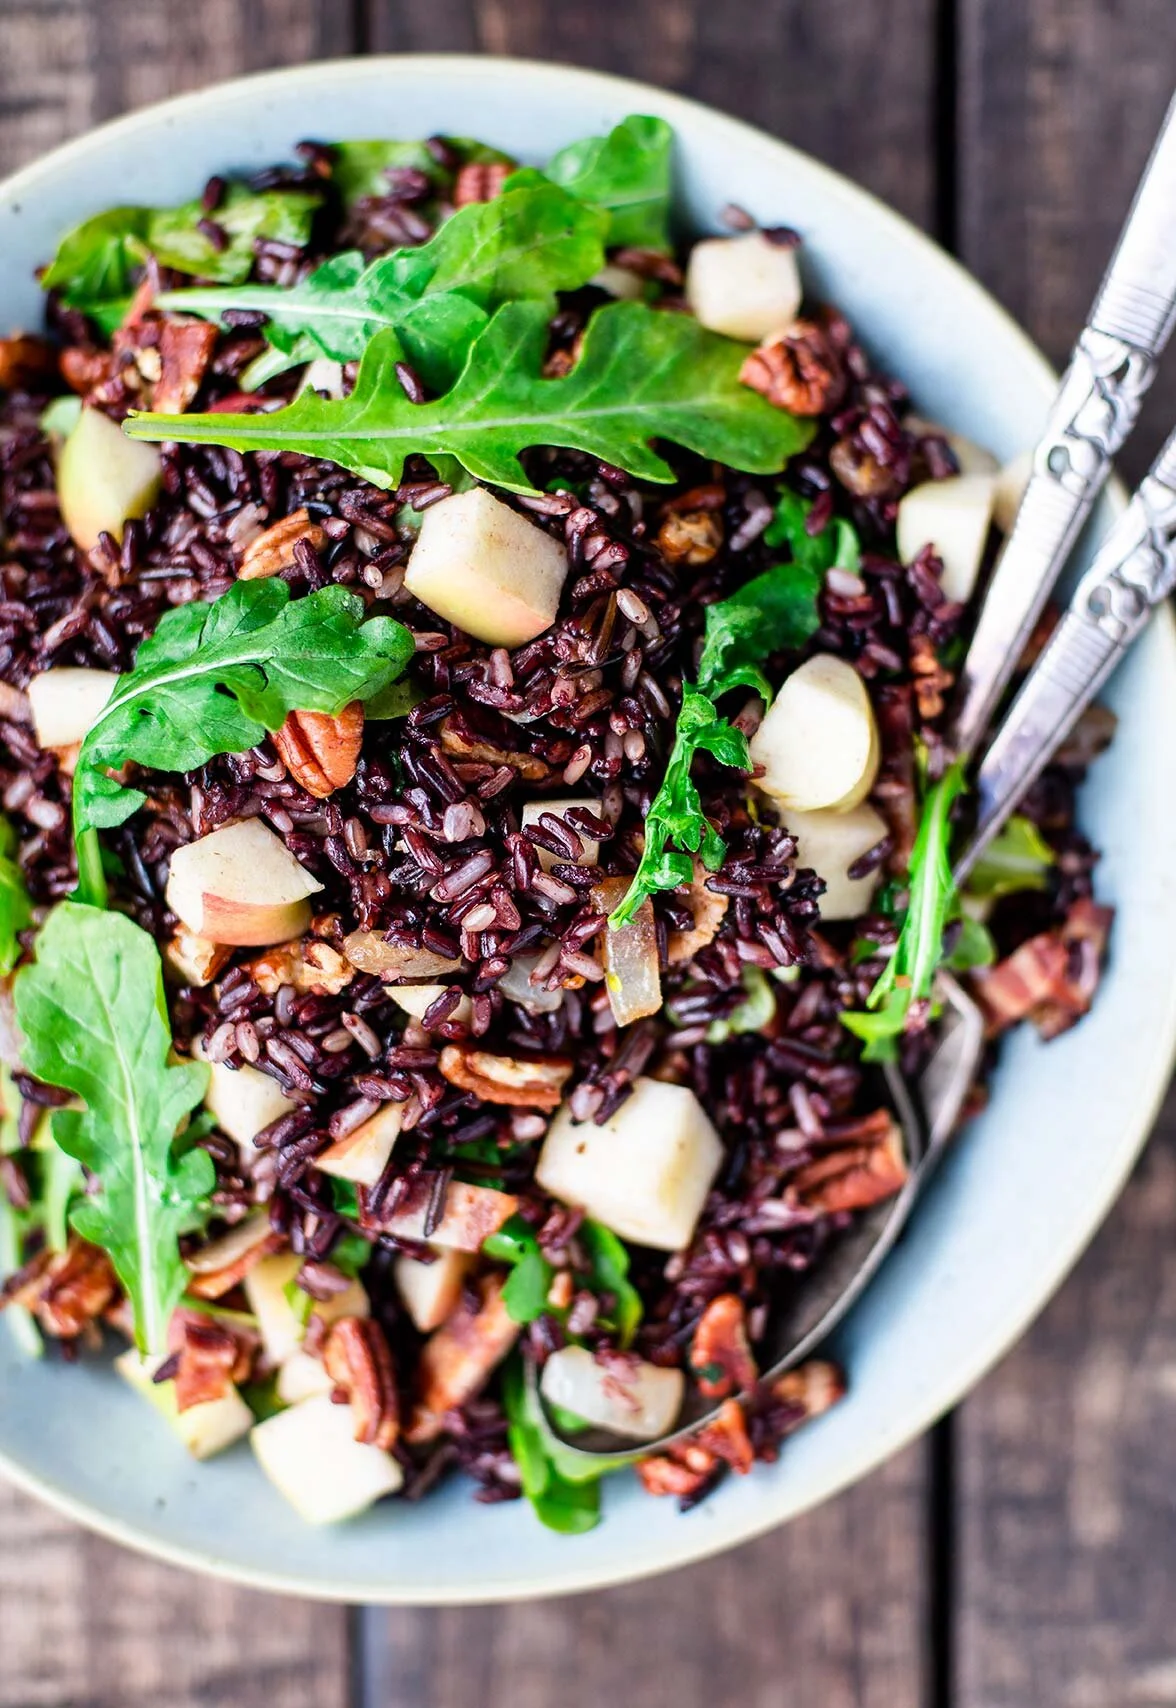
- Chop the bacon into 1/2-inch pieces. Core the apple, and dice. When the rice has cooled, add bacon, apple, pecans and arugula. Toss, and season with salt and pepper to taste.