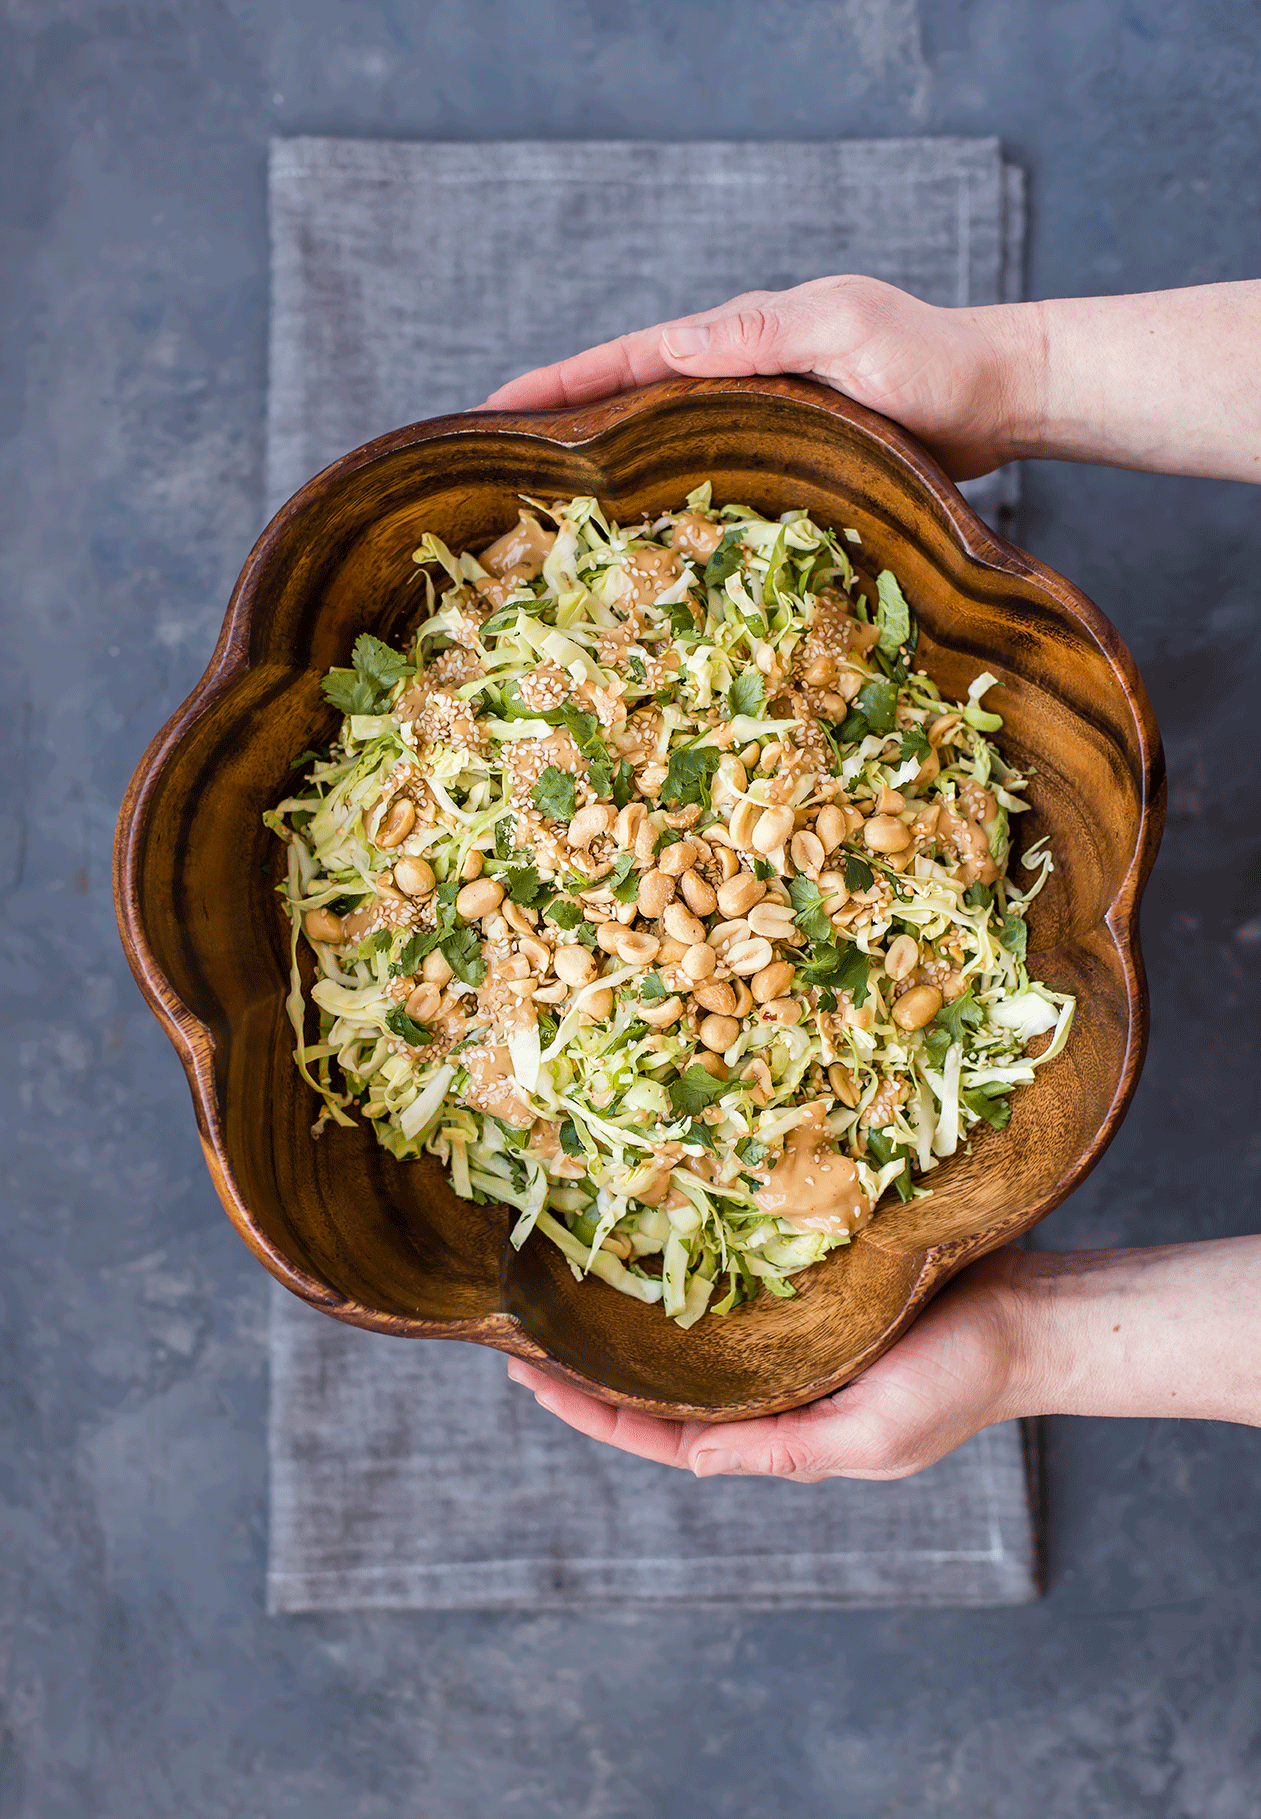
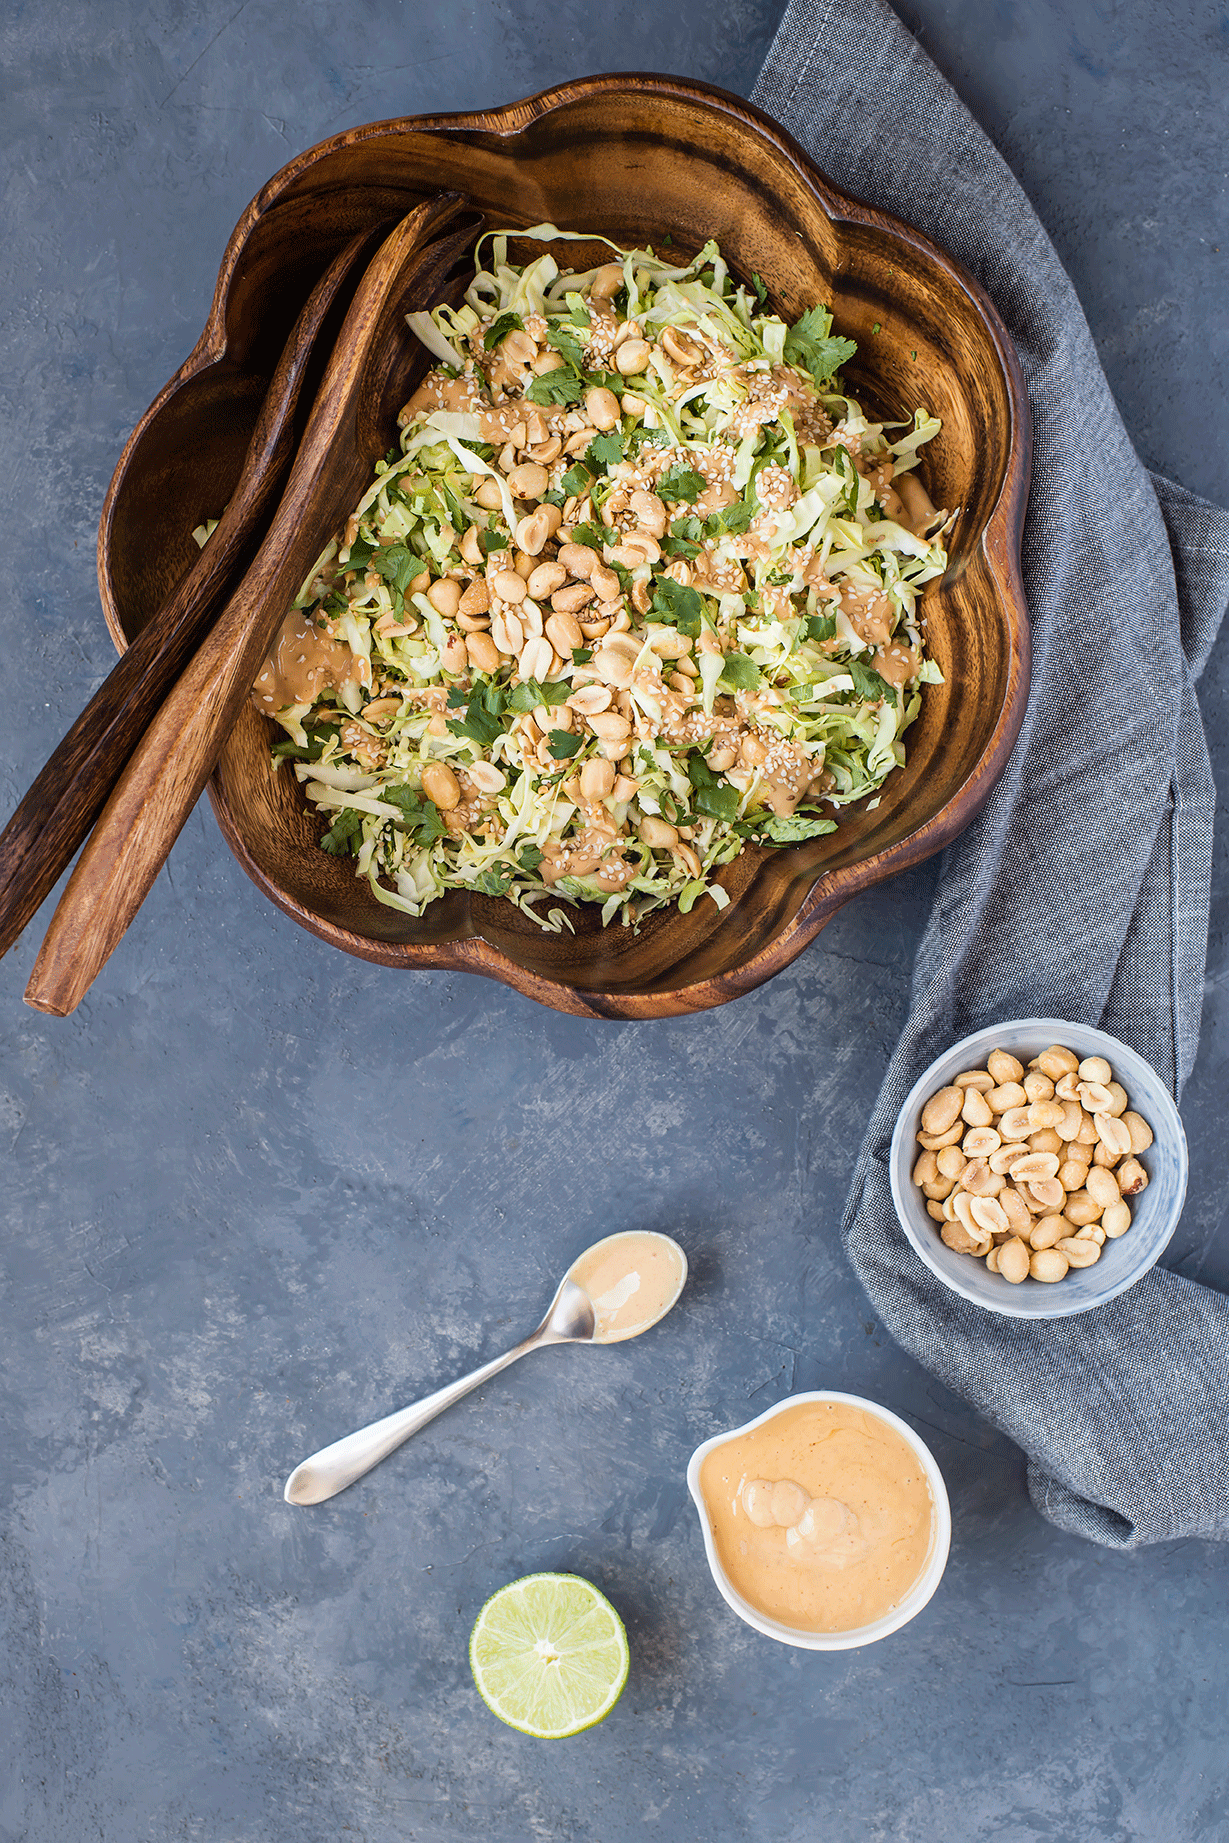
Crunchy Cabbage & Peanut Slaw
/
As readers of my monthly newsletter know, I was that girl that brought a salad to a Super Bowl watching party. Yes. (But also, someone should be that person. The salad is always gone at the end of the night--or halfway through the night - and everyone is always glad to at least have a little freshness on their plates between tasting different dips and chips).
Where this crunchy cabbage peanut slaw began: I am a pack-my-own lunch kinda gal, but some days getting out of the office just to walk around is really the best medicine. It was a day like that when I wandered to Natural Grocers (a few blocks away), and picked up a prepared salad -- I was craving fresh veggies. The gulp of fresh air was nice, but the salad was dry and pretty boring. It was the idea of the salad that inspired me though: a simple cabbage slaw with a peanut dressing.

So I went home and dreamed up a better version, which is still a simple salad but it calls for a LOT of zesty peanut dressing -- a dressing far zestier and more addicting than the original. (So addicting in fact, that it also makes a very good dip for crudités).
You'll notice right away that this dressing calls for a semi-long list of ingredients. They are (almost) all shelf-stable pantry staples, and despite the list of ingredients the magic of this sauce is in how it's made: plop everything in the blender and go. That's it. This is where I tell you: do not fear that list of ingredients, embrace it. It is worth it. And by the time you've checked to see if you have everything you need, you're only 30 seconds away from finishing the dressing.

Crunchy Cabbage & Peanut Slaw
Serves: 4 | Active Time: 20 minutes
Ingredients:
For the peanut dressing (yields about 1 cup):Directions:
- Place all ingredients for the dressing, aside from the water, in a blender and purée until smooth. Then, add water as needed to thin dressing as needed (based on preferences).
- Sliced green onions and add to a salad bowl with cabbage and cilantro. Toss to combine. Top with sesame seeds and peanuts.
- Drizzle with about 1/3 to 1/2 cup peanut sauce, or to taste.