Chocolate Chip Energy Bites (With Video)

This is an older recipe from Foraged Dish that I wanted to spruce up with new photos and a video. These energy bites are so darn delicious — they’ve been in my snack draw at work and I SO look forward to snack time each day! 

Chocolate Chip Energy Bites

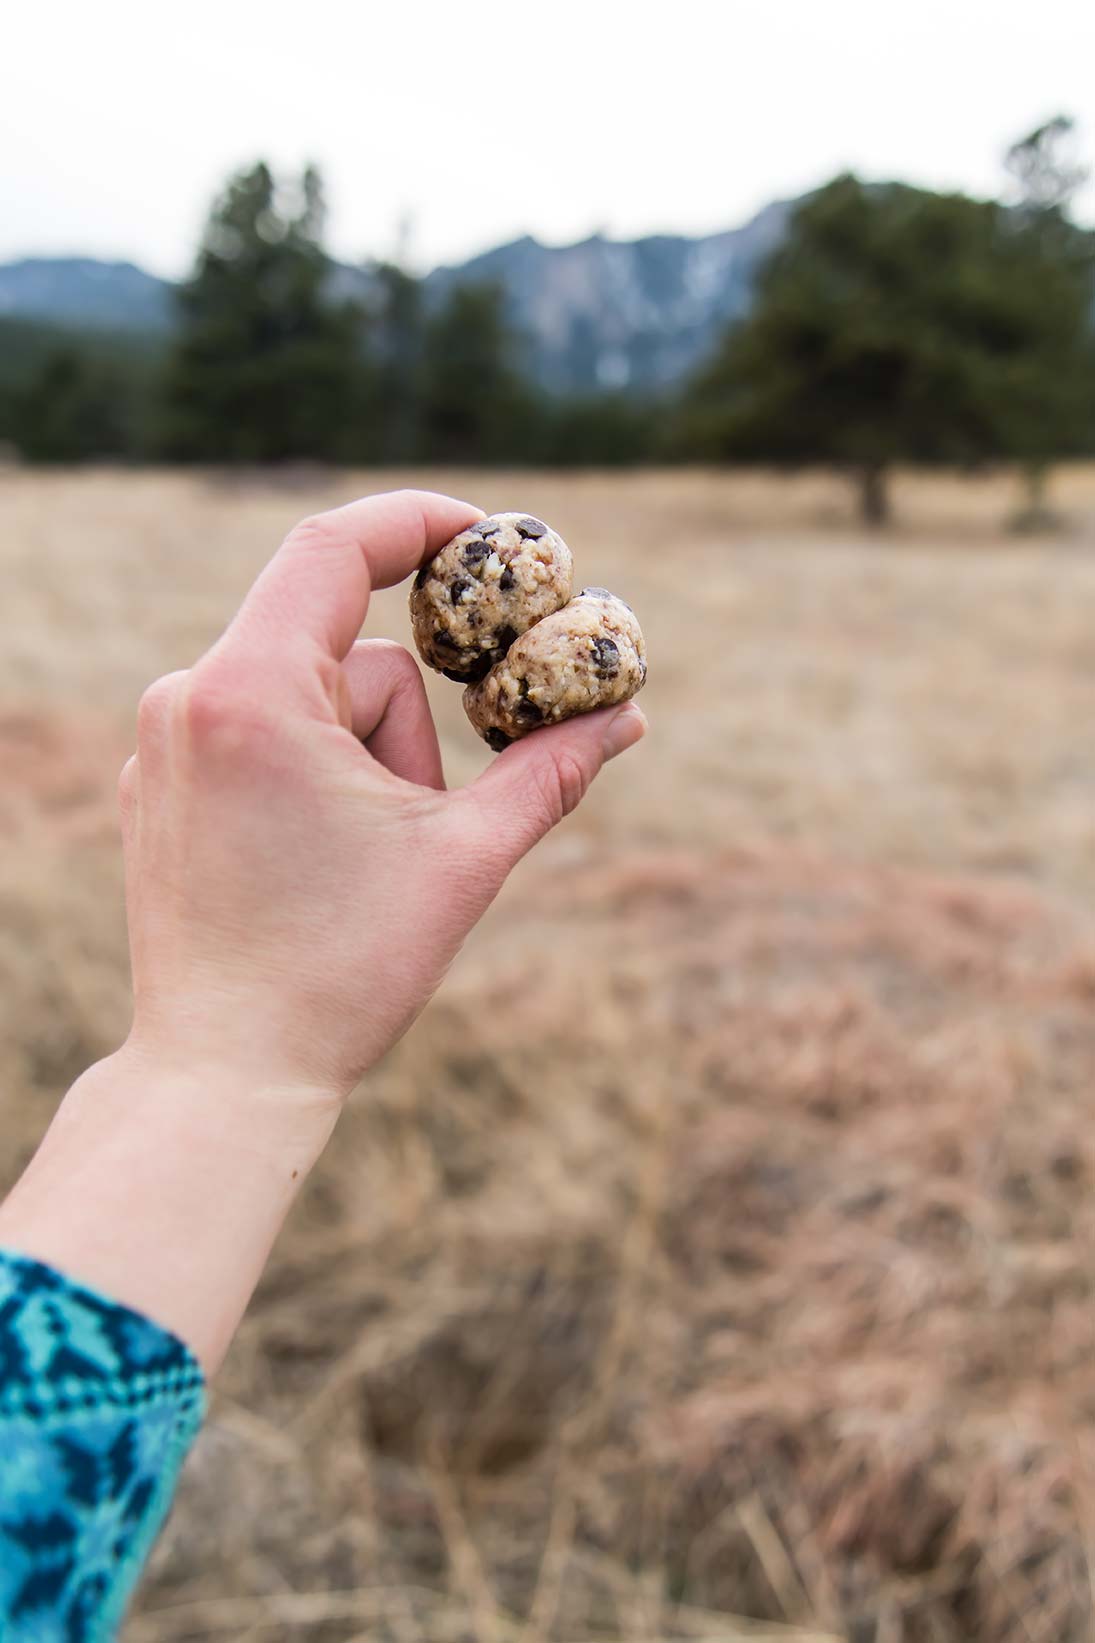
Last week I went on a hike in the Front Range with nothing in my bag but my camera, my phone, and a ziplock stocked with these Chocolate Chip Energy Bites. I thought I had my car key too, until 30 minutes in when — oh no! - I noticed the pocket where I keep my key was open. Open and empty. 

I immediately turned on my heels and spent the whole hike downhill with my head turned down, eyes constantly scanning the trail. I tried to soothe my inner chatter box, which, by the time I made it back down to the trailhead with no sign of my keys in sight, was freaking out.  In the end, I had to call for a ride to go get a spare key (thanks, Dad!). 

But I digress. Casualties of hiking alone are not what this post is about! This post is about the snack I had with me at the time, Chocolate Chip Energy Bites! (The whole hike I kept thinking, well at least if I have to wait a while, I have good snacks…)

Chocolate Chip Energy Bites

These energy bites call for only six ingredients and they just go into your food processor and you roll them up. That’s it!  Why macadamias and cashews? Macadamia nuts are extra buttery, which lends very well to this recipe, which taste a lot like a healthy version of cookie dough! At the same time, cashews are a bit starchier than most nuts, and their sweet flavor also gives these bites a bit of a “cookie dough” flavor. 

Mini chocolate chips are best in this recipe because they distribute into each energy bite well. Each bite has a bit of chocolate and a bit of nut mixture, which sticks everything together. 

Happy hiking! Take these with you — and don’t lose track of those keys!! 

Chocolate Chip Energy Bites

Published January 15, 2018 by
   Print This Recipe

Yield: 12   |    Active Time: 20 minutes


Ingredients:

  • 1/3 cup dates, pitted
  • 1/2 cup macadamia nuts
  • 1/2 cup cashew pieces
  • Pinch of salt
  • 1 tablespoon honey
  • 3 tablespoons mini chocolate chips

  • Directions:

    1. Add dates, macadamia nuts, cashews, salt, and honey to bowl of food processor. Secure lid on food processor and run until the nuts are ground into a corse meal that begins to clump.
    2. Add mini chocolate chips to food processor and pulse, 2-3 times, just until chocolate is evenly distributed.
    3. Scoop a heaping tablespoonful of the mixture into your hands and roll into a ball. Repeat until all of the mixture is used.
    4. Enjoy immediately or store in an air-tight container in the fridge.

    Comment

    Gluten-Free Chocolate Pecan Thumbprint Cookies

    Gluten-Free Chocolate Pecan Thumbprint Cookies
    Gluten-Free Chocolate Pecan Thumbprint Cookies

    Happy holidays! Hoping everyone is having a beautiful day, where ever you are and whatever you are up to. We’re taking it easy, with no fancy plans, aside from maybe making a fresh batch of eggnog. I am so thankful to have a break from the hustle and bustle of the rest of the year — time to slow down, get outside (fingers crossed for some warmer weather later this week! 🤞), and even some creative recipe development without the time constraints of the normal work week (been working on lots of videos! Check out this one for homemade loose leaf chai! Also still trying to use up all of the spaghetti squash harvest from the garden). And, eating these gluten-free chocolate pecan thumbprint cookies!

    These cookies.

    Just almond flour, honey, butter, salt and baking soda combine to make a surprisingly soft but sturdy and satisfying cookie, something I discovered when I made these Paleo chocolate vanilla pinwheel cookies two years ago (2016 seems like so long ago! We had just moved into our house, I remember rolling out the cookie dough next to the wall between our kitchen and dining table. Just a few weeks later, we removed the wall and the house looks about 1,000x better! But I digress...)

    Thumbprint cookies — a Swedish treat traditionally made with a raspberry filling - have always looked festive to me. When filled with raspberry jam, they gleam in the light like little gems. But raspberry is a very summery flavor, and my inner chocoholic screamed “ganache!!” and I gave in easily, filling each with a melted 85% Dark Chocolate Lindt Bar.

    Gluten-Free Chocolate Pecan Thumbprint Cookies
    Gluten-Free Chocolate Pecan Thumbprint Cookies

    The result is similar to those chocolate kiss-topped peanut butter cookies we’ve all had at many a Christmas party, but with more delicate flavors. Toasted pecans with chocolate is an unparalleled combo in desserts in my book, one that fills your kitchen with the smells of caramelly nuts and fruity cacao scent.

    The cookie dough in this recipe is fairly flexible when it comes to flour. I tested using 1/2 cup gluten-free measure for measure flour (King Arthur flour) in place of 1/2 cup of almond flour and the result was almost the same as using all almond flour. That’s not to say I’ve tested everything! But I’m confident you’ll love these. The dough will crack a bit when you go to make the thumbprints, but that doesn’t impact the cookie much. We’re not going for perfect here — once you add the chocolate and the pecans, they’ll look (and be) absolutely delicious!

    Gluten-Free Chocolate Pecan Thumbprint Cookies
    Gluten-Free Chocolate Pecan Thumbprint Cookies

    Gluten-Free Chocolate Pecan Thumbprint Cookies

    Published December 25, 2018 by
       Print This Recipe

    Yield: 15   |    Active Time: 40 minutes


    Ingredients:

  • 2 cups almond flour
  • 1/4 teaspoon salt
  • 1/4 teaspoon baking soda
  • 1/4 cup coconut oil or butter, melted
  • 1/4 cup honey
  • 1/2 teaspoon vanilla extract

  • For the filling:
  • 1/3 cup chocolate chips (or a chopped up dark chocolate bar)
  • 1 tablespoon coconut oil or butter
  • 1/2 cup pecan halves, toasted

  • Directions:

    1. Preheat oven to 325°F. Line a cookie sheet with parchment paper and set aside.
    2. In a medium-sized mixing bowl, combine almond flour, salt, and baking soda and whisk briefly to combine.
    3. Add melted oil/butter, honey, and vanilla and stir dough with a spatula until a stiff dough forms.
    4. Shape cookies: scoop cookie dough by the tablespoonful into the palm of your hand. Shape into a sphere, and then place on a prepared cookie sheet. Using a smaller spoon or you thumb, make an indent in the center of the cookie. The dough may crack a bit around the edges, which is fine; if you like, you can carefully press it together with your fingers.
    5. Repeat step 4 until all of the dough is used. Leave at least 1/2 inch between each cookie on the baking sheet.
    6. Place cookies in oven on middle rack and bake for 10-13 minutes. Cookies should be golden and fragrant. Set aside to cool.
    7. While cookies cool, make the filling. Melt chocolate and 1 tablespoon butter/oil in a microwave safe bowl in the microwave by heating at 30-second intervals, stirring between each round, or in a double boiler.
    8. When cookies have cooled enough to be easily handled, carefully spoon chocolate into the center of each, and place a single pecan half in the center of each. Allow chocolate to set for 10-15 minutes, and then serve or store in an air-tight contain for a week.

    Comment

    Grain-Free Mint Chocolate Brownies

    Grain-Free Mint Chocolate Brownies

    “These are a treat,” I said to Oliver after taking a bite. Fudgy on the bottom, creamy in the middle, and even more chocolatey on top, these brownies are rich all the way through.

    If you like York Patties, or Mint Chocolate Chip Ice Cream, or Andes Mints, these brownies are for you. And before I get to far… they are grain-free, gluten-free, and nut-free. Plus, they’re sweetened with honey!

    Mint and chocolate is a favorite combo of mine, and when I was day dreaming of holiday baking these stayed in the forefront of my mind. They feel super festive! It wasn’t until after I had made them that I was swiping through images of a cookbook my mom made of her favorite recipes and I found mint brownies nestled in there. Somewhere in the back of my mind I suppose I remembered her brownies…

    Grain-Free Mint Chocolate Brownies
    Grain-Free Mint Chocolate Brownies

    Let’s start at the bottom: the brownie base is made of the same batter used in these strawberry cheesecake swirled brownies. It is a very chocolatey, batter that calls for coconut flour and a LOT of cocoa. The result is one fudgy brownie!

    The next layer is a sweet mint cream cheese frosting. Most mint brownies call for buttercream here, but I’ve never been a fan of buttercream, and even as a kid I preferred cream cheese frosting. Nothing’s changed on that front! (For extra festive-ness, you can stir in a drop or two of green food coloring if you like.)

    The topping is a simple chocolate ganache, making a chocolate mint sandwich that even looks a bit like an Andes Mint!

    When you bite through all three layers it is rich, sweet and melt-in-your-mouth delicious… a total treat! (One night we had these with the Mint Chip Ice Cream from CoolHaus. 😍)

    Grain-Free Mint Chocolate Brownies

    Grain-Free Mint Chocolate Brownies

    Published December 6, 2018 by
       Print This Recipe

    Serves: 16   |    Active Time: 1 hour


    Ingredients:

    Brownie Base:
  • 1/2 cup melted unsalted butter or coconut oil
  • 1/2 cup cocoa powder
  • 1/3 cup semi-sweet chocolate chips
  • 1/4 cup honey
  • 2 eggs, room temperature
  • 1 teaspoon vanilla extract
  • 1/4 cup coconut flour
  • 1/4 teaspoon salt

  • Mint Filling:
  • 8 ounces cream cheese, room temperature
  • 1/4 cup honey
  • 1/4 teaspoon peppermint extract

  • Chocolate Ganache Topping:
  • 2 tablespoons unsalted butter or coconut oil
  • 2 tablespoons half-and-half
  • 1/2 cup semi-sweet chocolate chips

  • Directions:

    1. Preheat oven to 350°F and line a 8x8 baking dish with parchment paper.
    2. In a small sauce pan, combine melted butter or coconut oil, cocoa powder, and chocolate. Heat over low heat, stirring until most of the clumps have melted. Remove from heat and allow to sit until entire mixture is smooth and melted.
    3. Scrape mixture into a mixing bowl. Using electric beaters, stir in honey. Add eggs and vanilla and beat again. Mixture should begin to thicken. Add coconut flour and salt. Beat until smooth and no clumps remain.
    4. Spread batter in even layer in prepared baking dish.
    5. Bake for 20 minutes, until brownies are slightly puffy, and a knife comes out clean when inserted in the middle. Allow to cool for completely before topping with mint filling.
    6. Mint filling: while brownies are cooling, beat together cream cheese, honey, and mint until smooth. When brownies are no longer warm to the touch, spread cream cheese mixture over top in an even layer. Place brownies in fridge, covered, for at least one hour (or overnight! Short cutting this time will make it hard to spread the ganache over top and get clean layers.)
    7. Chocolate ganache topping: Place butter, half-and-half, and chocolate in a small sauce pan and heat over low heat, stirring constantly, until a smooth ganache is formed. Remove from heat. Spread chocolate ganache over cream cheese mixture and allow to set 10 minutes before slicing into 9-16 squares. Tip: for the cleanest cuts, rinse your knife between each slice.

    Comment