Sourdough Bagels From Scratch
/
These round little baked goods have a special place in my heart, and not because I love New York bagels or have strong opinions about what a bagel “should" be. Instead, it’s because they are a token from my high school years, when I would get home from class and set to work mixing flour, salt, water and yeast. My dad loved (and still loves) telling people that this was how his teenage daughter chose to spend her free time. I haven't outgrown the phase, apparently—only matured it, taking the last year to research and test a sourdough version. These naturally leavened bagels are my new go-to, with a chewy crust, great rise, and complex flavor.

Sourdough Bagels from Scratch
Serves: 12 | Active Time: 2 hours active cooking time; 25 total hours (including rising)
Ingredients:
For the Levain:Directions:
- This recipe includes a suggested baking schedule to help you plan, but you can adjust the schedule to fit your calendar. Feed your starter the night (or ~8hours) before making the levain.
- 8 am: Make levain by combining bread flour, warm water and 250g of ripe starter in the bowl of stand mixer. Cover, and set in a warm place to ferment, 8 hours (if it’s a very warm day, cut this to 6 hours).
- 4 pm: Move 250g of the levain back into your starter jar, leaving 1000g of active levain in the mixing bowl. Add 360g flour, malt powder, salt, and yeast to bowl. Place the dough hook attachment on your stand mixer, and mix until roughly combined. Turn mixer to speed 3 and knead, adding the additional 120g of flour in batches. The dough should be tough, smooth an elastic. If you notice the dough tearing, add a few small drops of water and stop adding flour. Knead for an additional 5-7 minutes.
- 4:15 pm: Line a baking sheet with parchment (or a Silpat (affiliate link)). Divide the dough in 12 equal sized pieces, about 120-130g each. Shape each piece into a ball, and place on baking sheet. Cover with a damp towel and set in a warm place for 20 minutes.
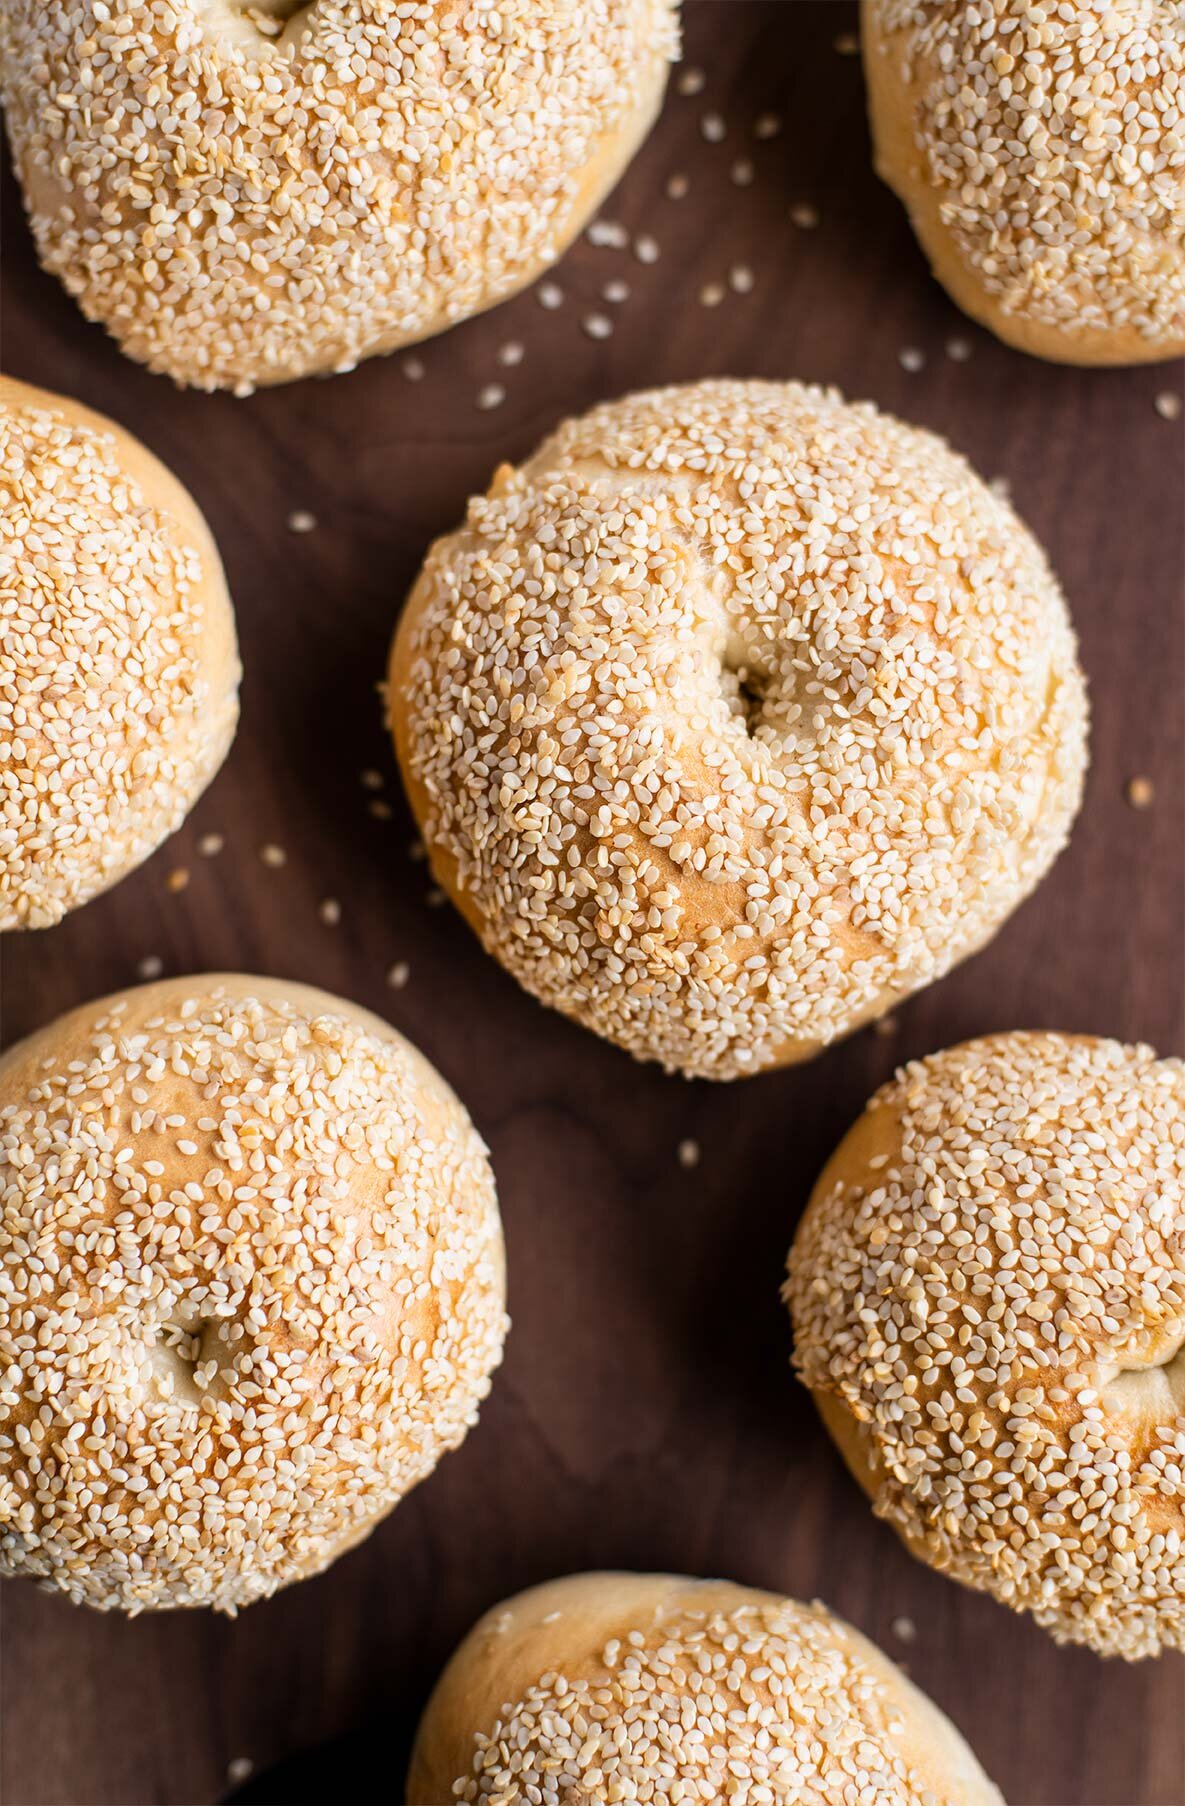
- 4:40 pm: Shape the bagels: working one at a time, use your thumb to poke a hole through the middle of each roll, and gently stretch to form a bagel shape. (Tip: once the initial hole is formed, I like to spin the loop around my finger and let gravitational pull do the stretching.) As the bagels rise and bake, the dough will puff, shrinking the hole in the middle, so make the hole a tad bigger than you want it to be in the finished product. Place shaped bagels back on baking sheet. Cover again with a damp towel, and rise for 20 minutes.
- 5:05 pm: The bagels should be puffy. Test their rise by dropping one in a bowl of water: it should float. If it does not, allow to rise longer. Cover entire tray of bagels loosely with a plastic bag (or two), and place in fridge overnight (or up to 36 hours - the longer you wait the more sour they will taste).
- 8 am (the next day): Prepare to cook bagels: Preheat oven to 475°F. As oven heats, bring a stock pot of water to a boil. Add honey. Prepare your toppings, by placing each topping in a wide bowl or on a plate that you can easily dip a bagel into.
- 8:05 am: Boil bagels: Remove bagels from fridge. Gently lower 3 bagels into pot. Cook for 30 seconds, then flip, and cook for 30 seconds on second side (Tip: I set a stopwatch next to the stove so I can watch the clock). Using a slotted spoon, remove bagels from water, allowing excess water to drain back into the pot. Dip top of bagel into bowl of toppings, then set, topping-side up, on the sheet pan. Repeat until all bagels are boiled. Note: Boiling will slow with the addition of the cold bagels — keep the water warm enough to maintain a gentle boil.
- 8:15 am: Bake bagels: Bake for 20-25 minutes, until golden brown on all sides.
- 8:35 am: Transfer to cooling rack and allow to cool at least 10 minutes before slicing.
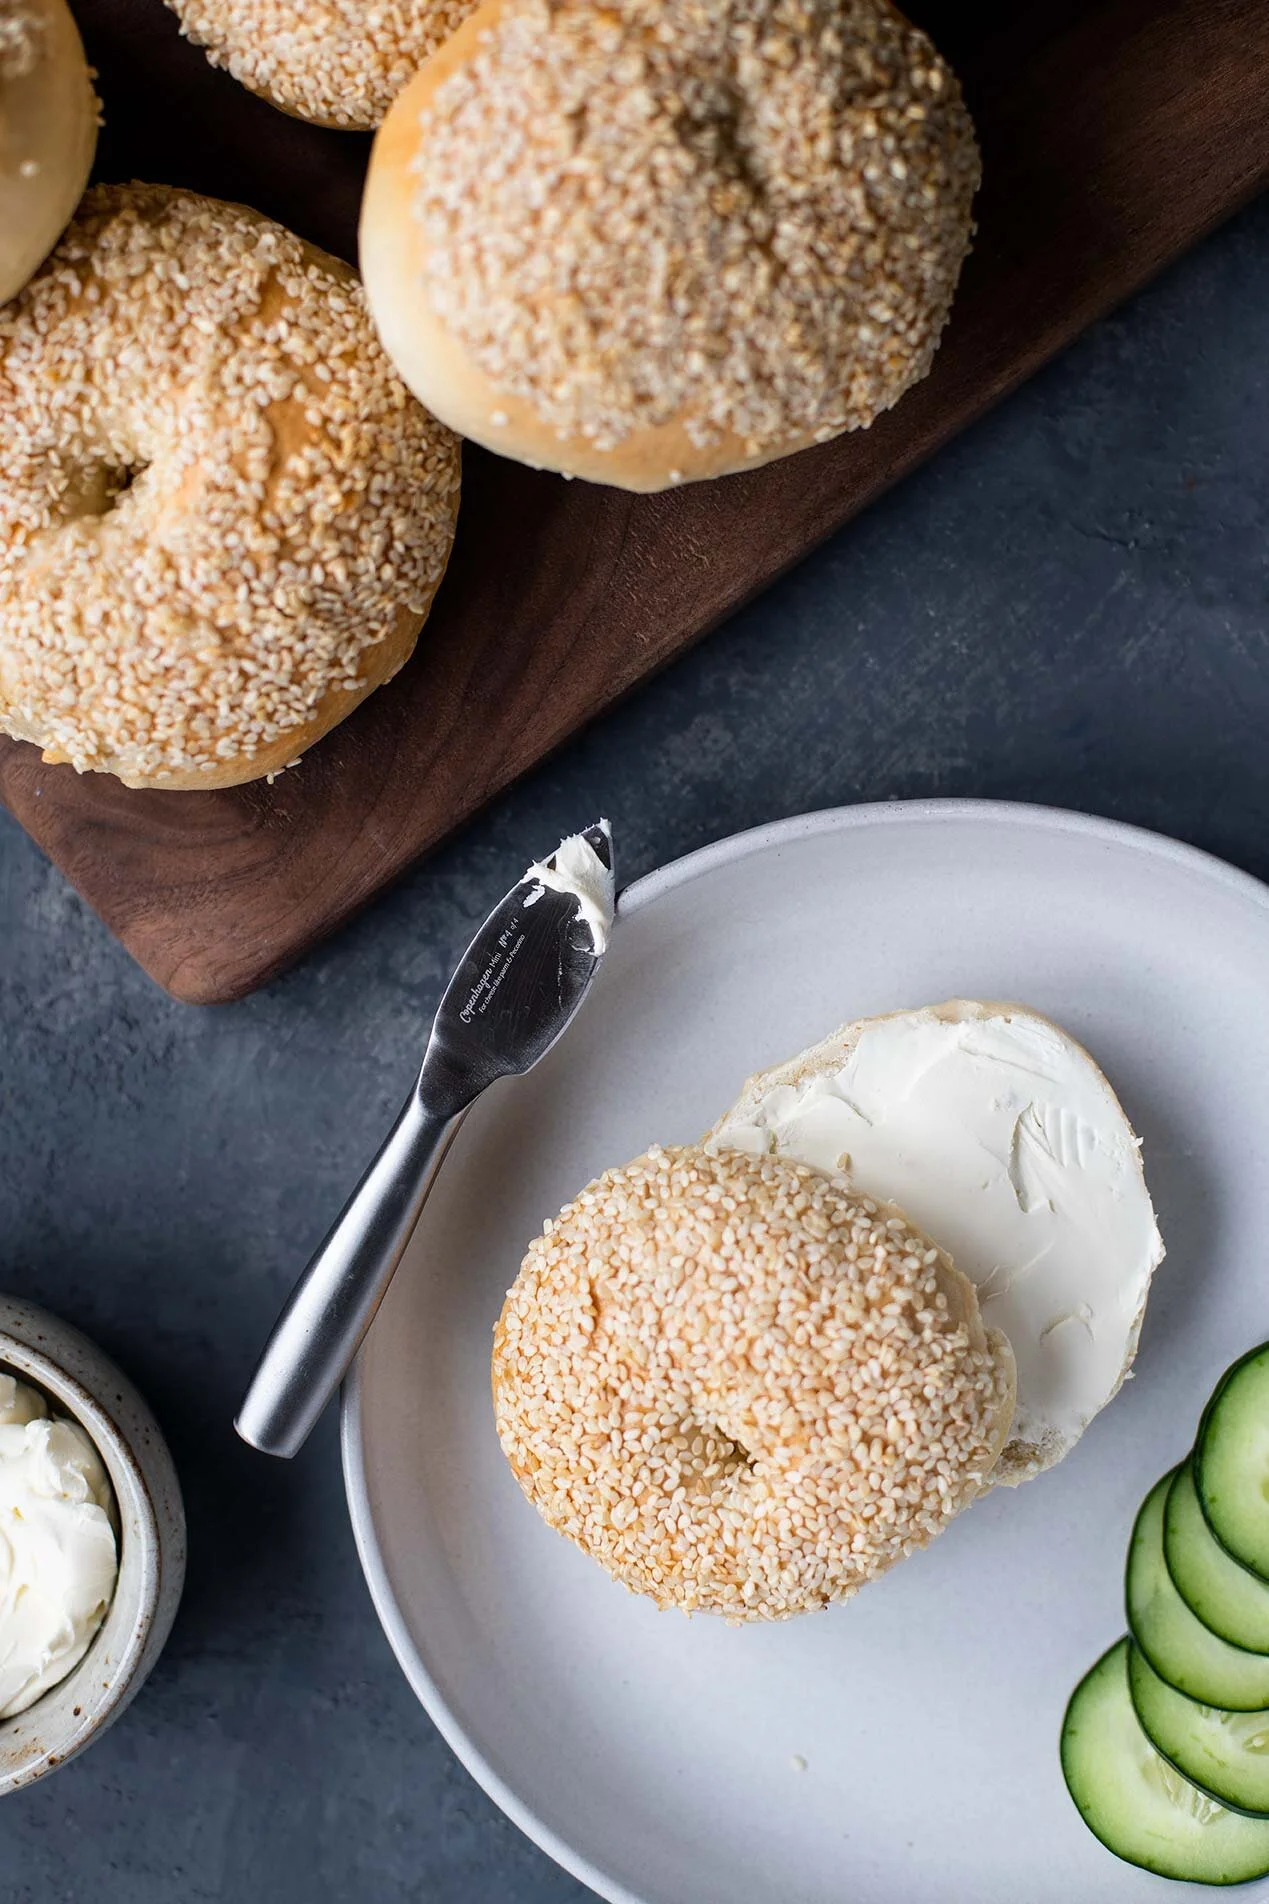
- Serve to taste with butter, cream cheese, lox, capers, etc. Bagels are best fresh, but will last the week if stored well: Allow bagels to cool completely before storing. Once cooled, wrap tightly in plastic or place in an airtight container. Store at room temperature for up to 7 days.